Table of contents

How to create a personal access token in GitLab (5 steps)


GitLab, a devops lifecycle tool, helps companies manage issues and code repositories as well as deploy software solutions.
While the platform’s out-of-the-box features and capabilities are already powerful, they can provide even more value when you integrate the platform to your other internal applications or when you connect your product to customers' instances of the application.
Regardless of your integration use case(s) with GitLab, you’ll need to create a unique access token in the platform. We’ll help you do just that below!
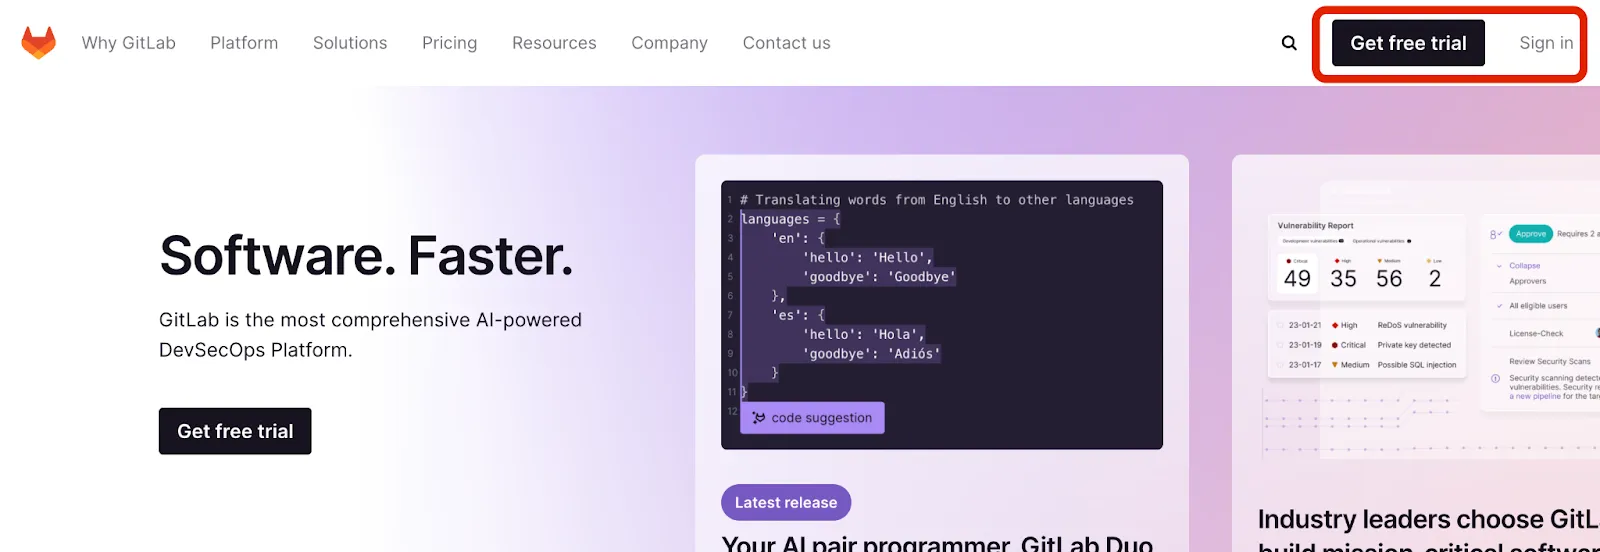
1. Sign in or invest in one of their plans
You’ll either need to sign in or get started on one of their plans. You can also start a free 30-day trial.
{{this-blog-only-cta}}
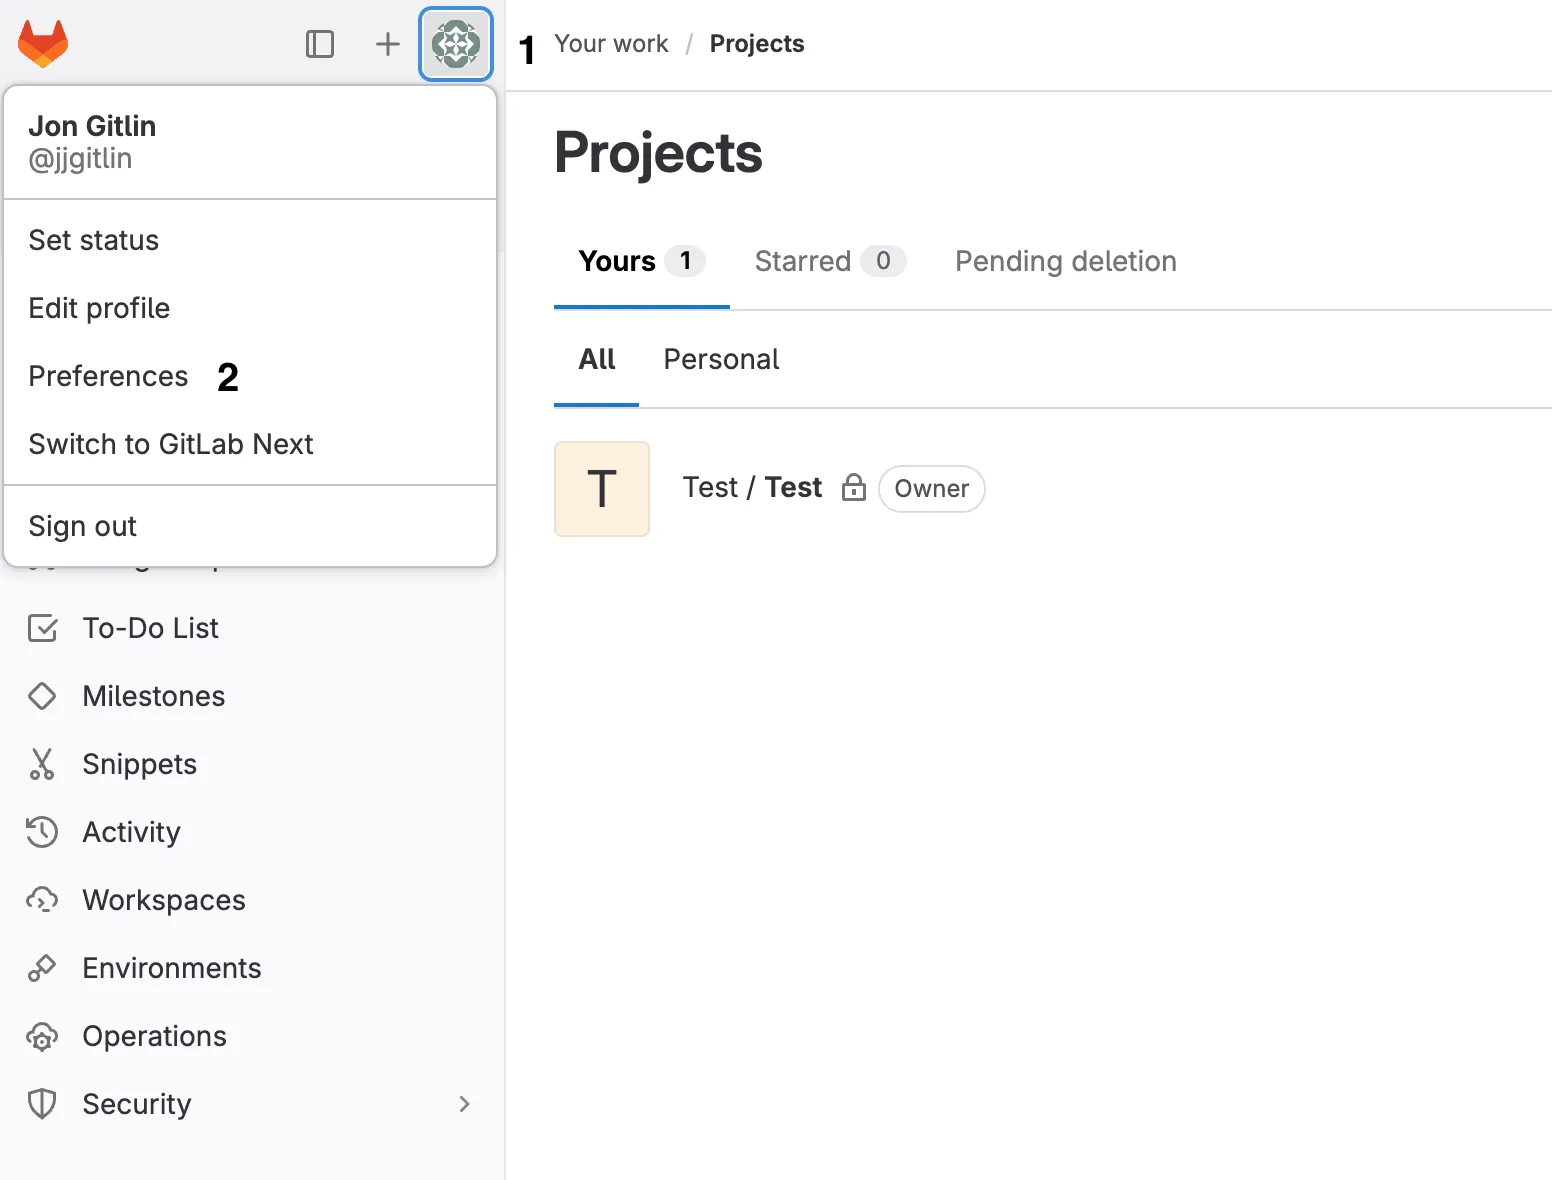
2. Click on the green icon and then select “Preferences"
Once you’re logged in, you should see a green icon on the top left-hand corner. Once you click this, you should see “Preferences” in the dropdown. You can go ahead and select it.
Related: The steps for getting your personal access token in Asana
3. Select “Access Tokens” on the left-hand menu
You should see “Access Tokens” on the left side of your screen. Once you click it, you’ll land on the page for generating your personal access token.

Related: The steps to find your Jira API key
4. Click “Add new token”
You should now see a button that says “Add new token.” Once you hit this you should land on a page that allows you to create your personal access token.

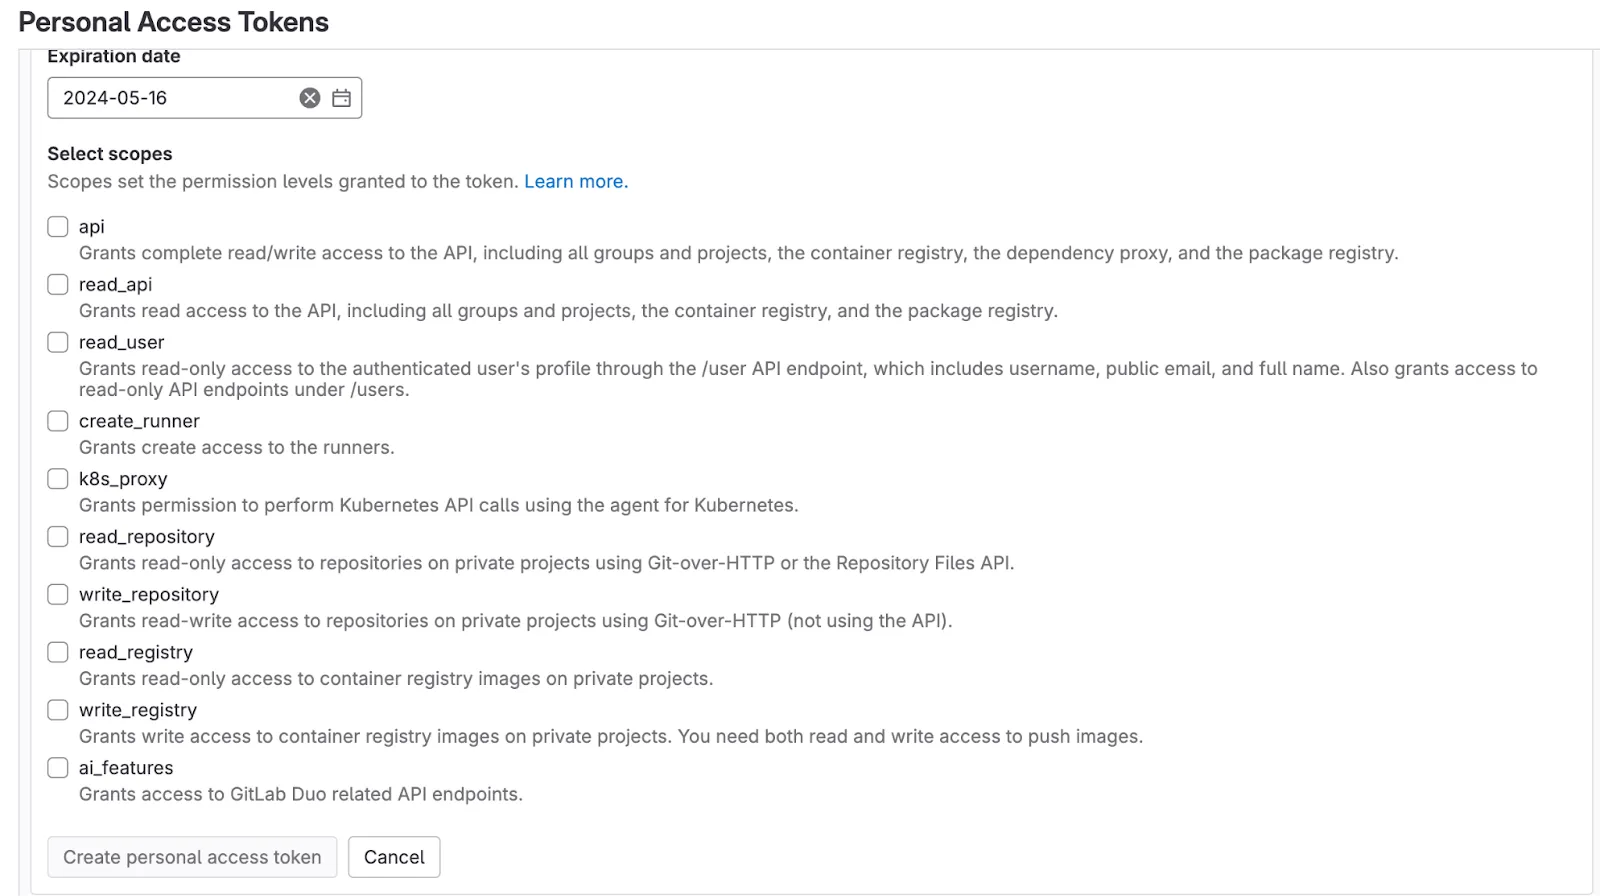
5. Choose the scopes for your token
You can now give your token a name, select its expiration date, and pick the specific permission levels you want it to have. In other words, you’ll determine the set of actions that can be performed on specific resources in GitLab once an API call is authenticated with the token.
Once you’ve finished making your selections, you can click “Create personal access token.”
Other considerations for building to GitLab’s API
Before building to GitLab’s API, you should look into and understand the following areas:
Pricing
GitLab offers 3 plans: “Free”, “Premium”, and “Ultimate.”
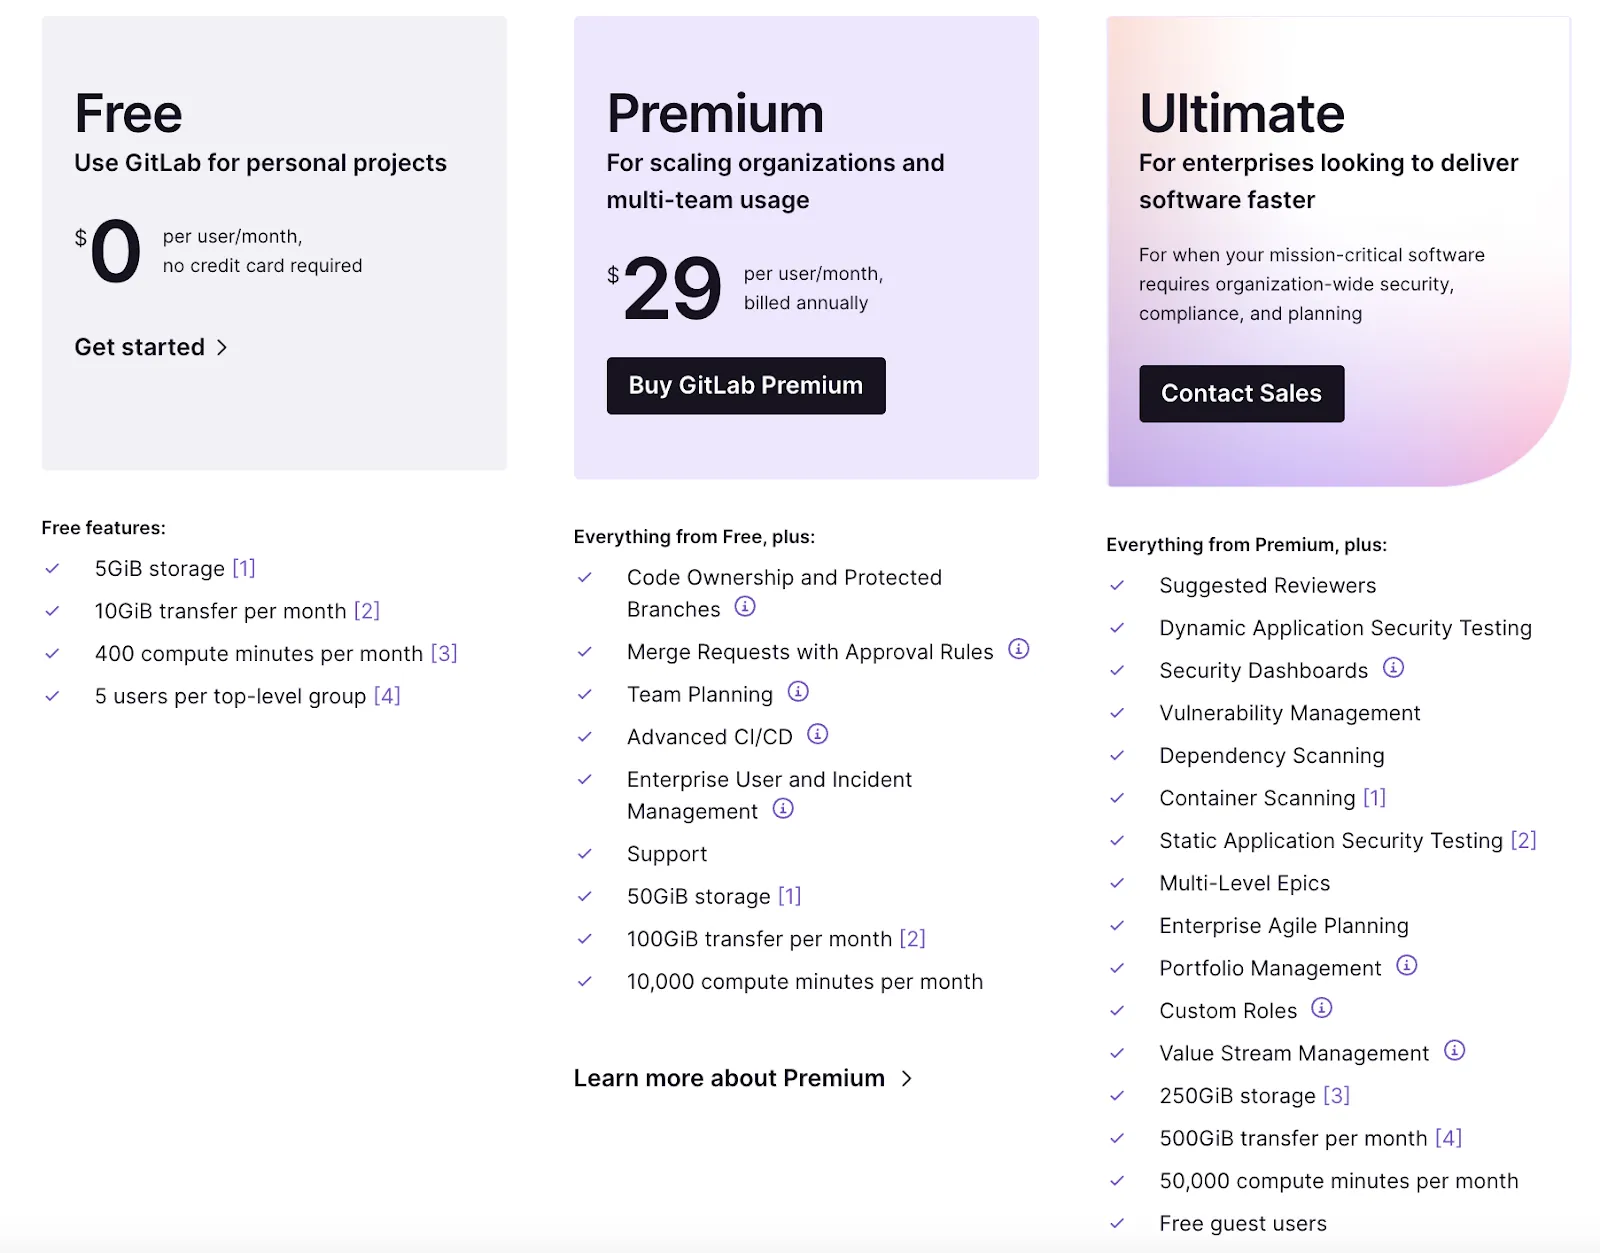
As you move up their pricing tiers, you’ll get additional storage, access to more advanced features for managing users’ access levels, security dashboards, and more.
Learn more about GitLab’s price plans.
Rate limits
GitLab has both configurable and non-configurable rate limits.
Configurable rate limits allow an admin to set the specific rate limit policies for certain resources and/or requestors (e.g., user and IP rate limits). Non-configurable rate limits, on the other hand, are specific endpoints that have defined rate limit policies that all API consumers need to abide by.
Learn more about GitLab’s configurable and non-configurable rate limits.
Errors to look out for
You can receive a wide range of errors for different reasons. Here’s a look at a few of them:
- 401 Unauthorized: The token is expired, invalid, or missing, so the request can’t be carried out successfully
- 403 Forbidden: The token is valid but it doesn’t have the appropriate level of permissions to carry out the request
- 404 Not Found: The requested resource doesn’t exist
- 429 Too Many Requests: A user has sent too many requests in a given rate limit window
- 500 Internal Server Error: The server underwent a specific, unforeseen condition that prevented it from handling the request successfully
Final thoughts
GitLab is a popular ticketing solution, but it isn’t the only one your clients use. They may also be using ticketing tools like Asana, Trello, or GitHub.
You can offer integrations with any of the tickets solutions your clients have by building to Merge’s Ticketing Unified API.
To learn more about the unified API, and Merge’s platform more broadly, you can schedule a demo with one of our integration experts!

.png)
.png)


