Table of contents
QuickBooks Online API integration: what you should know
QuickBooks Online offers countless features and capabilities that support key financial processes—from invoicing customers to managing expenses to analyzing reports.
Given all the data it collects and functionality it supports, you’ll likely want to connect the enterprise resource planning (ERP) software with other internal applications as well as with your product.
We’ll help support your integration builds with QuickBooks Online by breaking down best practices for implementing them, sharing common integration use cases, and more.
To get us started, let’s align on the definition of the QuickBooks Online API and review the steps for setting up any integration with the ERP system.
What is the QuickBooks Online API?
It consists of endpoints that let you access and perform actions on a variety of resources within QuickBooks—from bills to invoices to journal entries to vendor credits.
The API can be leveraged for internal integrations (i.e., between your instance of QuickBooks Online and another application your team uses) or product integrations (i.e., between your product and your customers’ instances of QuickBooks Online).
.webp)
{{this-blog-only-cta}}
How to set up your QuickBooks Online API integration
Before you can build any integration with QuickBooks Online, you’ll need to create an OAuth app with the appropriate set of scopes (which will depend on the integrations you want to implement).
Here are the steps you’ll need to take to create any app:
1. Start by creating an Intuit Developer account.
2. Once you’ve signed up, you’ll need to create a development Workspace.
You can think of a Workspace as a representation of your business or project. Each workspace can also have multiple OAuth apps.
You’ll be asked to populate some details about your business and provide contact information.
Once you’ve done that, you’ll be taken to the Workspace dashboard where you can create your OAuth App.

3. When creating your app you’ll need to give it a name and select your scopes.
For the latter, you’ll have two options to choose from: <code class="blog_inline-code">com.intuit.quickbooks.accounting</code> and <code class="blog_inline-code">com.intuit.quickbooks.payment</code>. The <code class="blog_inline-code">com.intuit.quickbooks.accounting</code> scope gives you access to all of the entities and endpoints in the QuickBooks Online Accounting API, so it can be utilized for common use cases, such as Bill Pay, FP&A, Billing, etc. The <code class="blog_inline-code">com.intuit.quickbooks.payment</code> scope gives you access to the QuickBooks Payments API, which is used for processing payments.
4. Once you’ve selected your scopes and given your app a name, you’re set to get started.
You’ll be provided with your development OAuth credentials that you can now use to develop your integration against a QuickBooks sandbox.
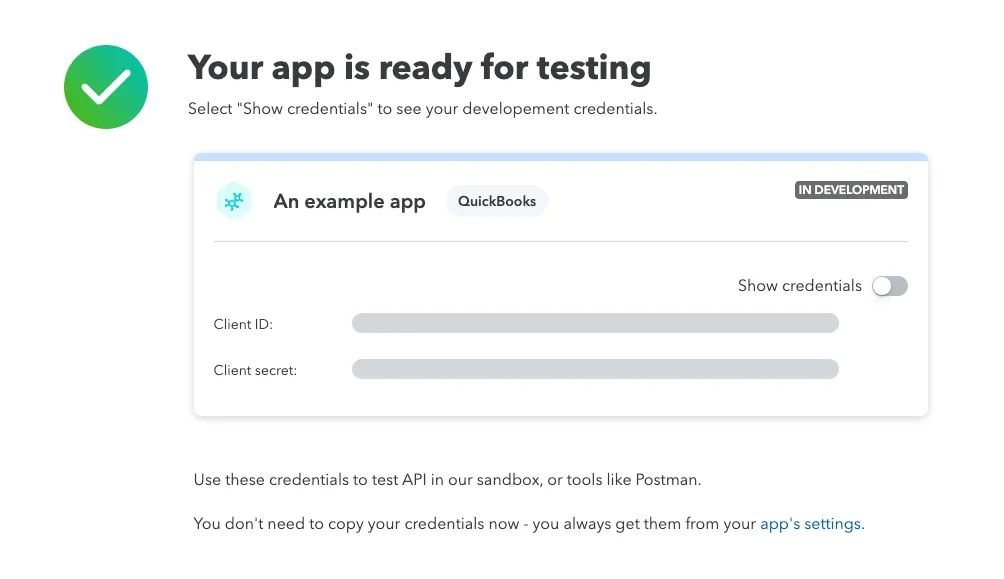
Note: You’ll get access to a QuickBooks sandbox automatically when you sign up. You can find it in the Sandboxes page of your Intuit developer dashboard.
Related: What is an accounting integration?
Tips for integrating with the Quickbooks Online API
To help you build to QuickBooks Online API’s successfully, you can follow these best practices:
Research the minorversions to ensure the appropriate ones get used in requests
If you don’t use a minorversion, you’ll end up using the base version of QuickBooks Online’s API. As a result, you may not be able to access several key fields or features that have been introduced since the base version’s release in 2014. Using the wrong minorversion can also lead to potentially similar issues.
To use the right minorversion, you’ll need to review each in the QuickBooks Online API documentation and then structure your request such that it explicitly lists out the correct minorversion.
To use an example, here’s a request for information on an invoice with an ID of 147 and from minorversion 70:
Request specific chunks of data or adjust date ranges dynamically for report endpoints that return more than 400,000 cells
One of QuickBooks’ report endpoints, such as <code class="blog_inline-code">BalanceSheet</code>, <code class="blog_inline-code">TransactionList</code>, or <code class="blog_inline-code">JournalReport</code>, will cap a response at 400,000 cells. If the response exceeds that limit, you’ll get the message, “Unable to display more data. Please reduce the date range.”
To prevent this scenario from happening, you can (like their message says) reduce the date range in your request. However, if you still receive the message, it may be worth implementing a loop that iterates through the date range and dynamically shrinks the range until the message stops appearing.
In either scenario, you would then need to merge the results into a final dataset.
Use change data capture to track deleted records
Objects can be deleted from QuickBooks for all kinds of reasons; an invalid invoice could, for instance, be entered and subsequently deleted.
And while most deleted records were rightfully removed, some may have been deleted by accident.
To prevent any in the latter scenario from slipping through the cracks and not getting added back into QuickBooks Online, you can use the <code class="blog_inline-code">ChangeDataCapture</code> endpoint to detect changes in certain entities (e.g., invoices).
The frequency at which you use this endpoint is largely dependent on the entity’s level of activity in QuickBooks. All else equal, the higher the entity’s change environment, the more frequently you‘ll need to call the endpoint.
Related: Best practices for integrating with Sage Intacct's API
QuickBooks Online API integration examples
You can support a wide range of impactful integrations with Quickbooks Online.
Let’s break down a few internal integrations and then highlight a couple customer-facing use cases.
Connect QuickBooks with Salesforce to streamline invoicing
Once a sales rep marks an opportunity as “Closed-won”, your finance team will need to be made aware of the newly-minted customer as soon as possible so that they can begin invoicing them quickly. Moreover, finance will need several details before they can begin the invoicing process—from the terms included in the contract to information on the customer.
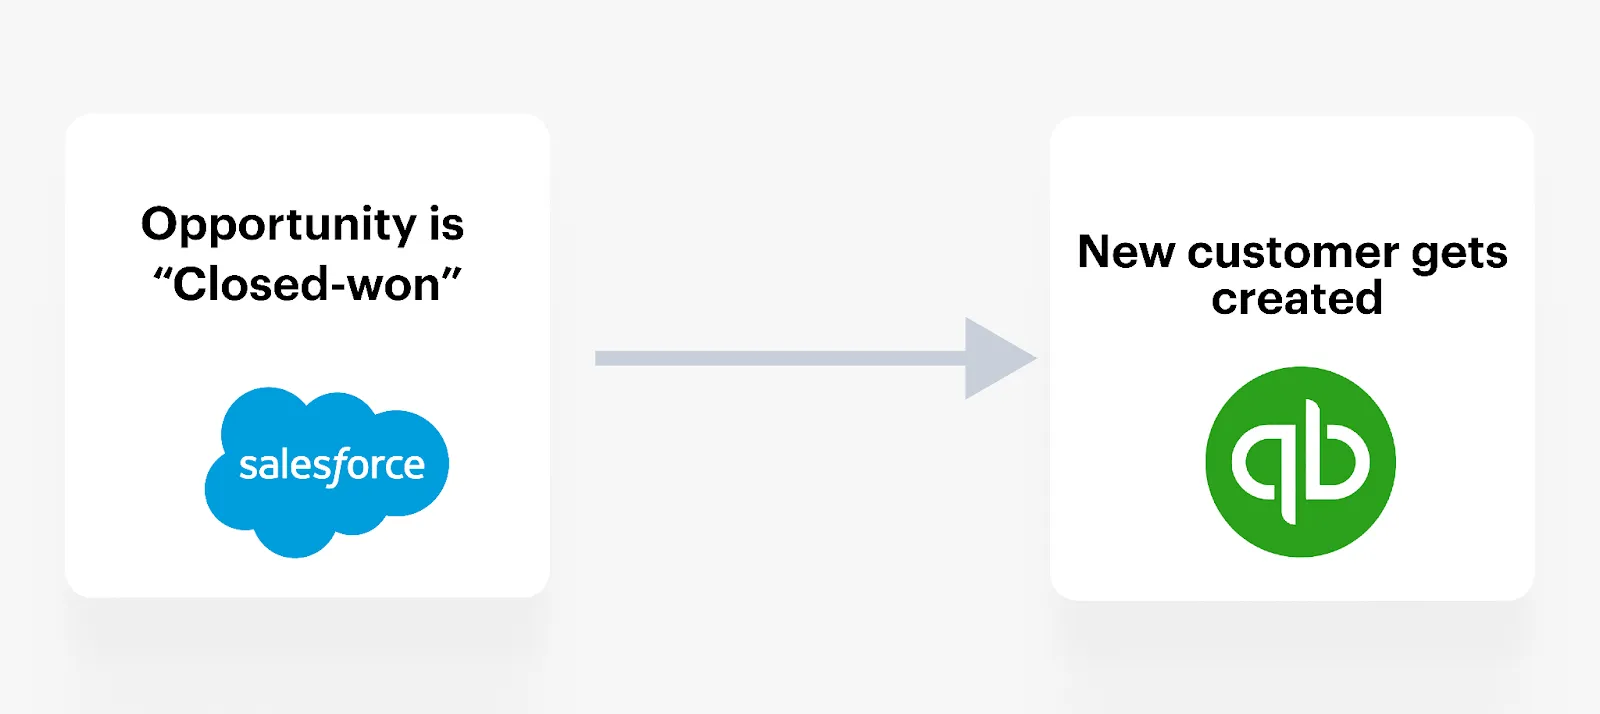
To enable your finance team to invoice customers on time and without issues, you can integrate QuickBooks Online with your CRM (e.g., Salesforce) and implement the following data flow: Once an opportunity is changed to “Closed-won” in your CRM, a new customer gets added in QuickBooks Online. Various fields should also be synced over, including the customer’s name, the product they purchased, the contract start date and end date, etc.
Related: Payroll integration use cases
Integrate QuickBooks with Slack to notify CSMs when invoices are overdue
Your customer success managers (CSMs) likely manage dozens of accounts, which can make it difficult for them to identify customers who are late to pay off their invoices.
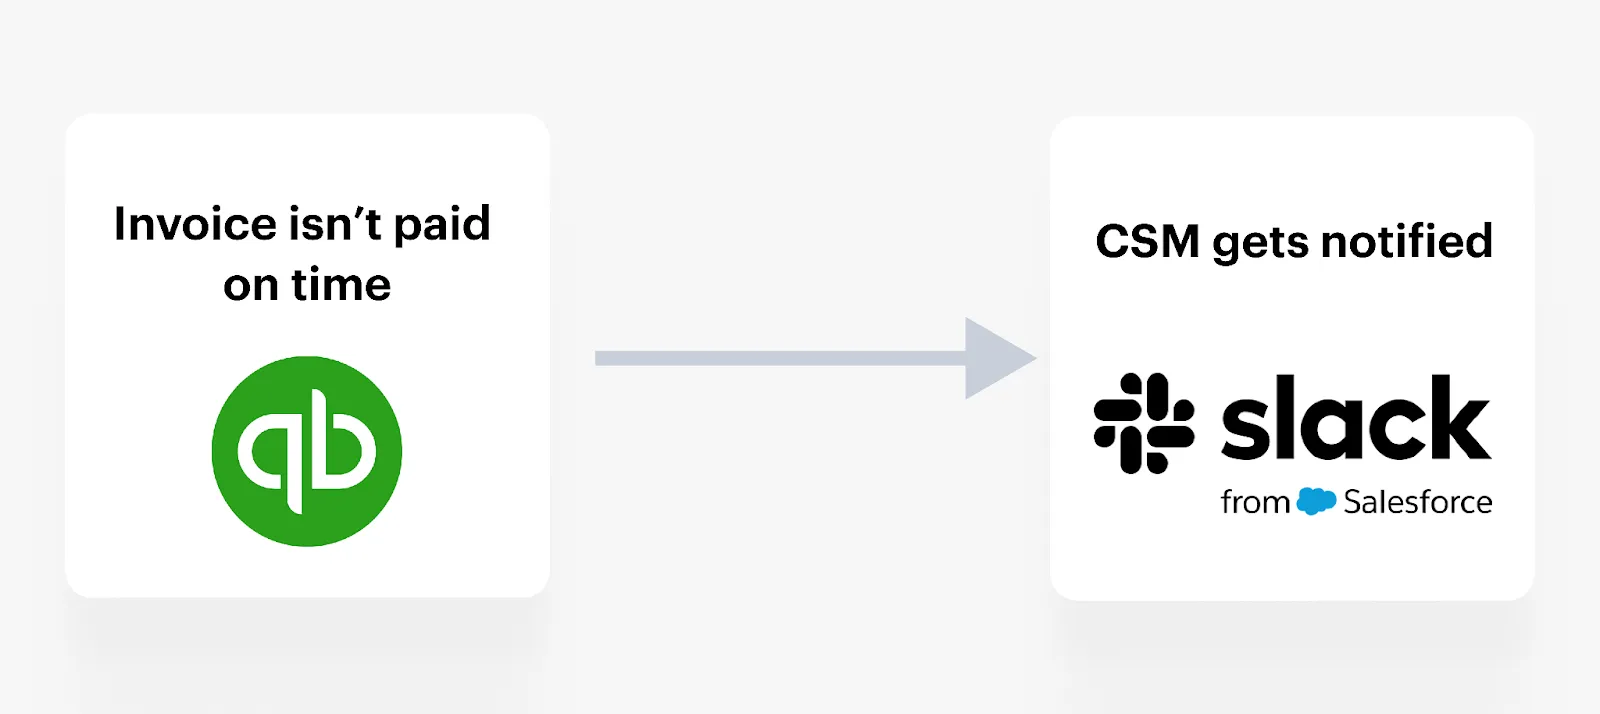
To help them identify these cases while preventing finance from having to get involved, you can connect QuickBooks Online with a business communications platform like Slack and implement the following sync: Once a customer is late in paying off an invoice, the assigned CSM receives a predefined Slack message with details on the invoice that the customer is late to pay.
The message can also include other details on the account (e.g., the customer’s health score) so that the CSM has additional context before deciding how they reach out.
Connect your fintech solution with QuickBooks Online to improve your UX
Say you offer a platform that helps customers send invoices and pay bills in various crypto currencies.
To help customers make either type of financial transaction in your platform quickly, you can integrate with customers’ instances of QuickBooks Online, sync certain fields with your product (e.g., vendors, invoice numbers, invoice dates, etc.), and, within these fields, include drop downs with pre-populated data (e.g., specific general ledger categories).
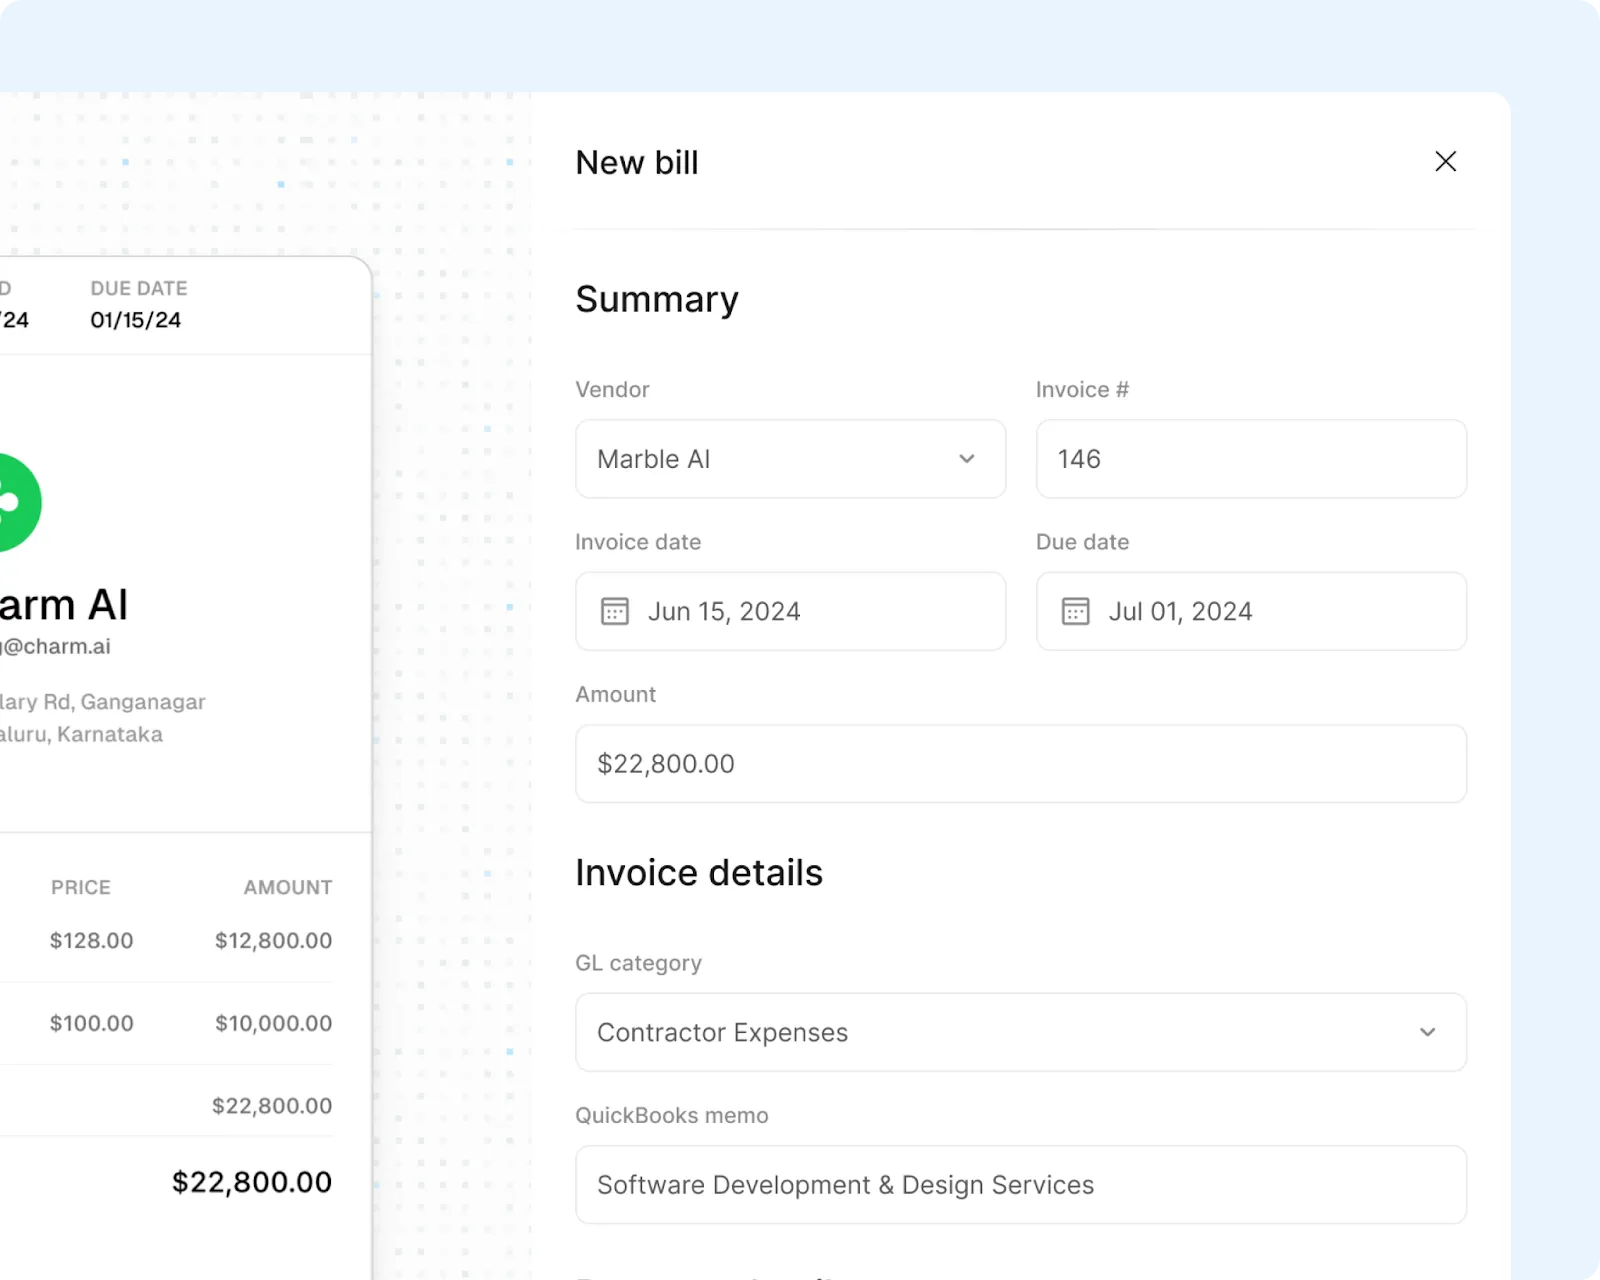
The sync can also work bidirectionally, meaning that any of the financial activities that happen in your product can also get reflected in the associated customer’s instance of QuickBooks Online.
Related: Best practices for integrating with Xero
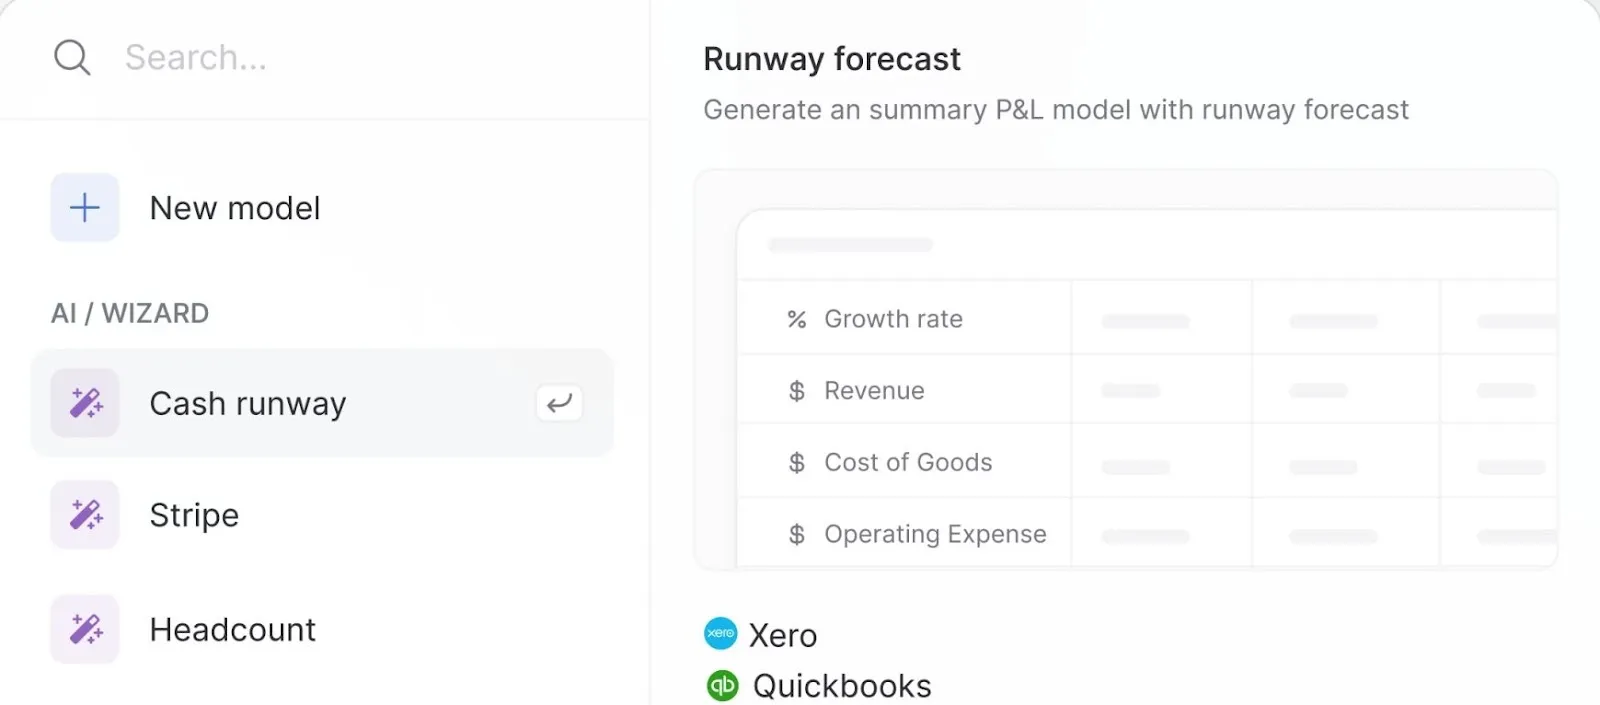
Sync with QuickBooks Online to gather the financial data needed to power your product’s AI features
Say you offer a financial planning tool that lets customers build visual reports in order to arrive at key decisions, such as determining how much budget to allocate to a certain initiative or how much headcount to open up next quarter.
To help customers build these reports in a matter of seconds, you can connect to their instance of QuickBooks Online and feed certain types of data from this system to your machine learning model (e.g., transactions within the general ledger).
From there, a user can request specific metrics from the AI feature within your tool, and it can calculate them via the data it’s ingested from that user's instance of QuickBooks Online.
Connect your HR platform with QuickBooks Online to sync payroll data
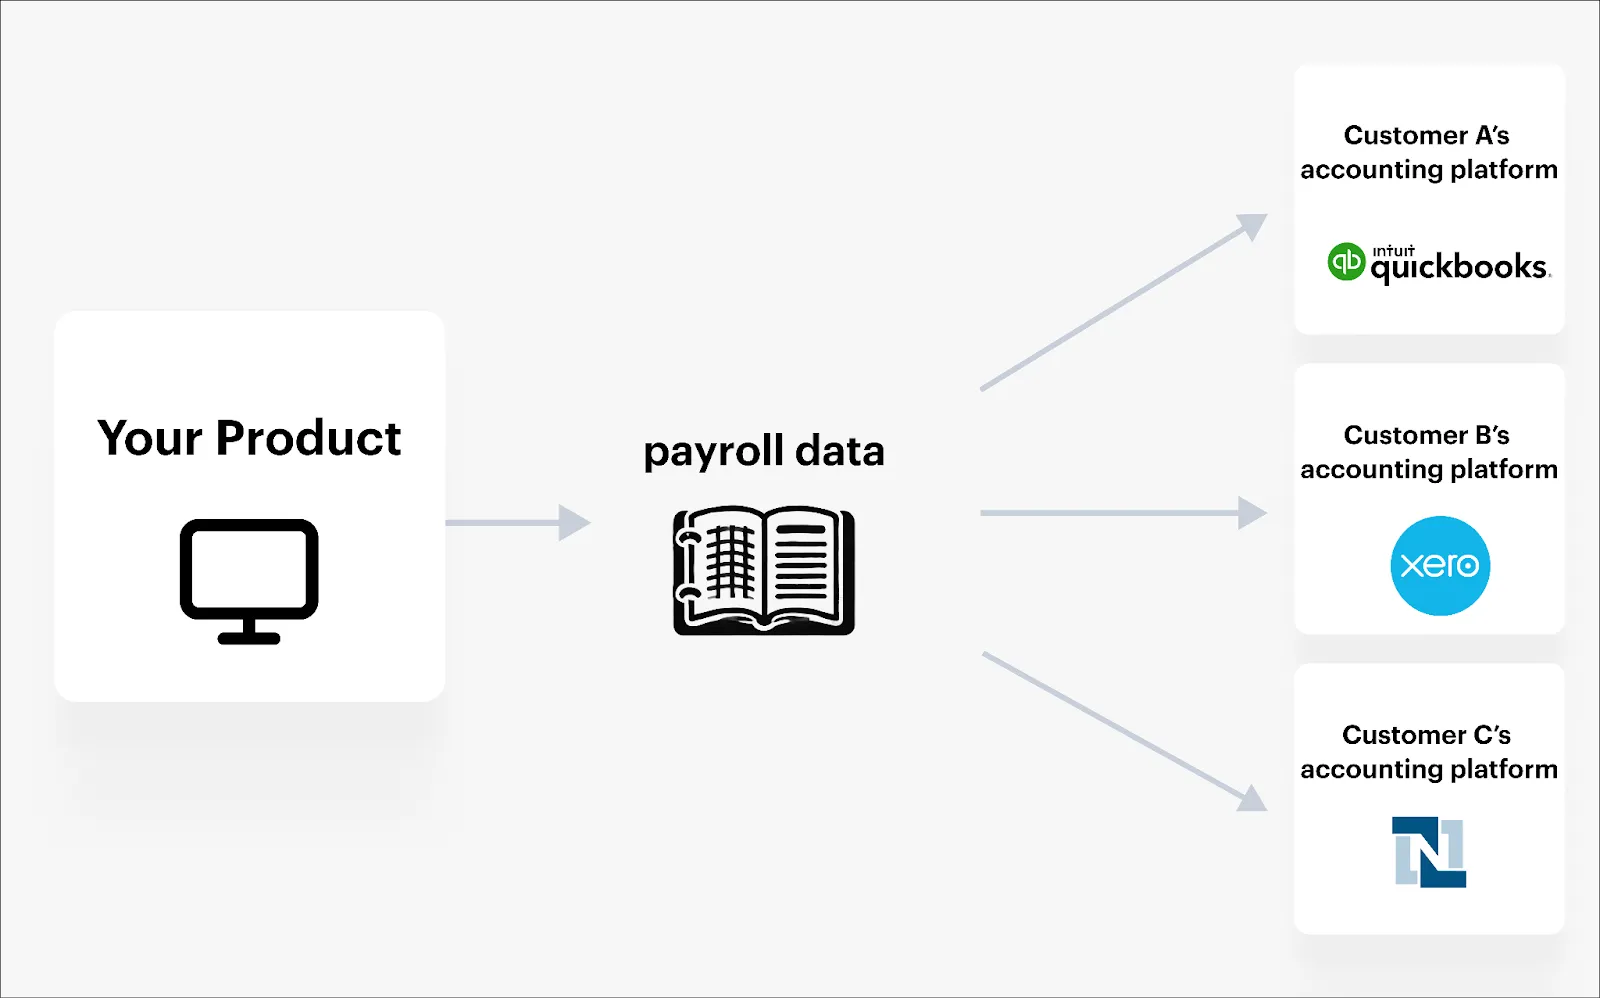
Let’s assume that you offer an HRIS solution that lets customers manage their payroll.
To help finance teams gather payroll data quickly and without issues—so that they can create accurate payroll journal entries on time—you can do the following: Integrate your product with customers’ instances of QuickBooks Online, map payroll fields between your product and each customer’s instance of QuickBooks, and then sync payroll data to each customer’s instance of QuickBooks on a daily cadence.
Related: A guide to API invoicing
Integrate QuickBooks Online and other accounting systems with your product via a single API
Merge lets you add more than a dozen accounting integrations to your product through its unified API. Moreover, it provides your customers with a quick and easy onboarding experience via Merge Link (a customizable UI component that you can embed into your product):
Merge also provides comprehensive Common Models and advanced features to sync custom data (e.g., Field Mapping), enabling you to sync all the financial data that’s relevant.
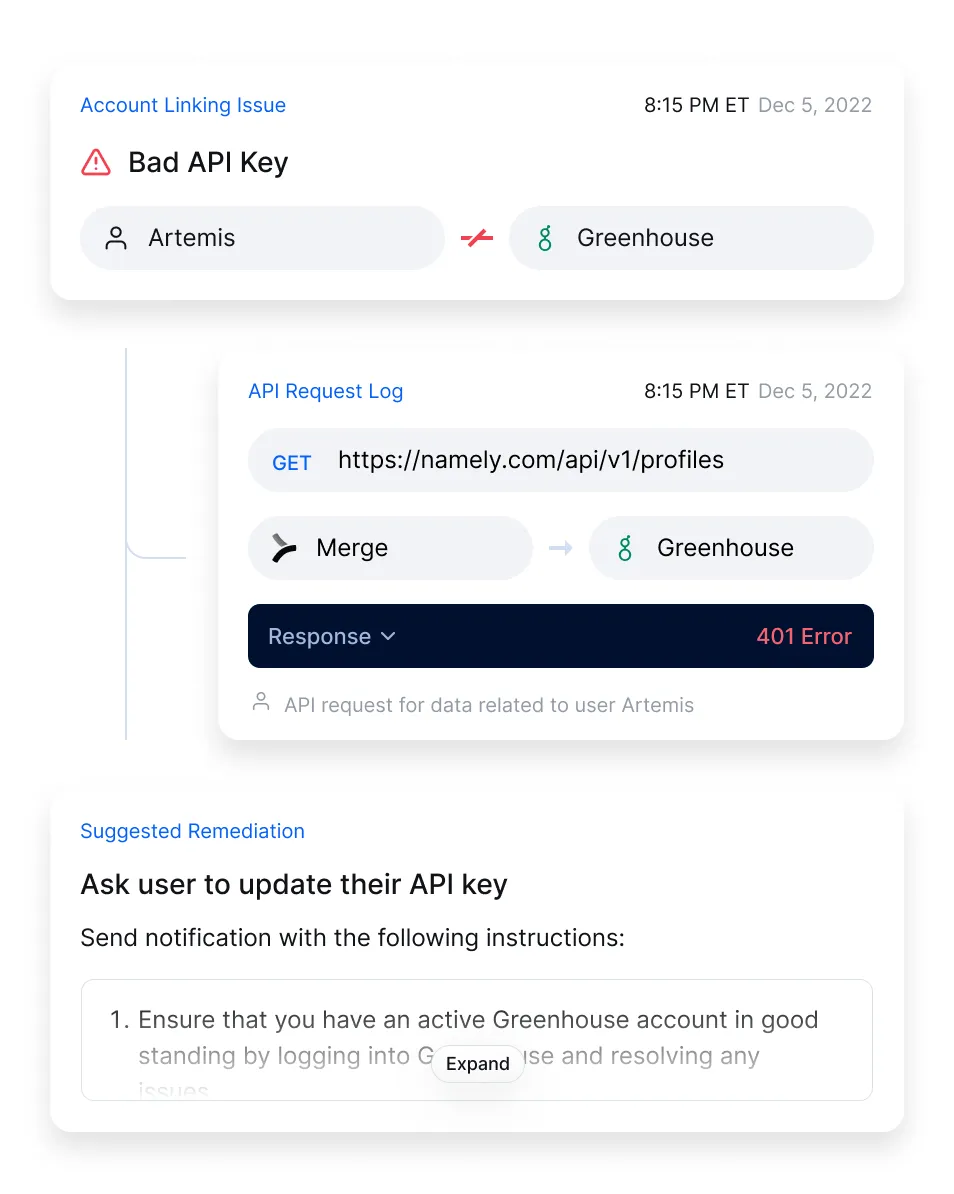
Finally, Merge provides integration observability features—from fully-searchable logs to automated issue detection functionality—to help your customer-facing teams identify, diagnose, and troubleshoot integration issues quickly and easily.
Learn more about using Merge to add accounting integrations to your product by scheduling a demo with one of our integration experts.
Quickbooks Online API FAQ
In case you have any more questions on the QuickBooks Online API, we’ve addressed several more below.
Is Quickbooks Online’s SDK free?
Yes, it’s free. Moreover, QuickBooks Online’s SDK supports several languages, including .NET, Ruby, Java, and Python.
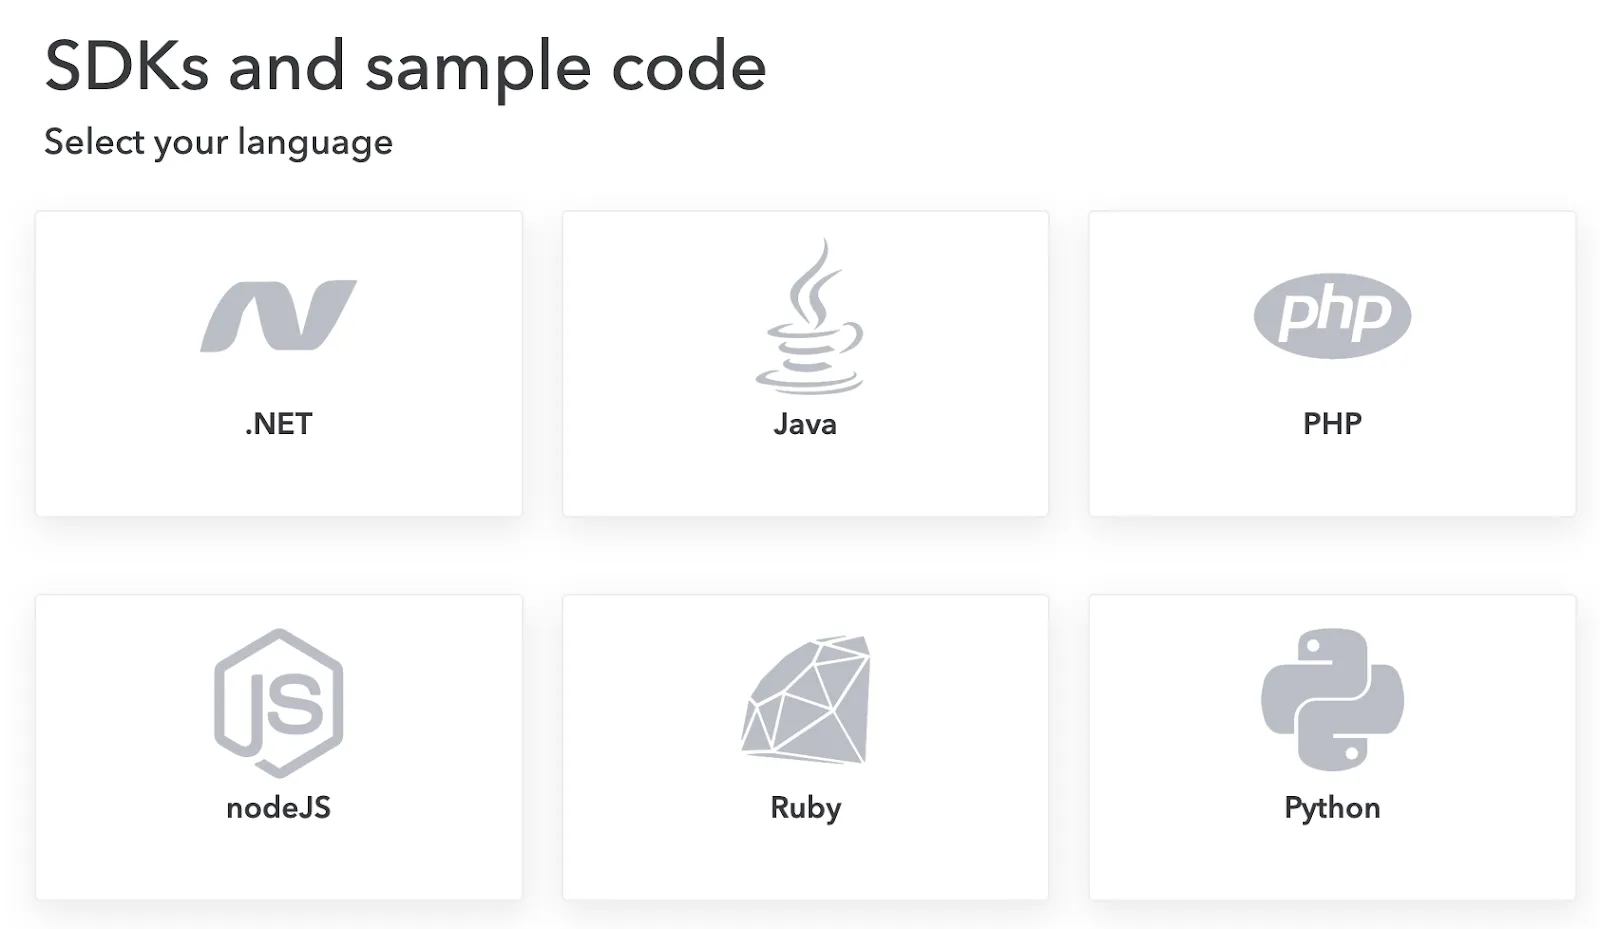
Learn more about QuickBooks Online’s SDKs.
How do you get the QuickBooks Online API key?
You’ll need to take the following steps:
1. Sign into your QuickBooks Developer Account or create a new account if you don’t have one already.
2. From the Intuitive Developer homepage, click Dashboard, then click “Create an app,” and then select the specific app you want to develop for.
3. Navigate to “Development Settings” and then select “Keys & credentials.” From there, your “Client ID” and “Client Secret” will be generated.
You can learn more about each of these steps and see screenshots of each step here.
What are some common QuickBooks Online API endpoints?
While there are many you can point to, here are a few worth calling out:
- Read a customer: <code class="blog_inline-code">GET /v3/company/<realmID>/customer/<customerId></code>
- Create an invoice: <code class="blog_inline-code">POST /v3/company/<realmID>/invoice</code>
- Query a bill: <code class="blog_inline-code">GET /v3/company/<realmID>/query?query=<selectStatement></code>
- Generate a purchase order: <code class="blog_inline-code">POST /v3/company/<realmID>/purchaseorder</code>
- Query a balance sheet report: <code class="blog_inline-code">GET /v3/company/<realmID>/reports/BalanceSheet?<name>=<value>[&...]</code>
What are Quickbooks Online’s API rate limits
They vary slightly, depending on whether you’re using their sandbox or production environment.
Both environments allow you to make 500 requests per minute, per realm ID. However, the sandbox environment has a limit of 40 emails/day per realm, while the production environment caps concurrent requests to 10 per realm ID and app.
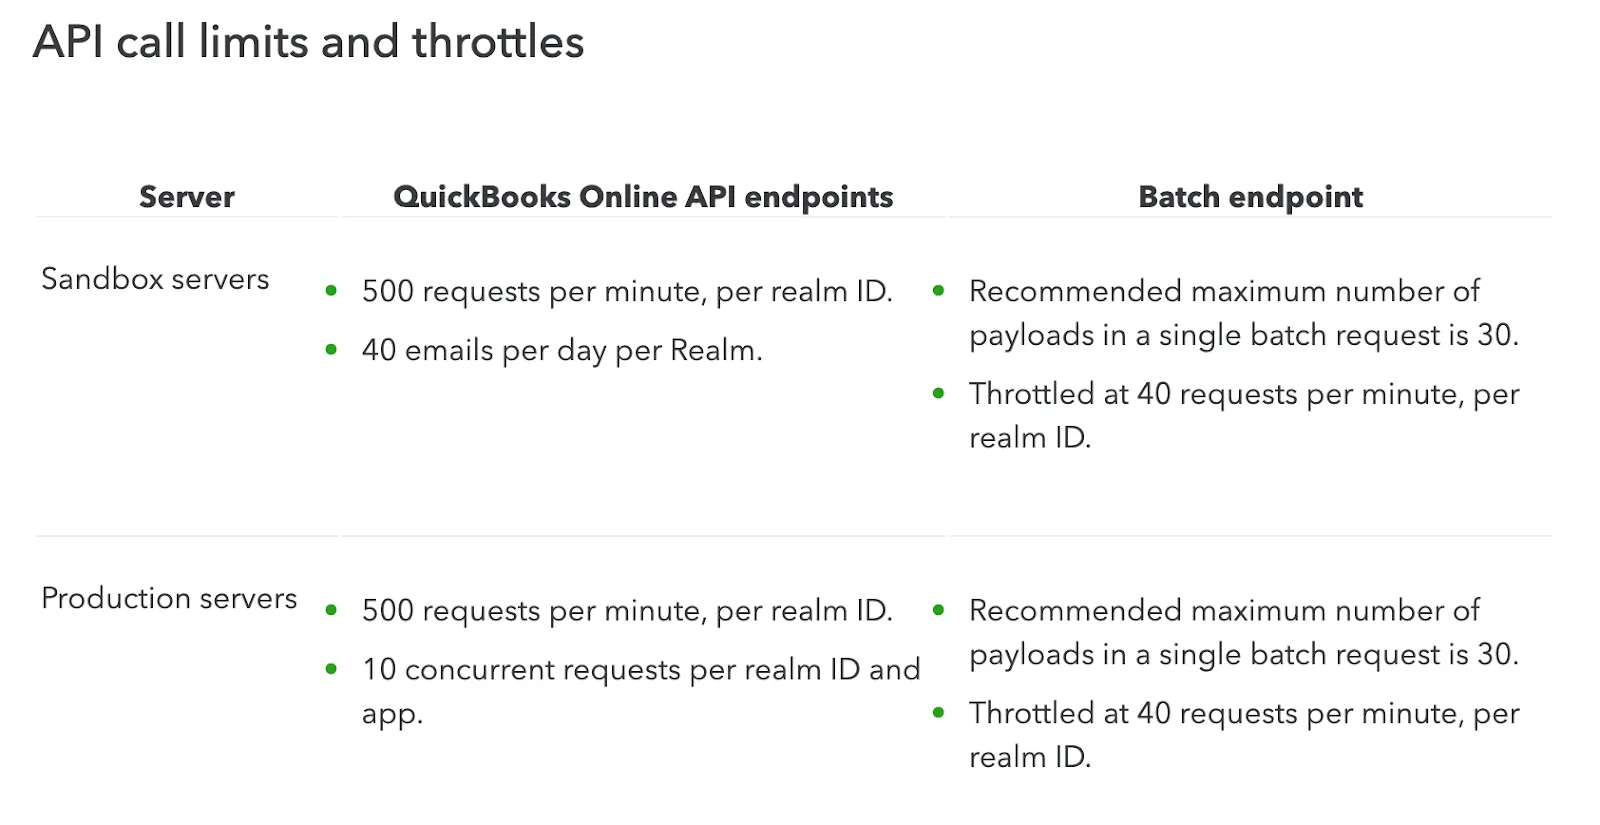
Learn more about QuickBooks Online’s rate limits.


.png)
.png)
.jpg)

