
Table of contents

How to Use the Freshdesk API with Python and Webhooks


Freshdesk is cloud-based customer support software that features a ticketing system, automated workflows, a knowledge base, and self-service portals. It also includes analytics and reporting tools to track customer satisfaction and improve customer service. Freshdesk is designed for businesses of all sizes, but it's particularly well suited for small- and medium-sized businesses looking for an affordable and easy-to-use customer service platform.
One of the main reasons you might have to integrate with Freshdesk is to improve workflows and streamline communication by, for example, automating support tasks. It could also be to give the business better insight into customers by analyzing customer support data or combining it with data from other sources.
This article shows you how to use the Freshdesk API and Python to retrieve and generate tickets on Freshdesk. You'll also learn how to use a webhook with Freshdesk to get updates of changes to tickets. You can find the code for this tutorial in this GitHub repository.
{{this-blog-only-cta}}
Prerequisites
To follow along with this tutorial, you need the following installed on your machine:
- Python 3.11.1
- The Python package installer pip
Once you have these installed, go to your terminal or shell and install the requests and json libraries using these commands:
Note: You might have already installed this library with Python. To avoid any issues, though, make sure it's installed before proceeding to the next step.
Related: A guide to using webhooks for internal and customer-facing integrations
Setting Up Your Freshdesk Account
You'll also need to set up your Freshdesk account for this tutorial.
Create a Freshdesk Account
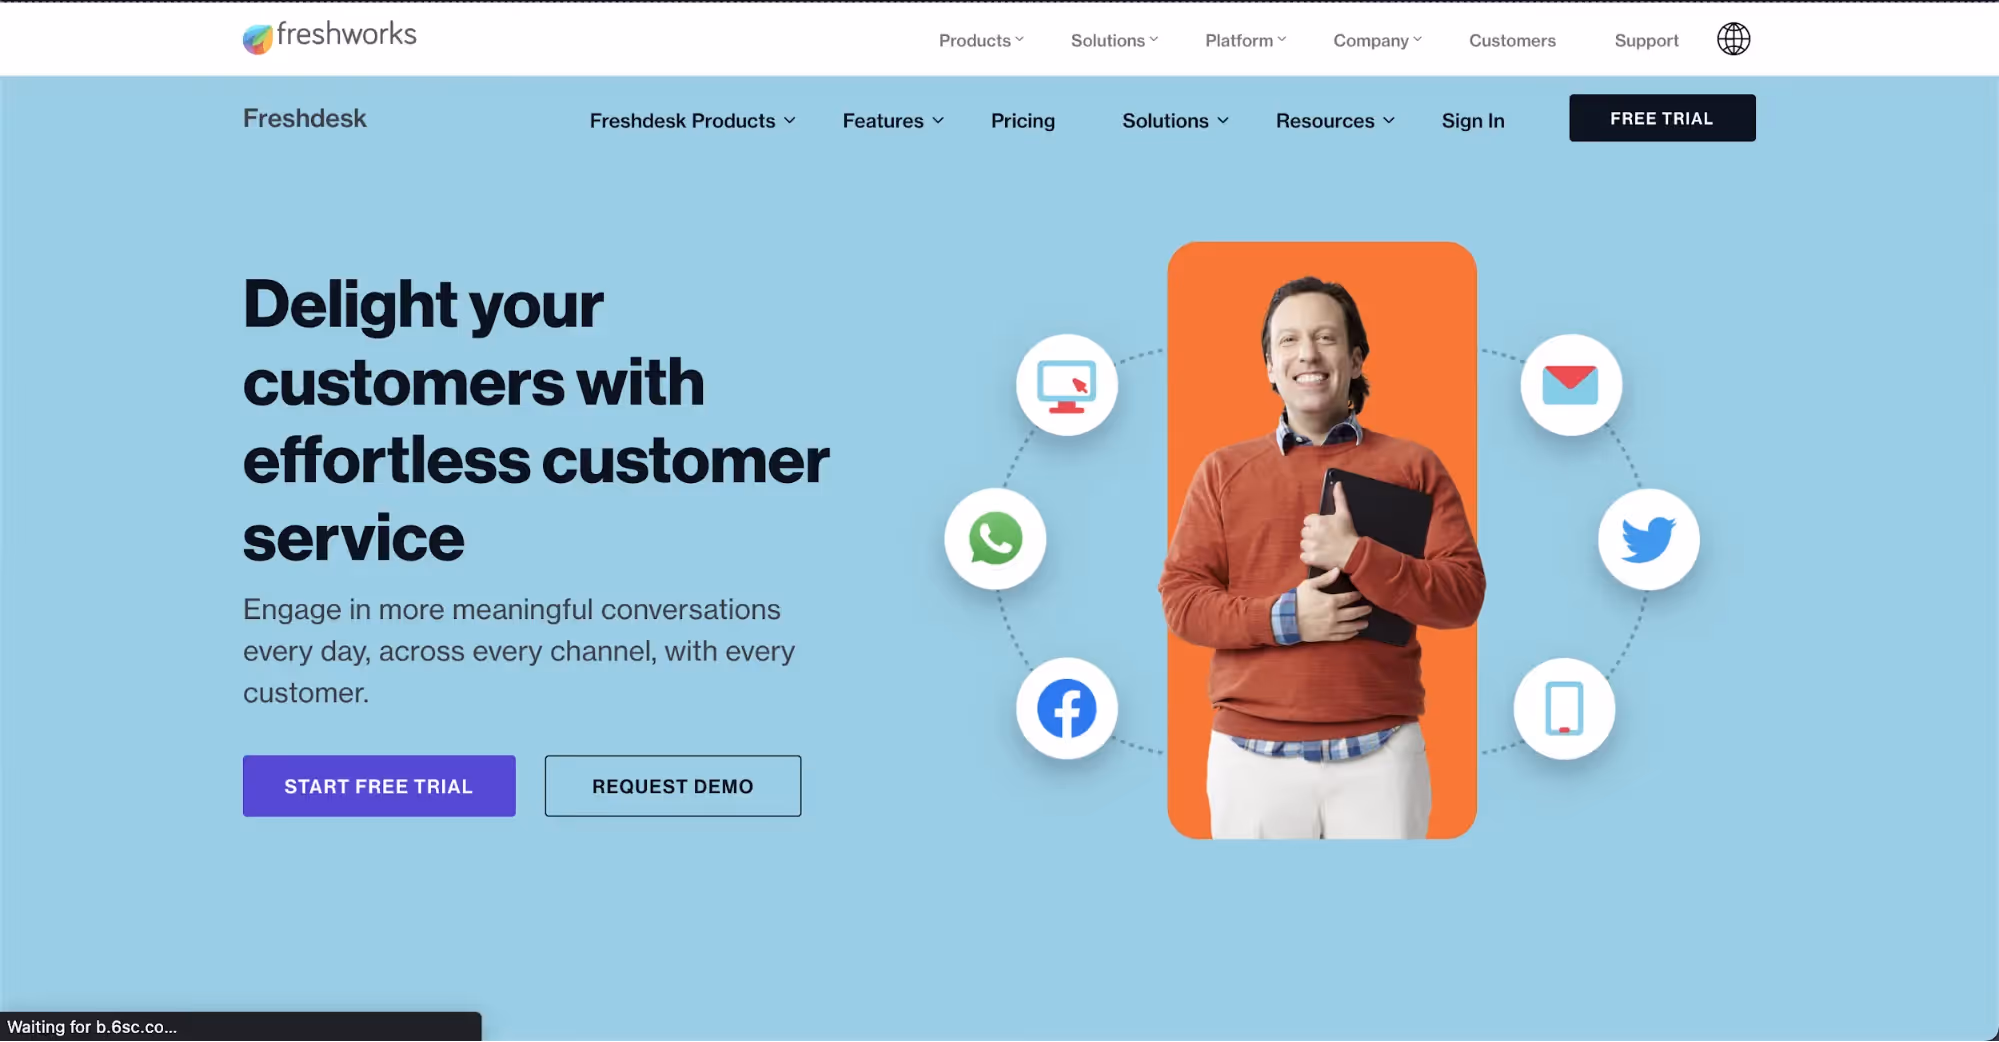
If you don't have a Freshdesk account, you can sign up for a free trial on the Freshdesk website.
You'll need to complete a registration form and activate your account through a verification email, and then log in to Freshdesk using your email address and password.
Related: REST APIs versus webhooks
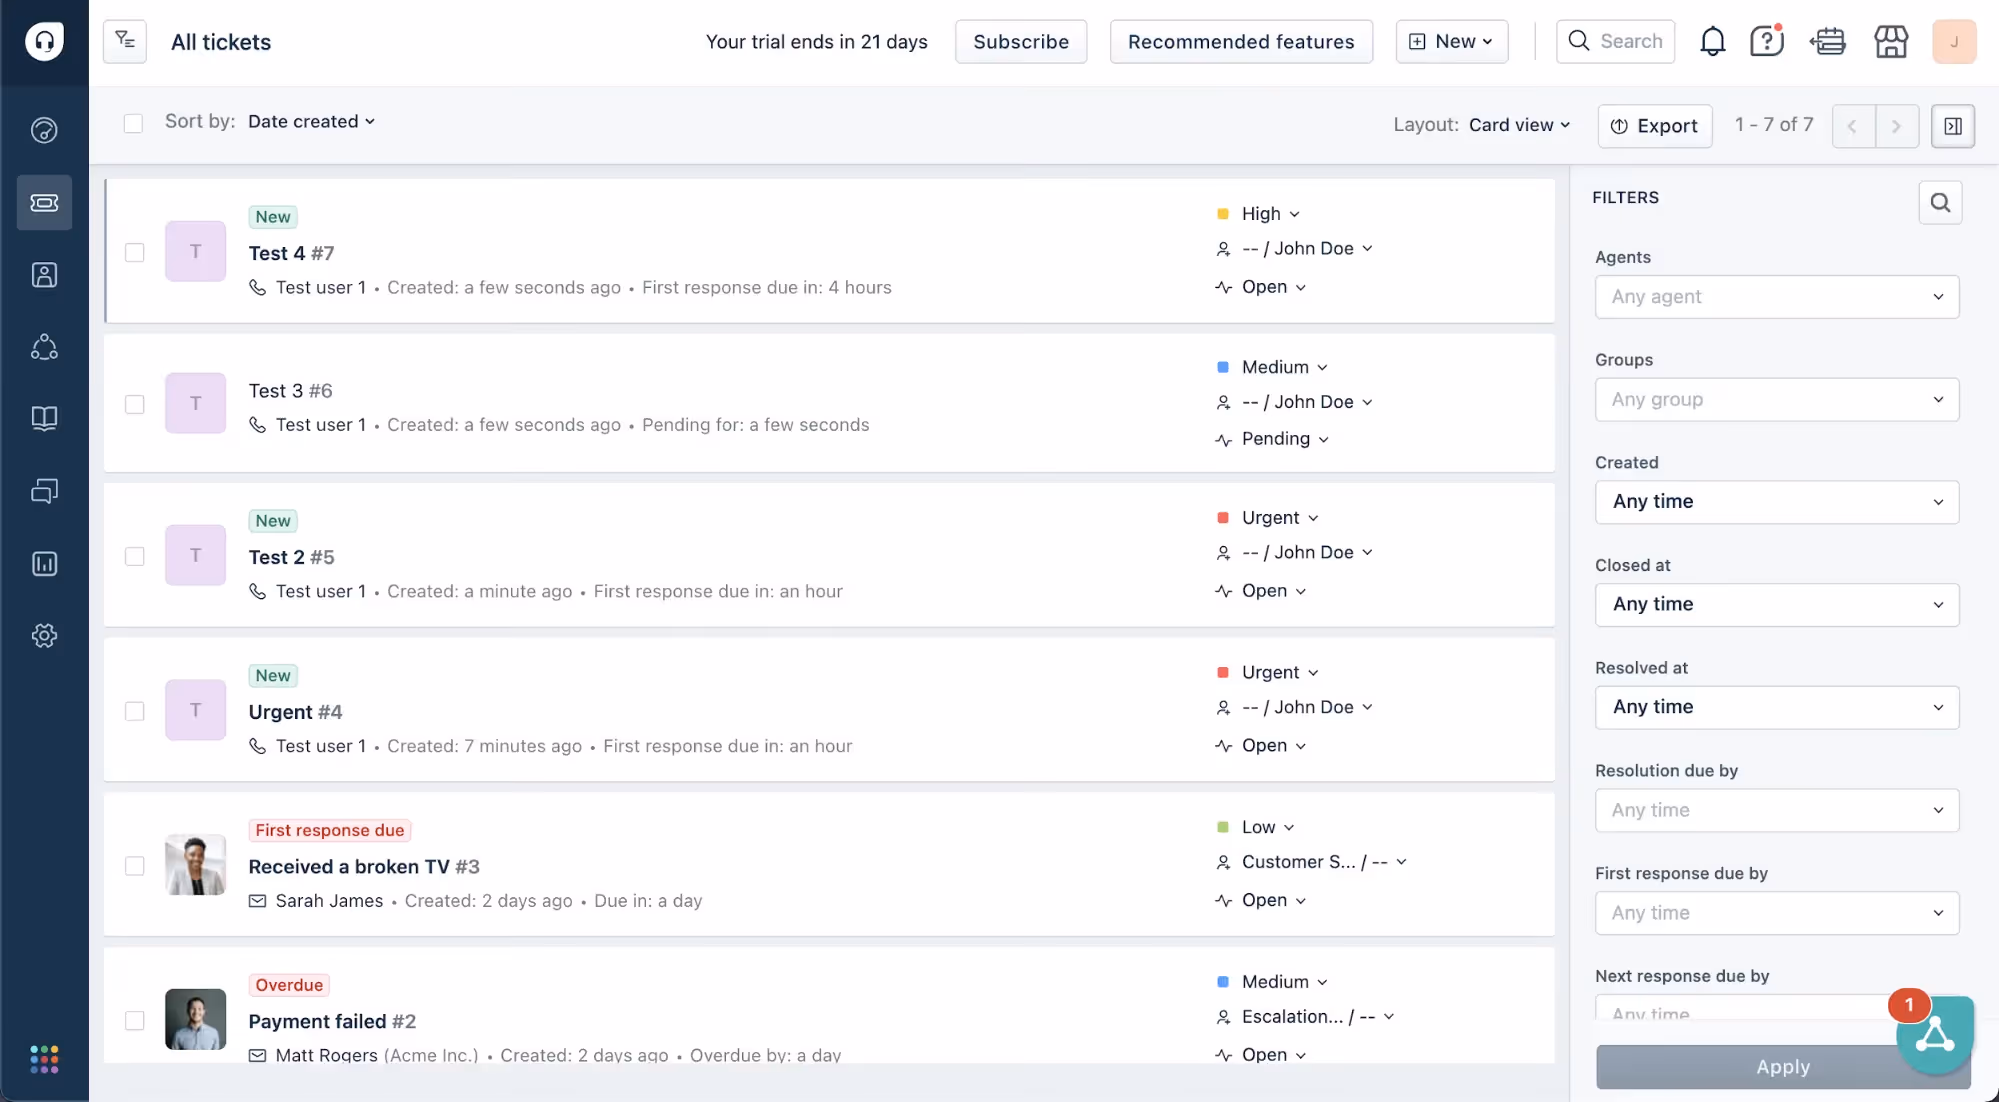
Create Tickets
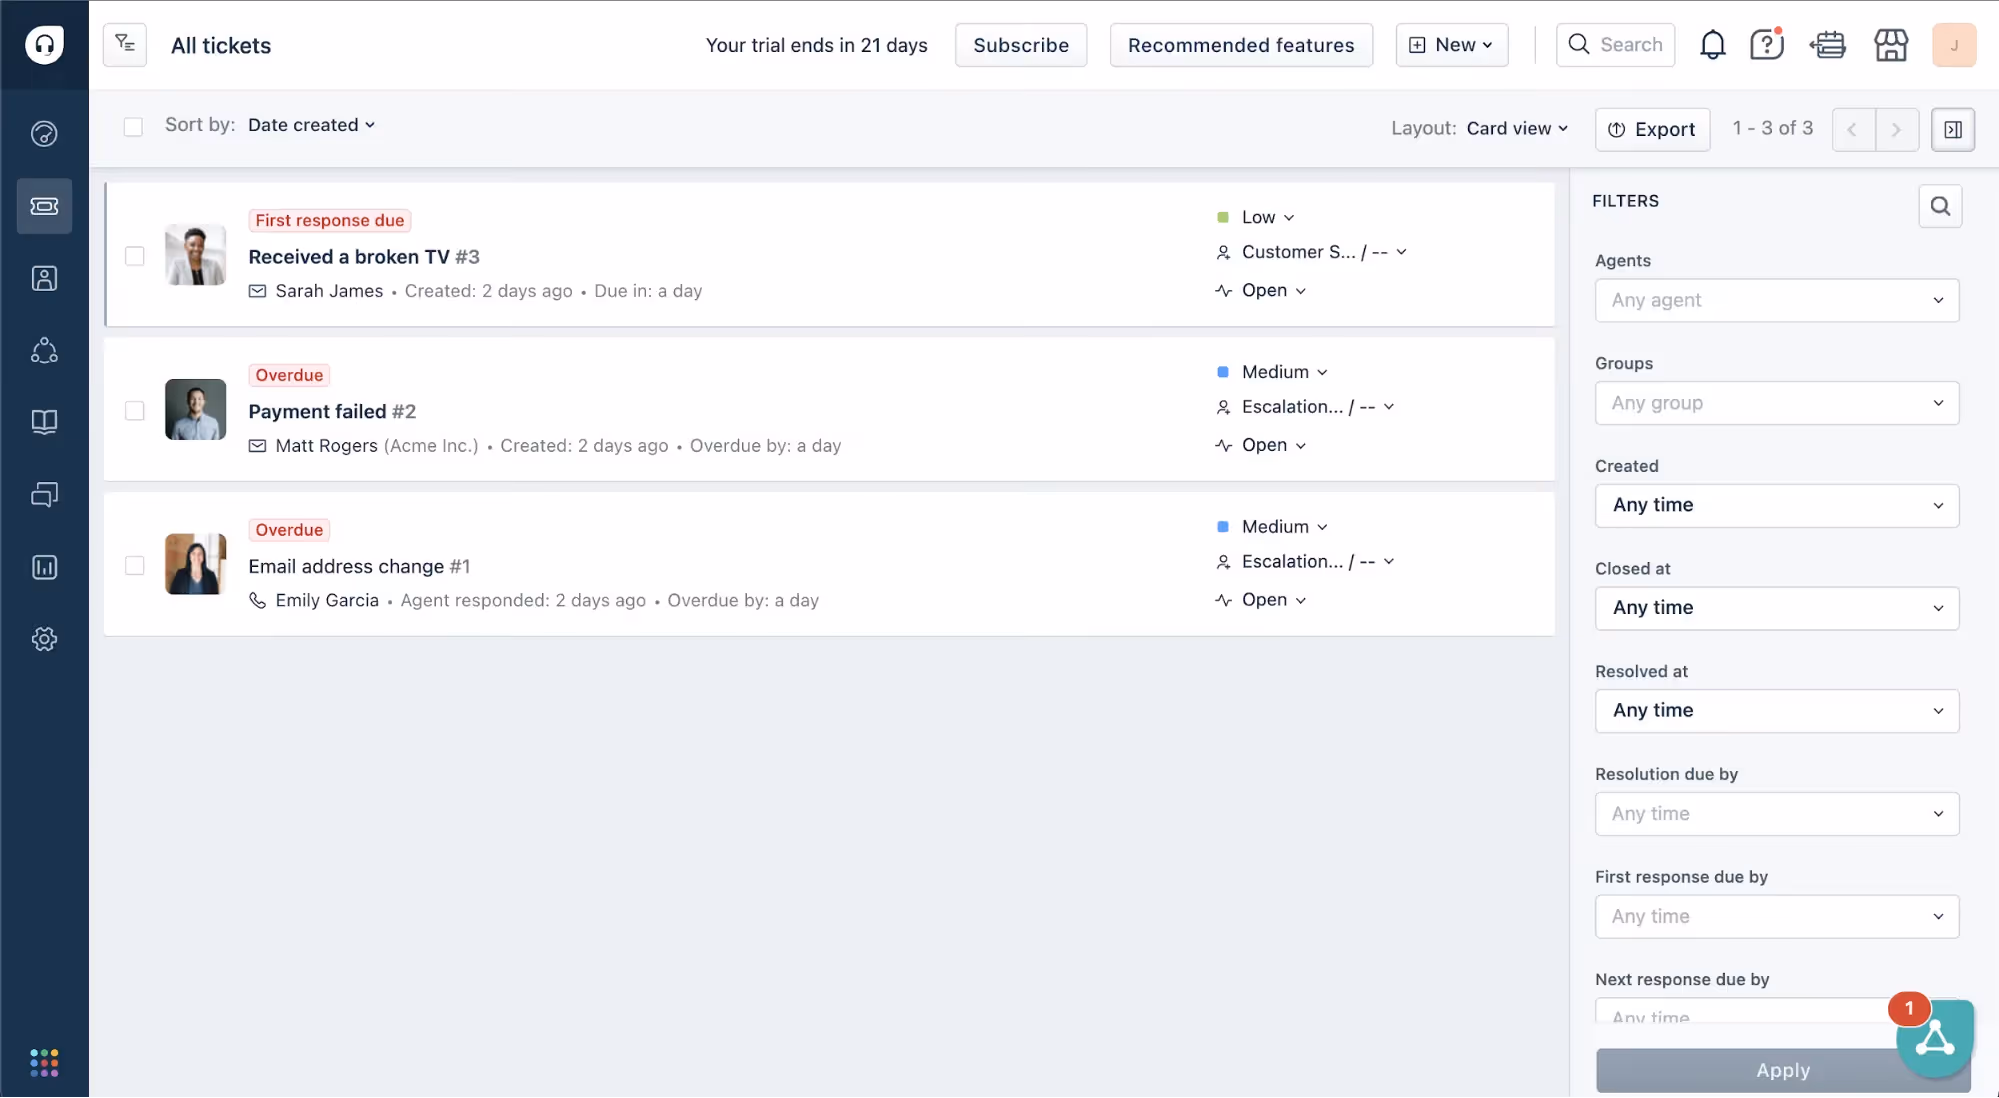
Next, you need to create some tickets that you'll be using later in this tutorial. If you don't know the Freshdesk platform well, use this exercise to familiarize yourself with its features.
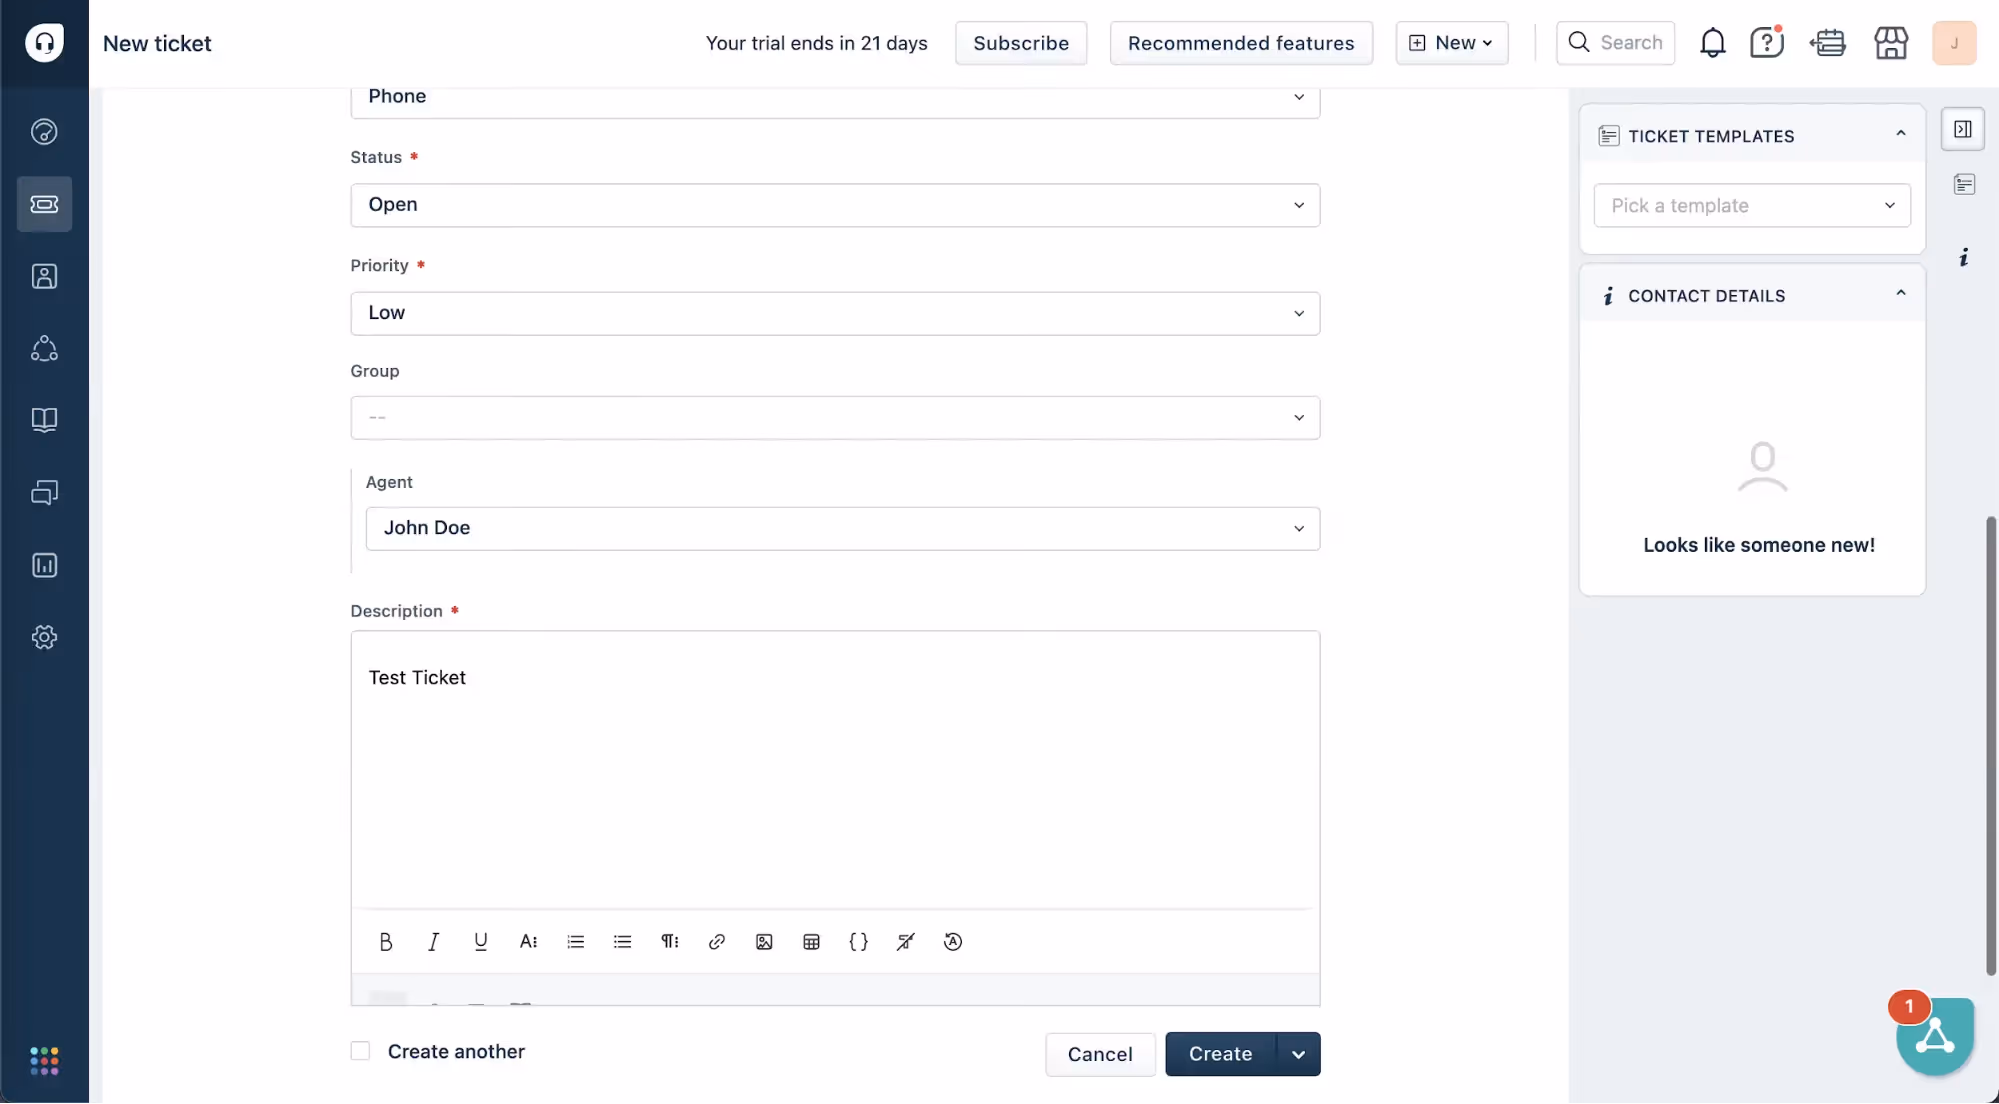
To create a new ticket, click on New then New Ticket in the top right corner of the page. Fill out the form with the necessary information, including the subject, description, and priority level. Click on Create to submit the ticket.
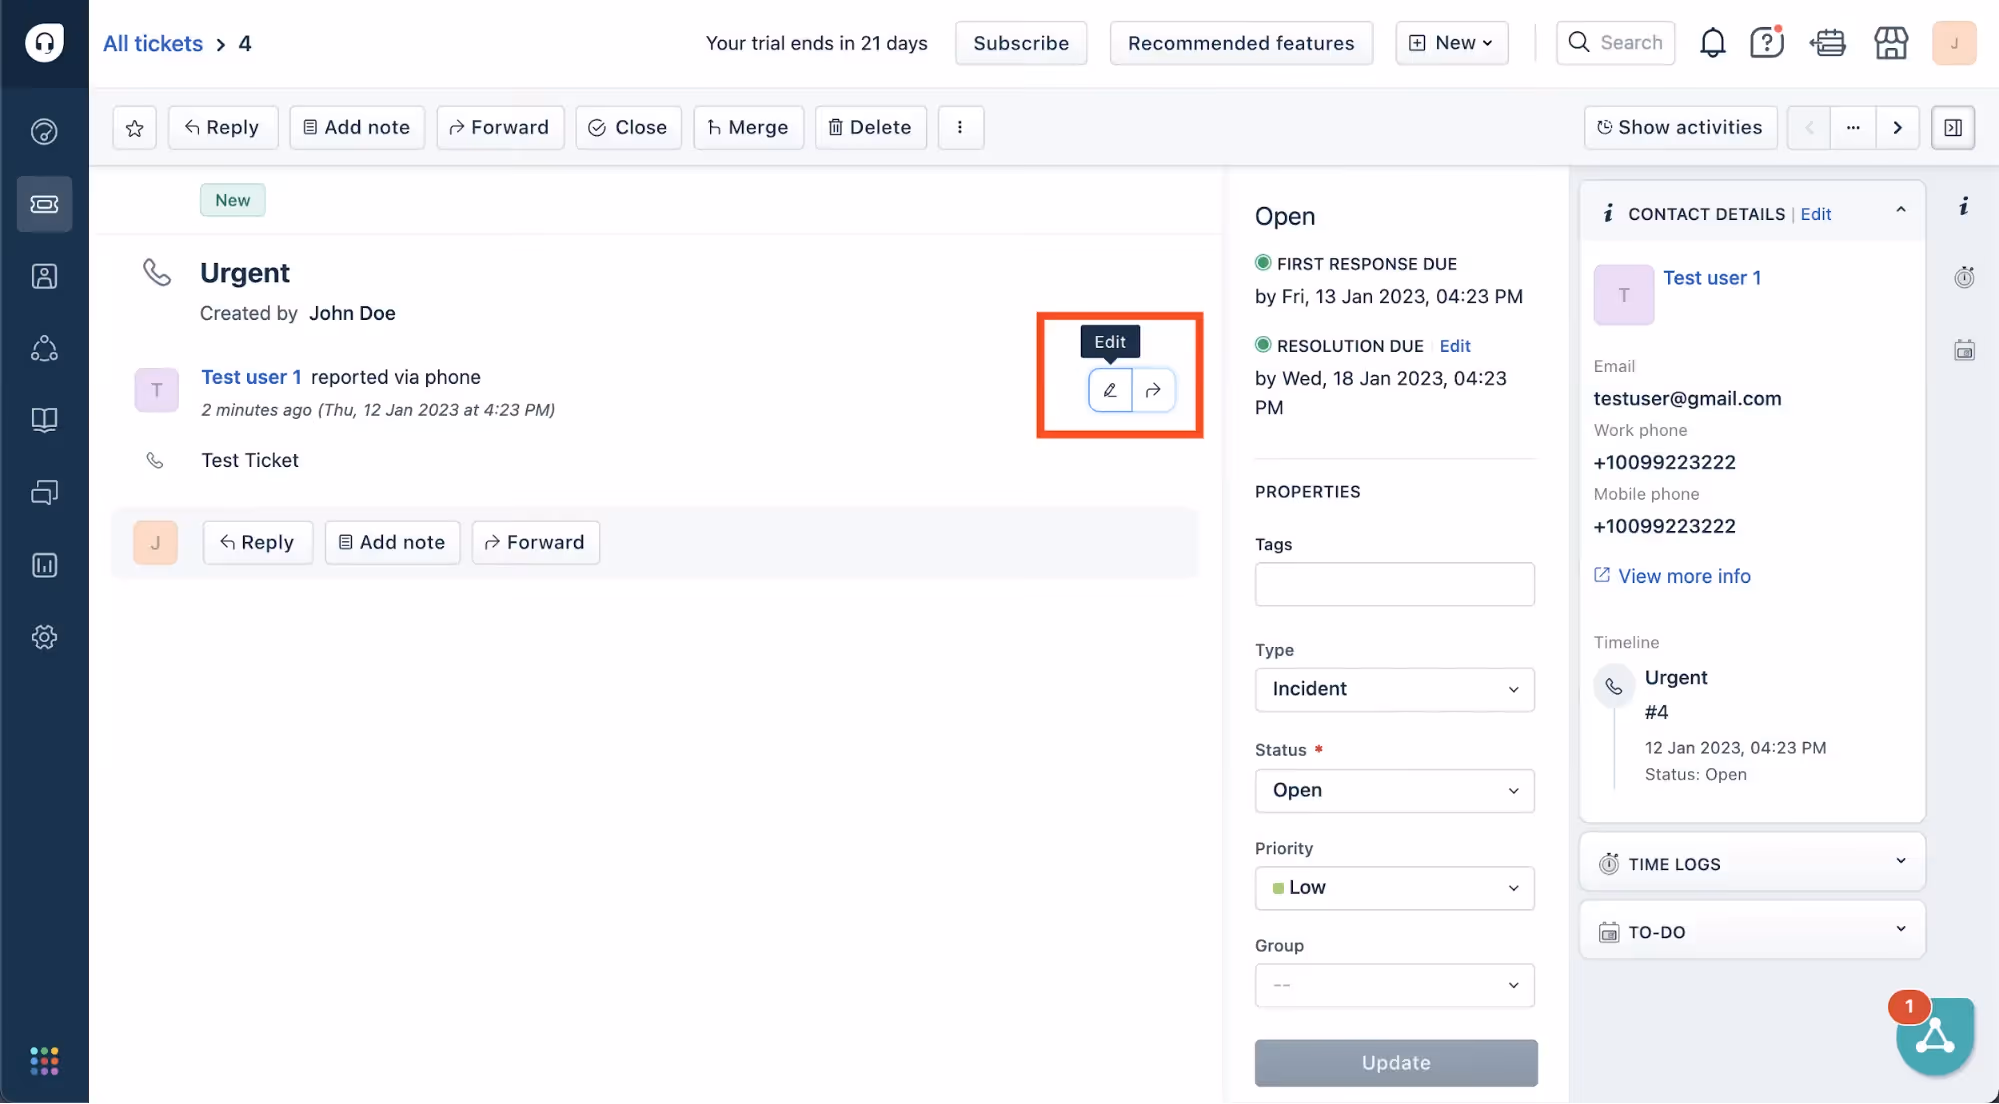
To edit a ticket, click on the ticket in the list of tickets in the Freshdesk dashboard, then click on the Edit pen. Make whatever changes you want to in the form and click on Save.
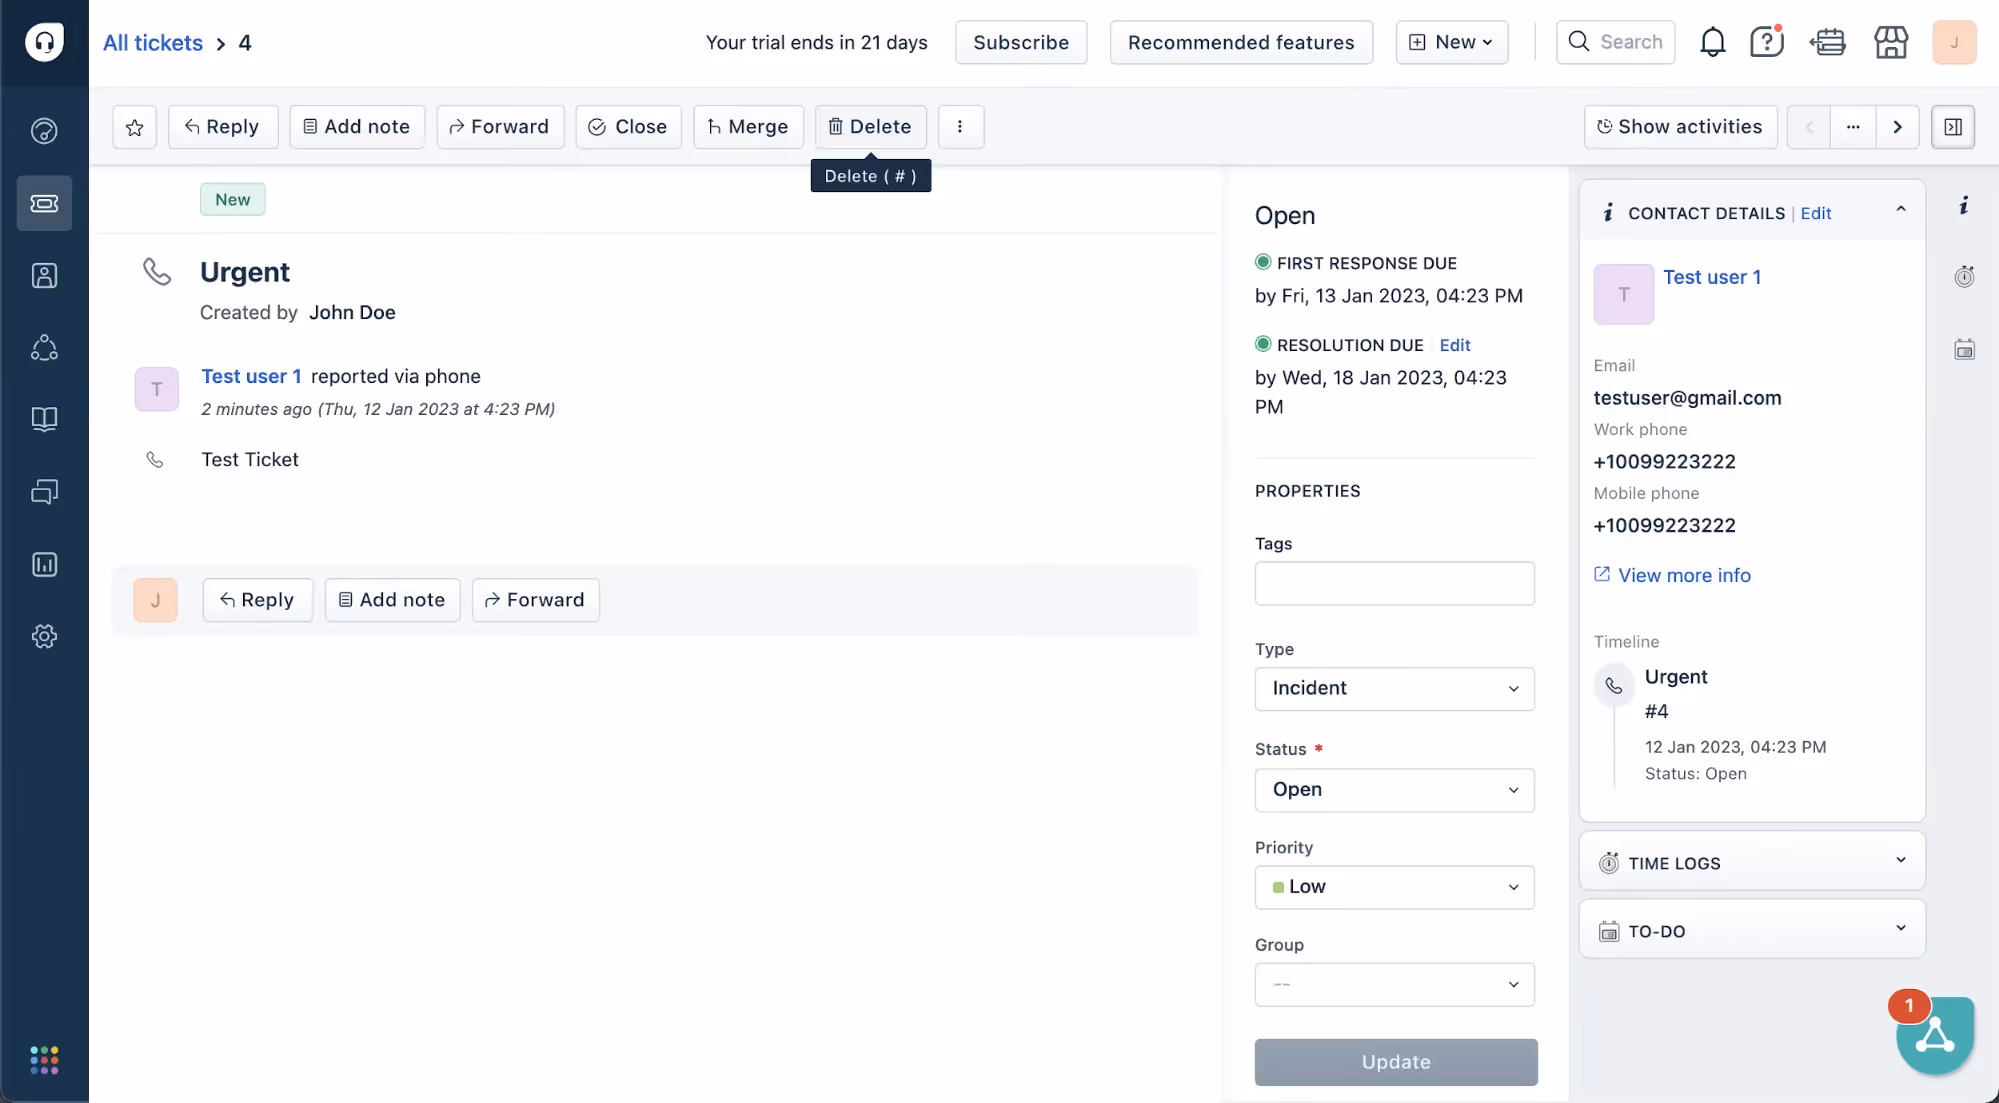
To delete a ticket, click on the ticket in the list of tickets in the Freshdesk dashboard. Click on Delete to remove the ticket permanently.
You'll need four to five tickets for later in this tutorial. Create them now with whatever details you wish to put.
Related: When to use polling over webhooks
Get Your Freshdesk API Key
The last thing you need from Freshdesk is your API key, which you'll use for authenticating requests made to your Freshdesk account.
Click on your profile image on the top right corner, then navigate to Profile Settings. Click on View API Key to view your key.
Copy and keep this key somewhere safe because you'll need it in a later section.

Fetching Freshdesk Tickets Using the requests.get Method
The first thing you'll be doing in this tutorial is to fetch the tickets you just created using Python's <code class="blog_inline-code">request.get</code> method.
You might want to use this method to fetch ticket data programmatically to process and analyze your ticket data for analytics purposes or if you want to integrate data from Freshdesk tickets with other applications. It gives you greater control over your ticket management processes and allows you to use data more effectively.
Create a file named get_freshdesk_ticket.py and add the following code to it:
In the code above, you start by importing the needed libraries, namely <code class="blog_inline-code">requests</code>, which lets you make the HTTP call, and <code class="blog_inline-code">json</code>, for transforming your response from text to json format.
You then specify the credentials and URL related to your Freshdesk account. You need to replace <code class="blog_inline-code">yourcompany</code> with the company name you used when you signed up for Freshdesk. You can get it from the Freshdesk URL on your browser. Replace <code class="blog_inline-code">your_api_key</code> with the key you got from the previous step and <code class="blog_inline-code">your_freshdesk_password</code> with the password of your Freshdesk account.
Next, you call the Freshdesk endpoint using the <code class="blog_inline-code">request.get()</code> method, and finally, if the result is successful, you display the tickets by using a <code class="blog_inline-code">for</code> loop and <code class="blog_inline-code">print()</code>.
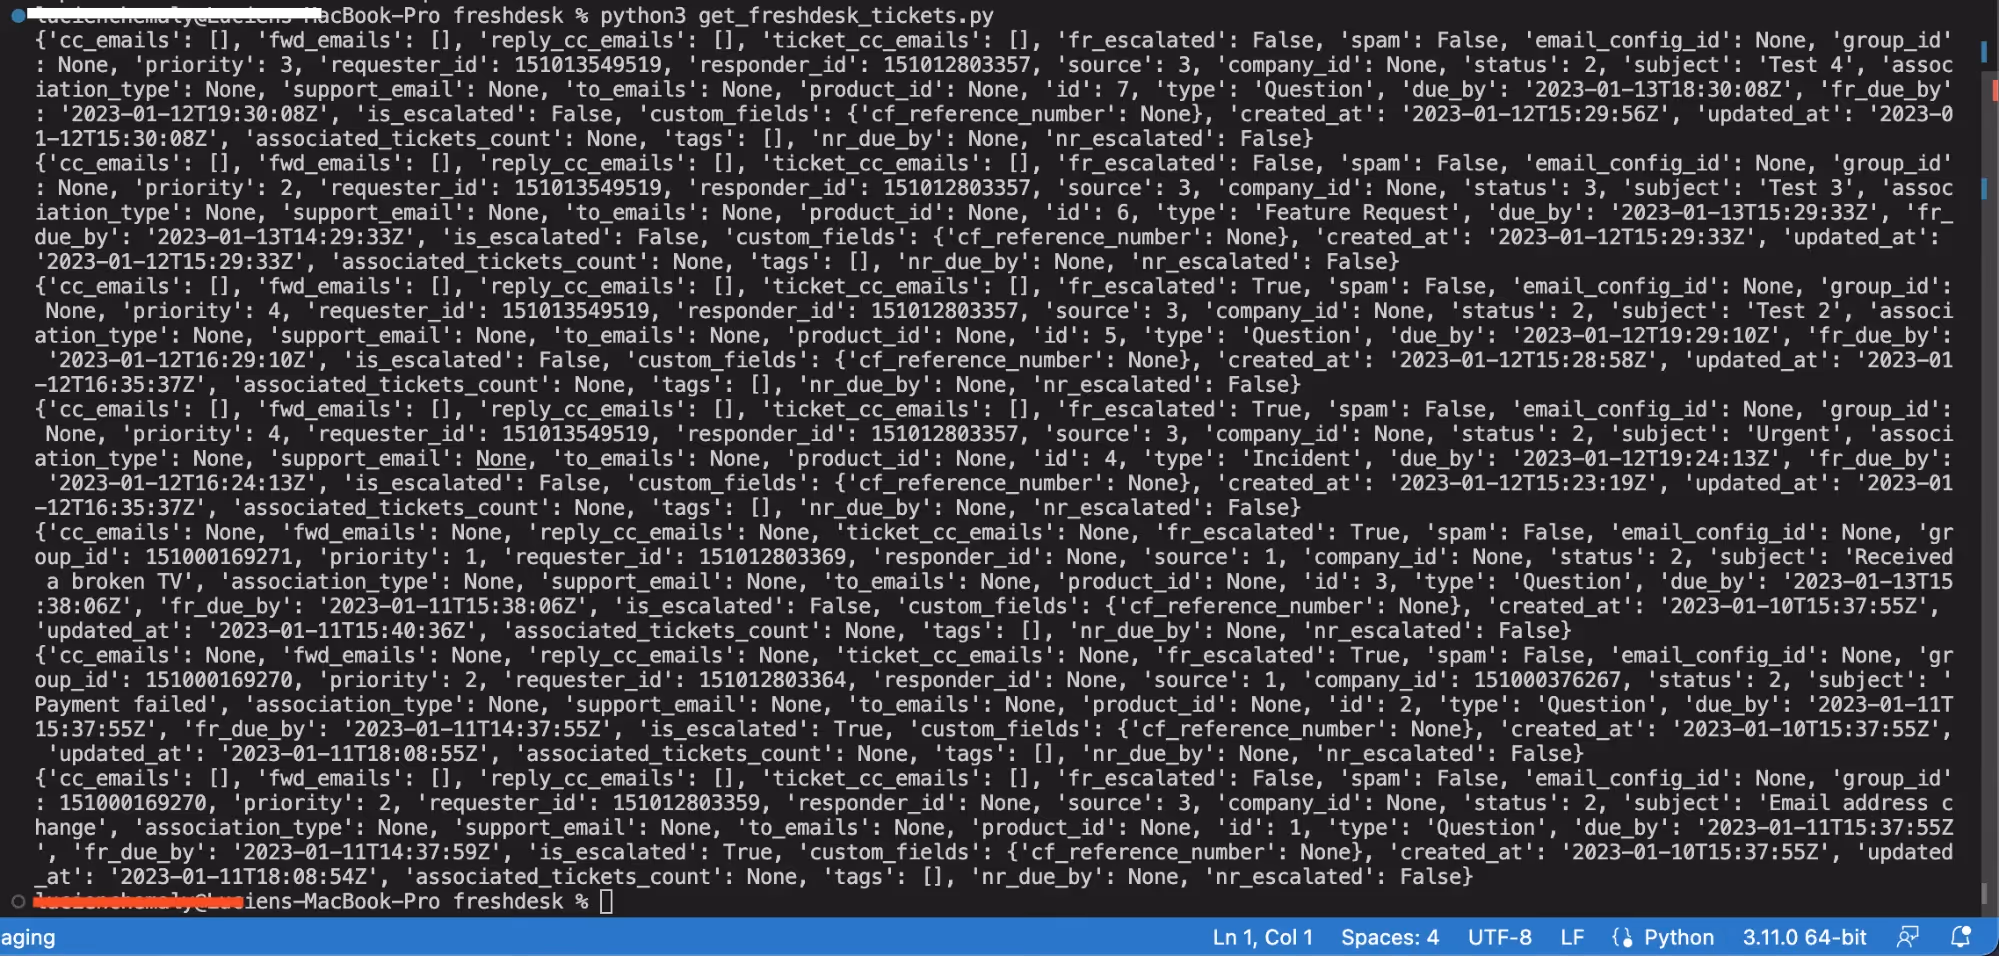
Run the code from your terminal or command line using the following command:
You should see the tickets you created on Freshdesk as the output:
Creating a Freshdesk Ticket Using the requests.post Method
Next, you'll be creating a ticket using the <code class="blog_inline-code">requests.post</code> method.
You might want to create tickets programmatically if you want to automate the process of creating tickets in real time based on events or to integrate with other systems. It lets you manage the ticket-creation process efficiently.
Create a file named create_freshdesk_ticket.py and add the following code to it:
This code follows a similar structure to that of the previous example. You again start by importing the needed libraries, namely <code class="blog_inline-code">requests</code>, which lets you make the HTTP call, and <code class="blog_inline-code">json</code>, for transforming your data from the <code class="blog_inline-code">dict</code> object type to json format.
You also again specify the credentials and the URL that are related to your Freshdesk account. Remember to replace <code class="blog_inline-code">yourcompany</code>, <code class="blog_inline-code">your_api_key</code>, and <code class="blog_inline-code">your_freshdesk_password</code> with the details from your Freshdesk account.
But because you're creating a ticket, you now define the header type, which is json, and the ticket details. You then call the Freshdesk endpoint using the <code class="blog_inline-code">request.post()</code> method. Finally, if the result is successful, the ticket is created.
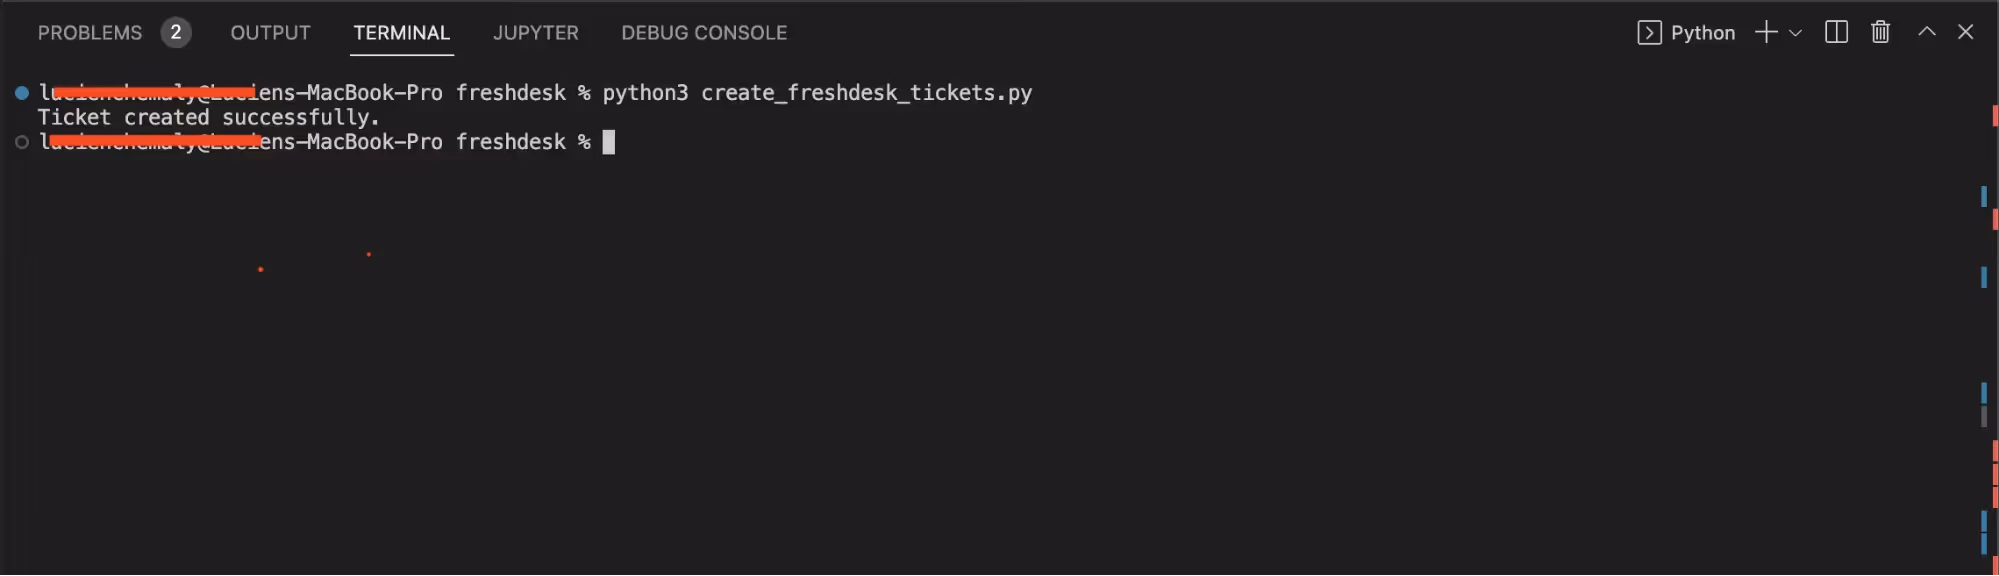
Run the code from your terminal or command line using the following command:
You should see "Ticket created successfully" as the output.
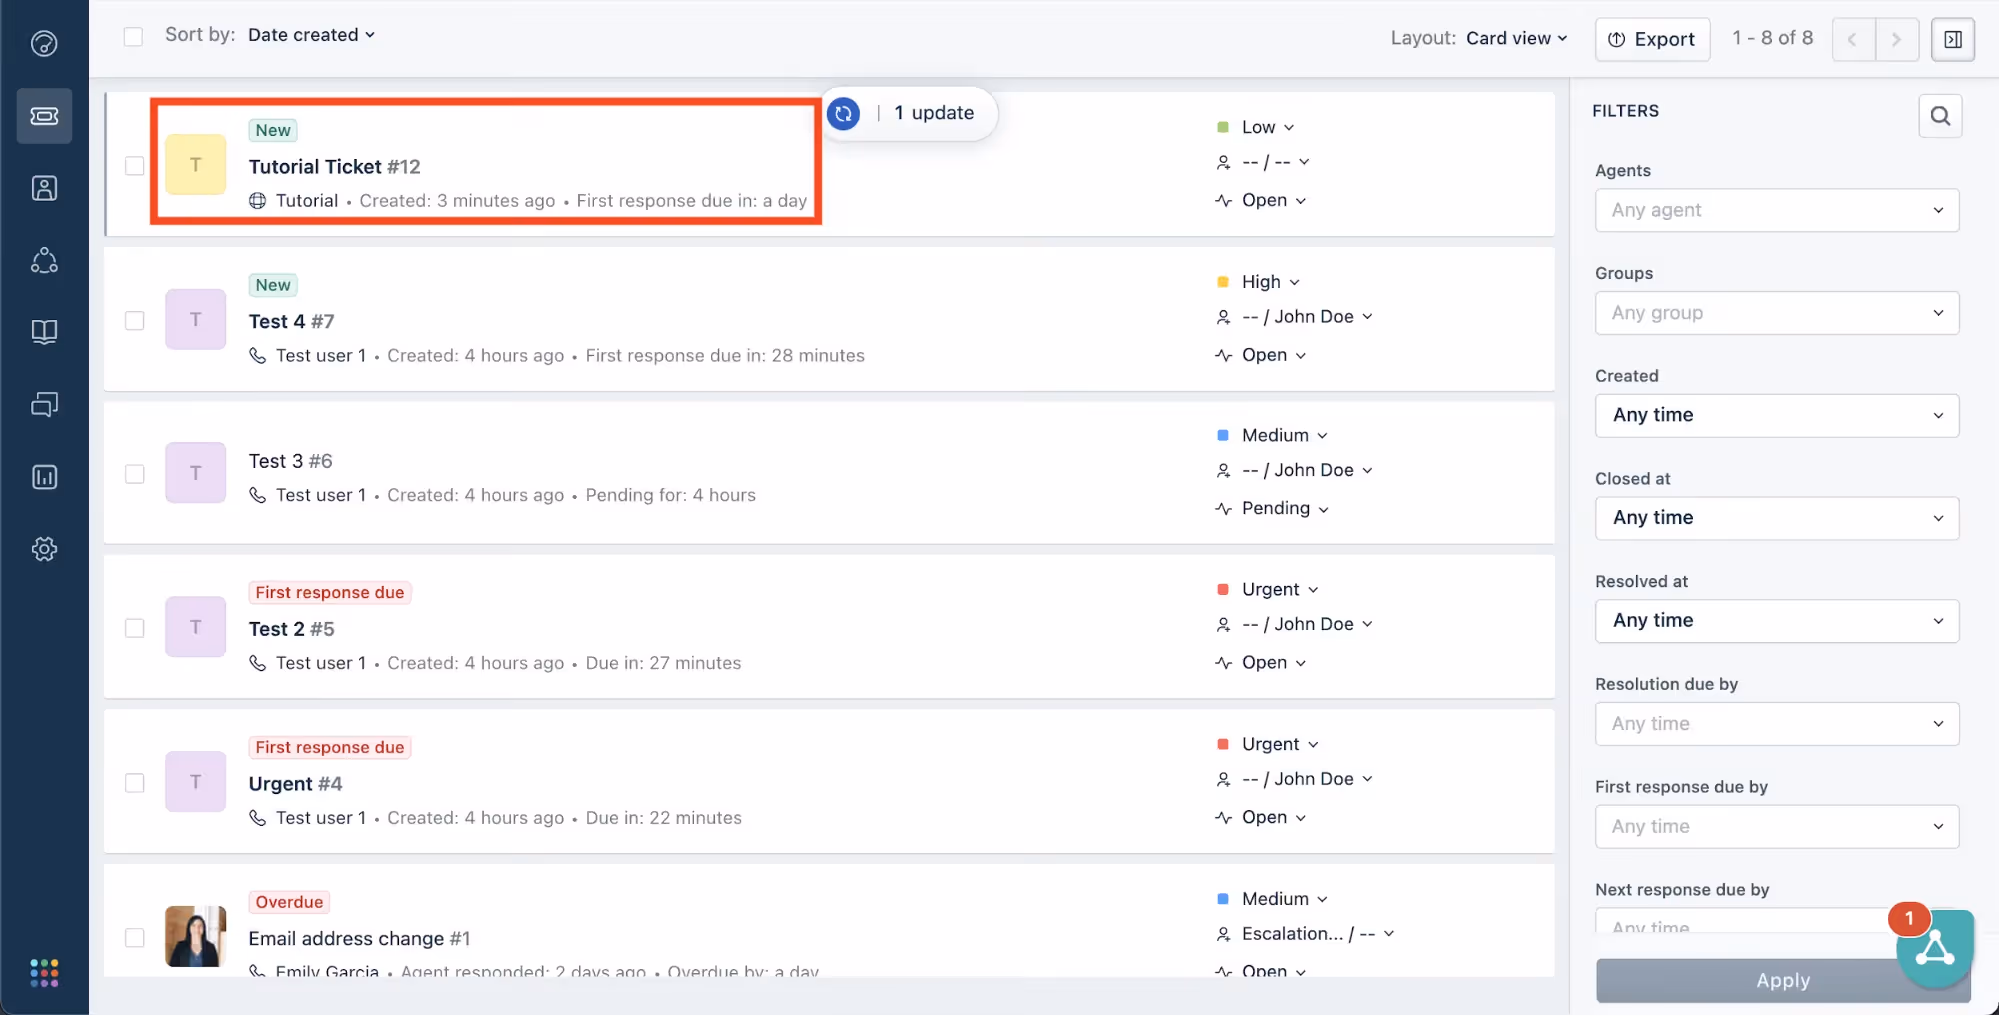
Go to the Freshdesk portal to check whether the ticket has been created correctly.
Related: Common webhook events
Updating a Freshdesk Ticket Using the requests.put Method
Next, you'll be updating a Freshdesk ticket using <code class="blog_inline-code">requests.put</code>. It lets you make changes to existing tickets, such as updating the status, adding notes, or modifying the details. Programmatically updating tickets lets you integrate Freshdesk with other systems to keep data consistent across multiple platforms.
Create a file named update_freshdesk_ticket.py and add the following code to it:
As before, replace <code class="blog_inline-code">yourcompany</code>, <code class="blog_inline-code">your_api_key</code>, and <code class="blog_inline-code">your_freshdesk_password</code> with the details from your Freshdesk account.
In the code above, you again start by importing the <code class="blog_inline-code">requests</code> and <code class="blog_inline-code">json</code> libraries and specifying the credentials and URL related to your Freshdesk account.
You then need to define the ticket ID of the ticket you want to change. You can get it from Freshdesk portal by opening the ticket and checking the ticket ID in the URL or by checking the ticket information.
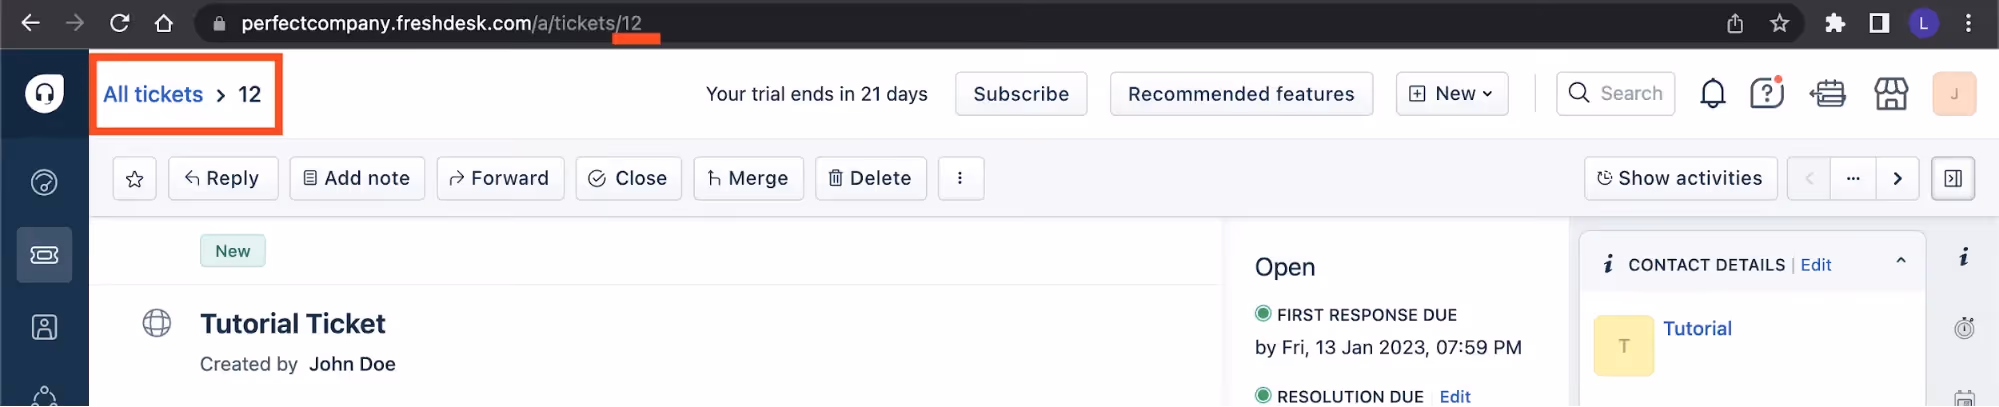
In this example, the ticket ID is <code class="blog_inline-code">12</code>. Change this value to the ticket ID of one of yours.
Next, you define the header type, which is <code class="blog_inline-code">json</code>, and the new ticket details. You then call the Freshdesk endpoint using the <code class="blog_inline-code">request.put()</code> method. Finally, if the result is successful, the ticket is updated.
Run the code from your terminal or command line using the following command:
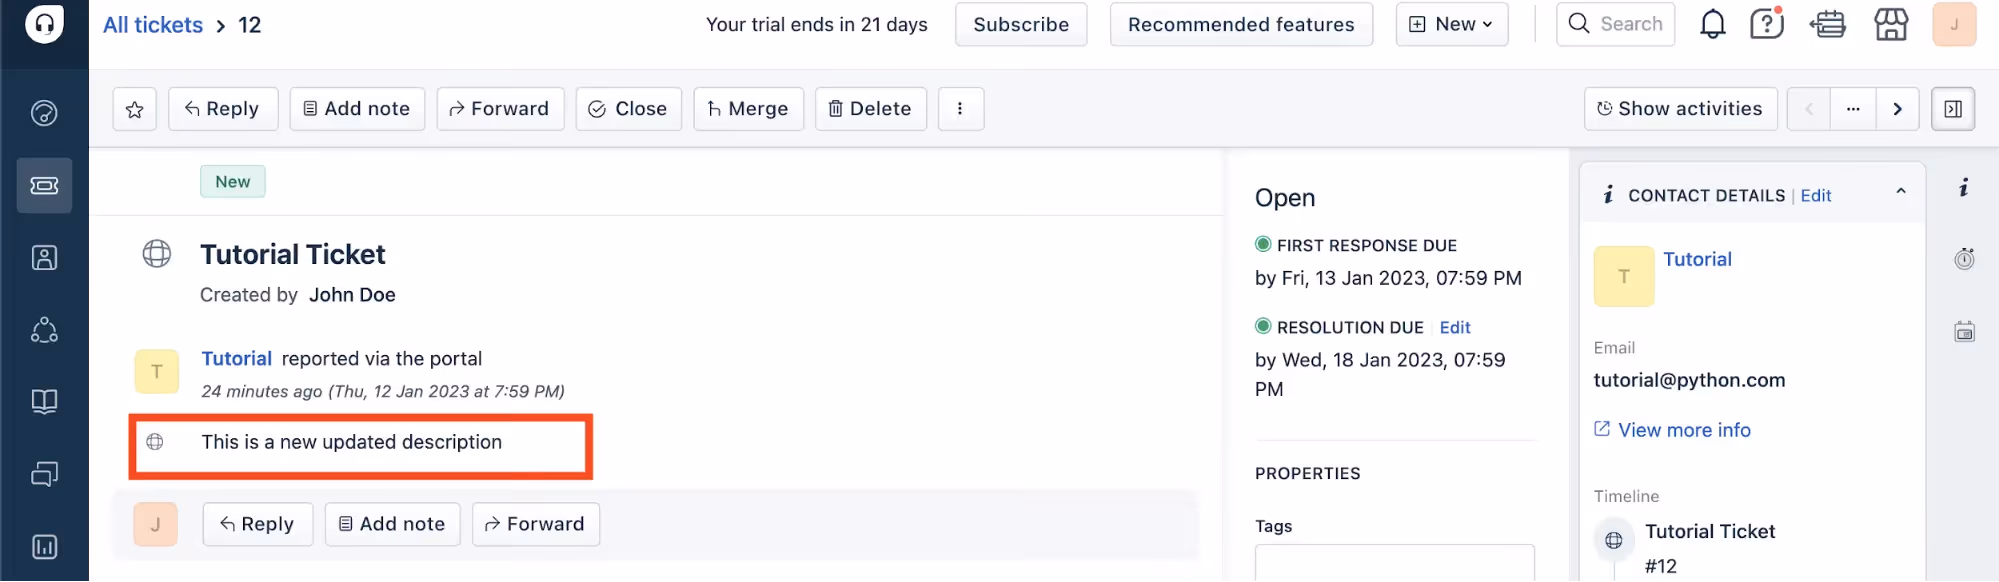
You should see "Ticket updated successfully" as the output.

Go to your Freshdesk dashboard to check that the ticket has been updated correctly.
Creating a Webhook with Freshdesk and Pipedream
Lastly, you'll be setting up a webhook to get updates of when changes occur to Freshdesk tickets. Webhooks allow Freshdesk to communicate with external systems in real time by sending HTTP POST requests when specific events occur.
You'll also be using Pipedream, a tool that streamlines webhook handling for developers, with a serverless platform to receive webhooks from any compatible service and process data via a low-code interface or code editor.
Creating a Webhook with Pipedream
To create a webhook, go to Pipedream, create an account, and sign in. Go to the Workflows section on the left navigation bar then click on New +.

Select HTTP / Webhook and choose HTTP Requests (Most Popular). Rename your workflow to <code class="blog_inline-code">Freshdesk-Webhook</code> and then click on Save and continue.
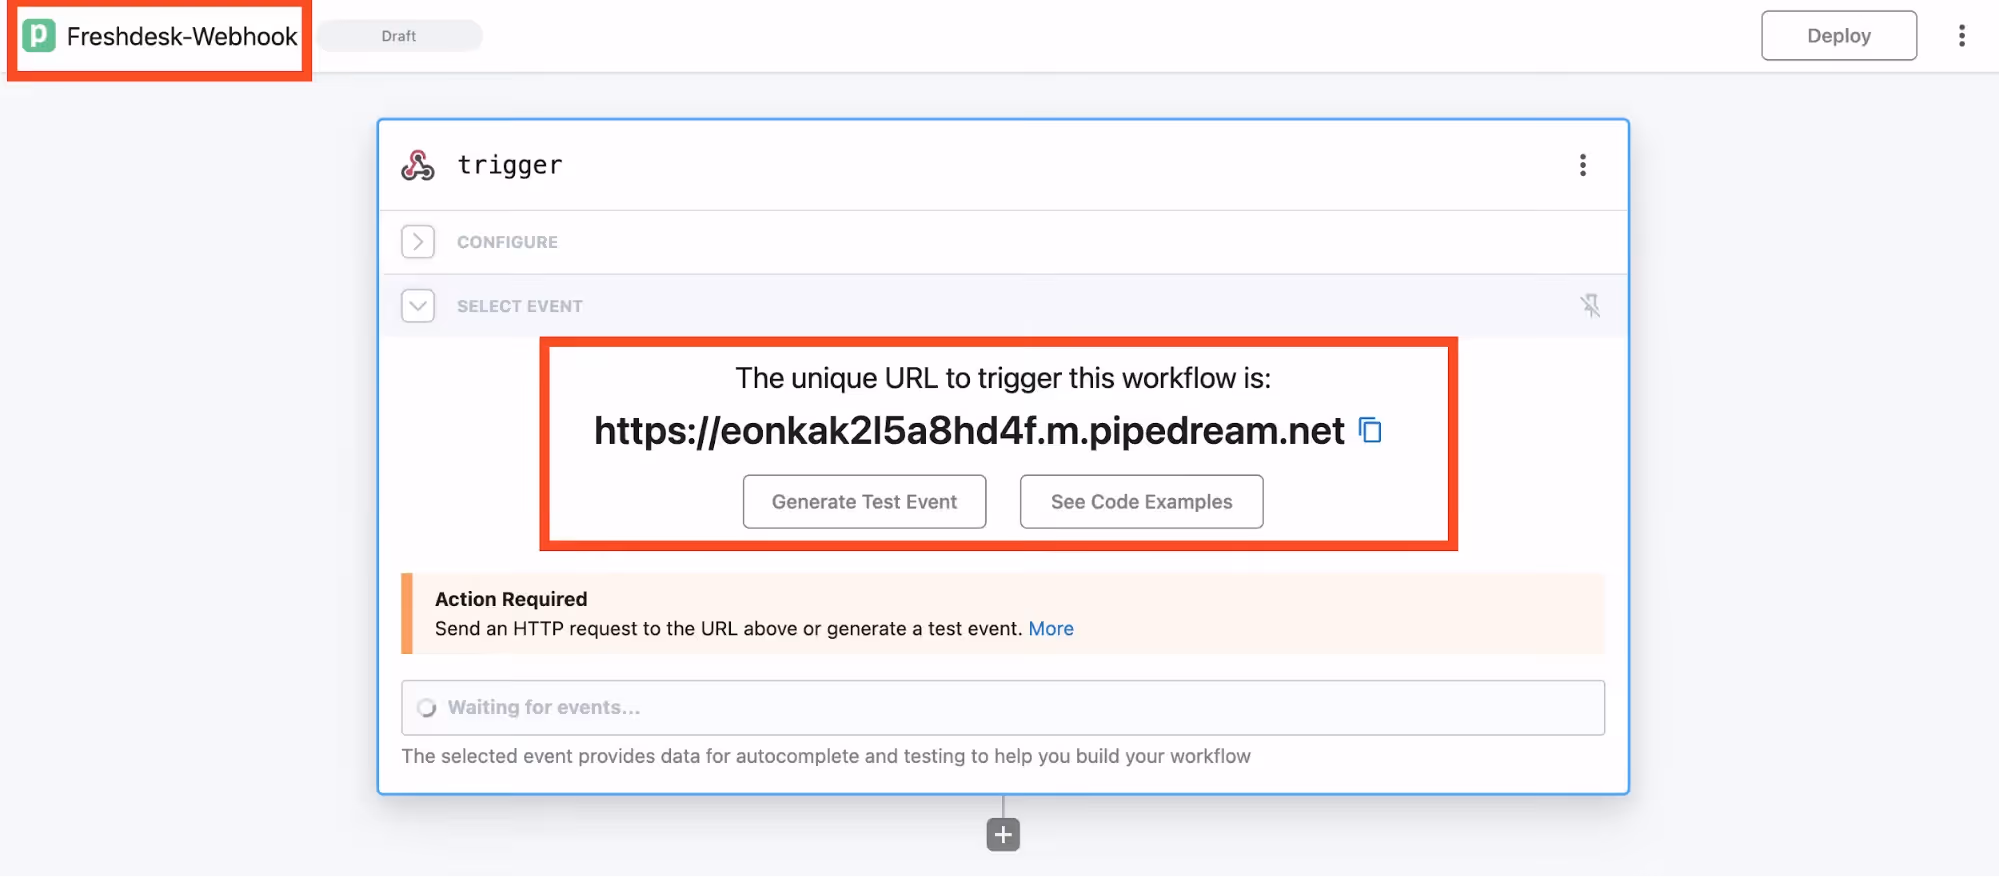
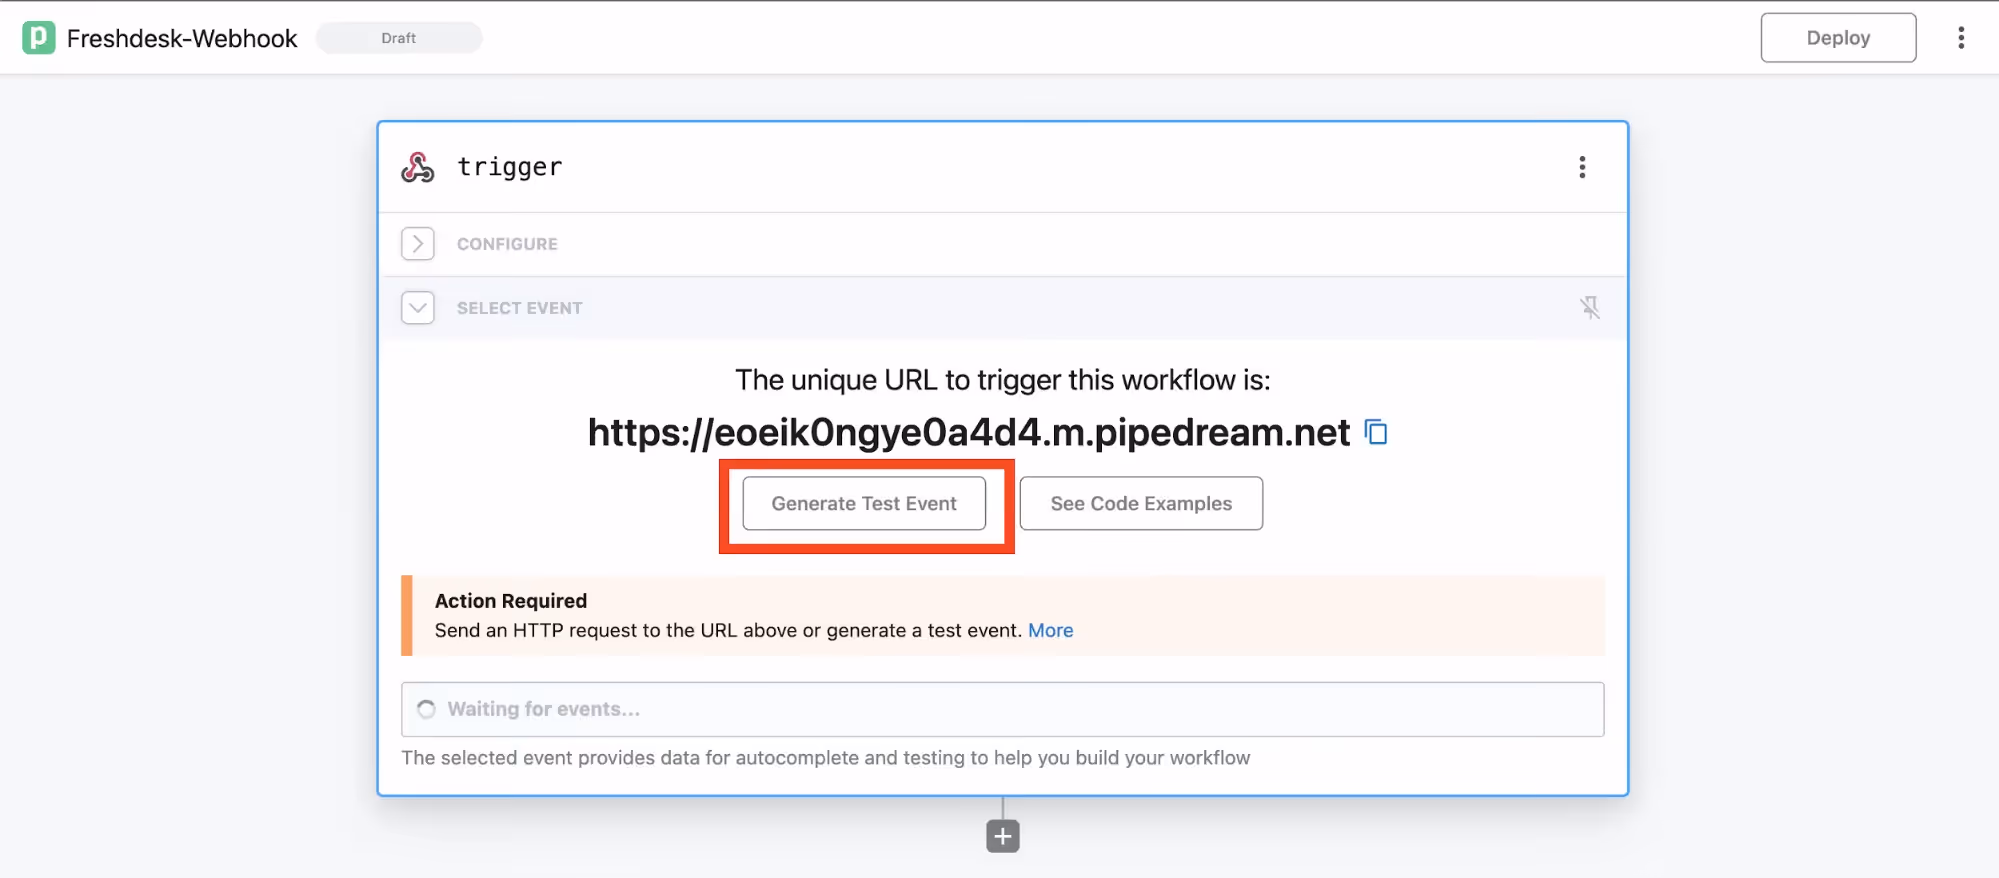
Copy the URL of your webhook and click on Generate Test Event and then Send HTTP Request.
Click Continue.
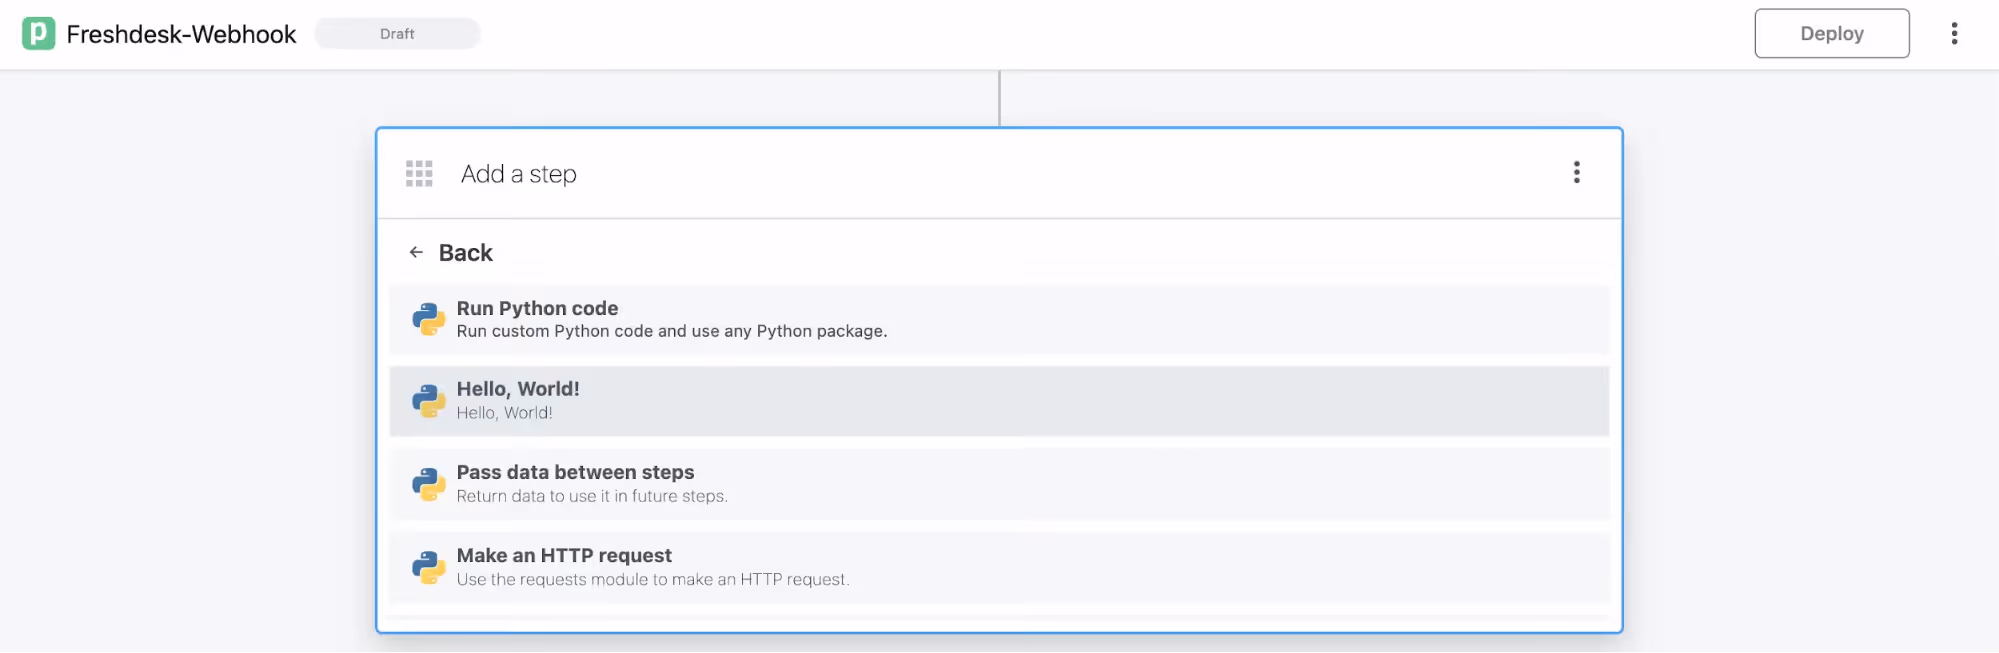
To deploy the webhook, you need to add at least one action. After this webhook is called, what will happen? For the purpose of this tutorial, you'll add a simple <code class="blog_inline-code">print</code> function using Python.
Choose Python from the list and then select the Hello, World! option.
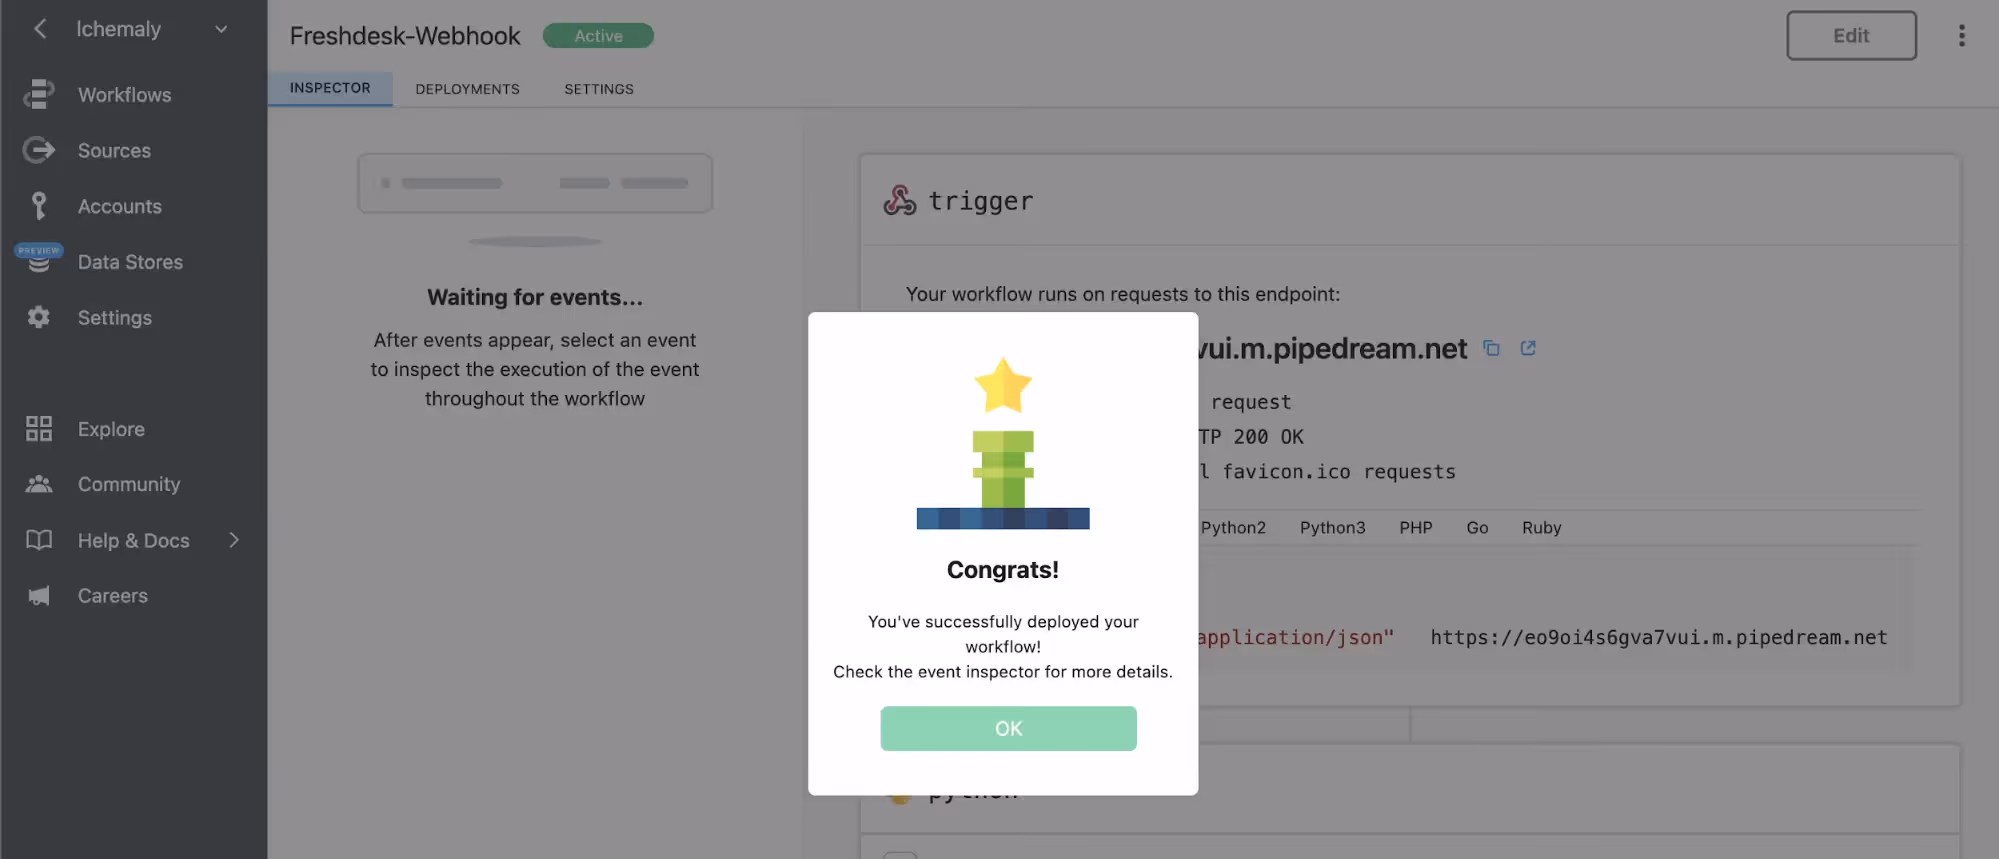
Click Test and then Deploy.
And, congratulations, your webhook is created!
Setting Up a Webhook with Freshdesk
Now that your webhook is created with Pipedream, you need to configure Freshdesk.
In your Freshdesk account, navigate to Admin, select Workflows, and choose Automations.
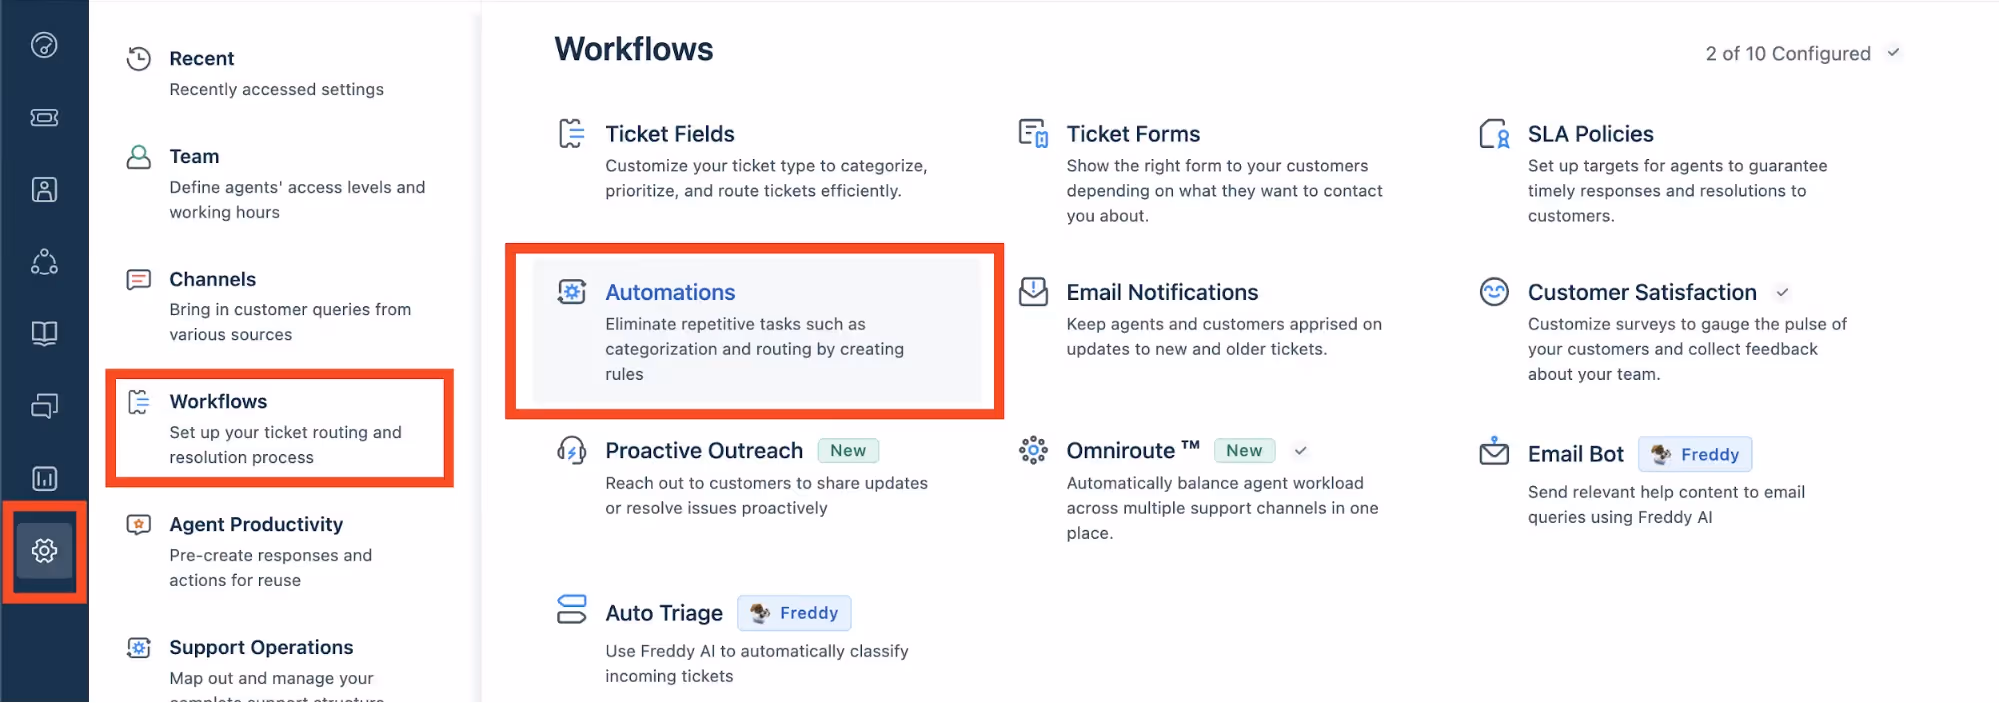
Next, toggle Ticket Updates and scroll down to the option Create new ticket via Webhook, on replies to closed tickets. Toggle the activation button, which will turn the toggle button green.
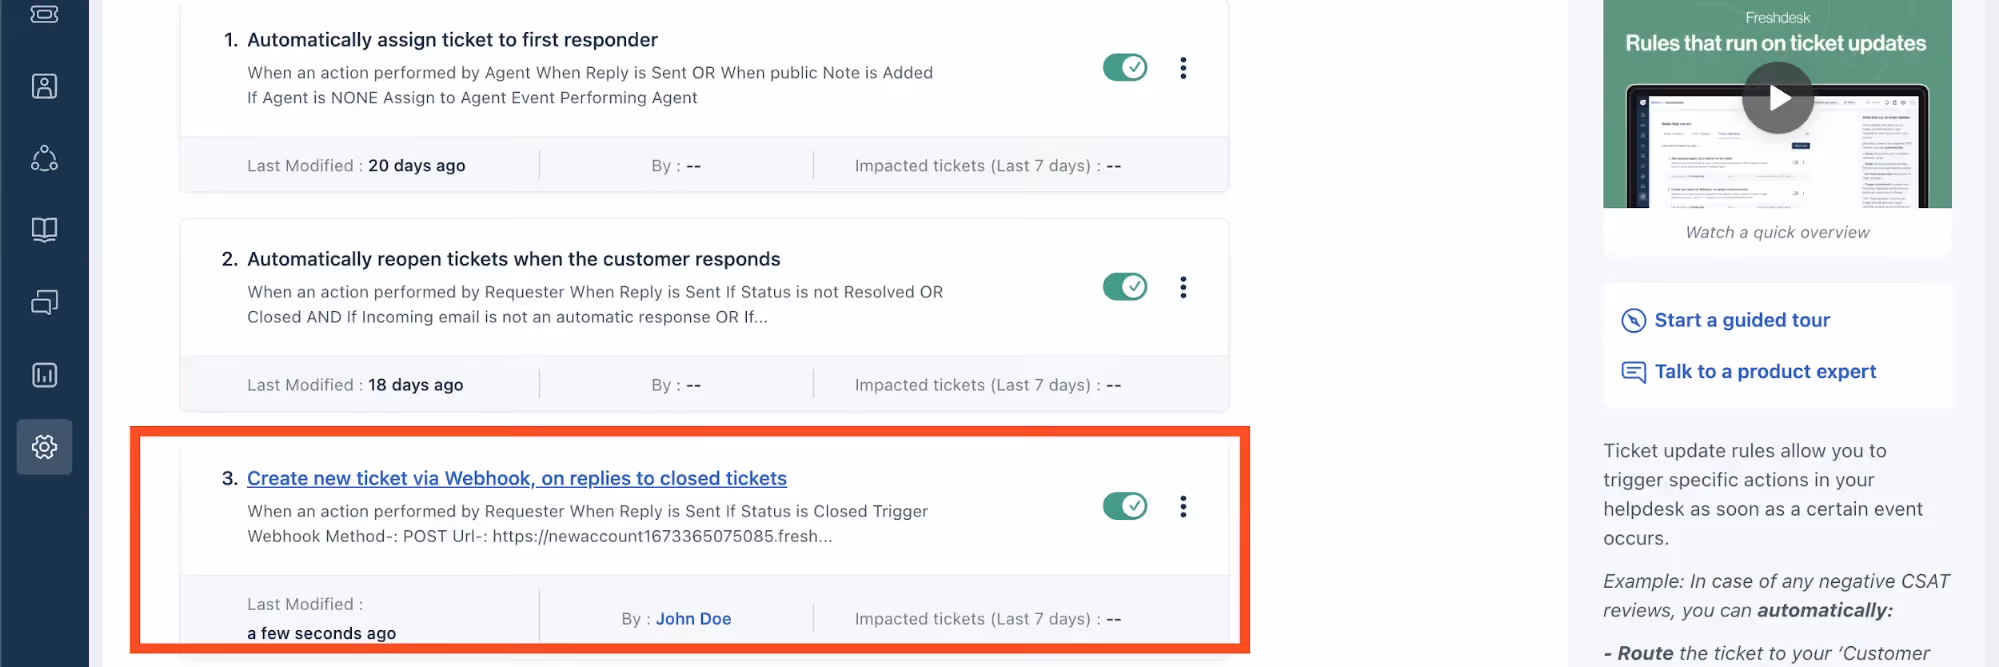
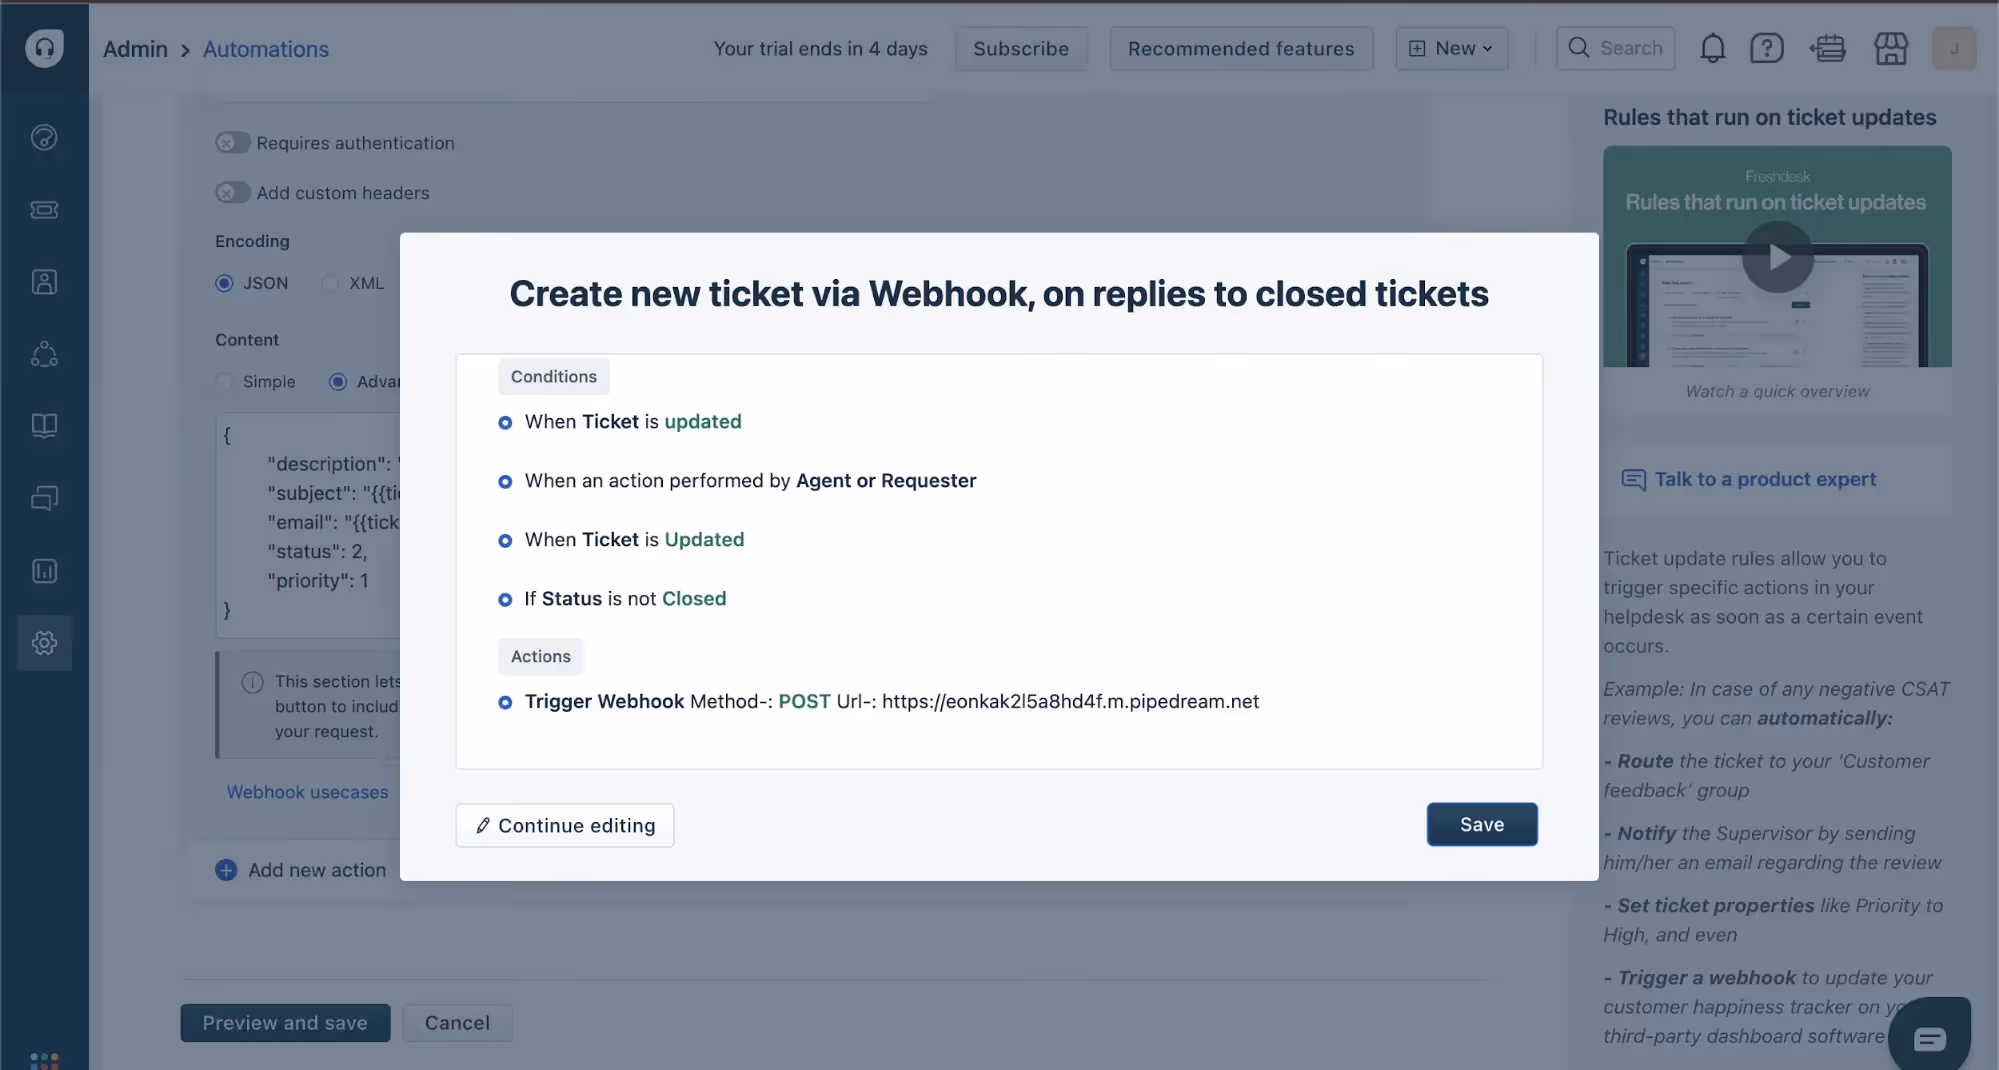
After activating the webhook option, click on Create new ticket via Webhook, on replies to closed tickets.
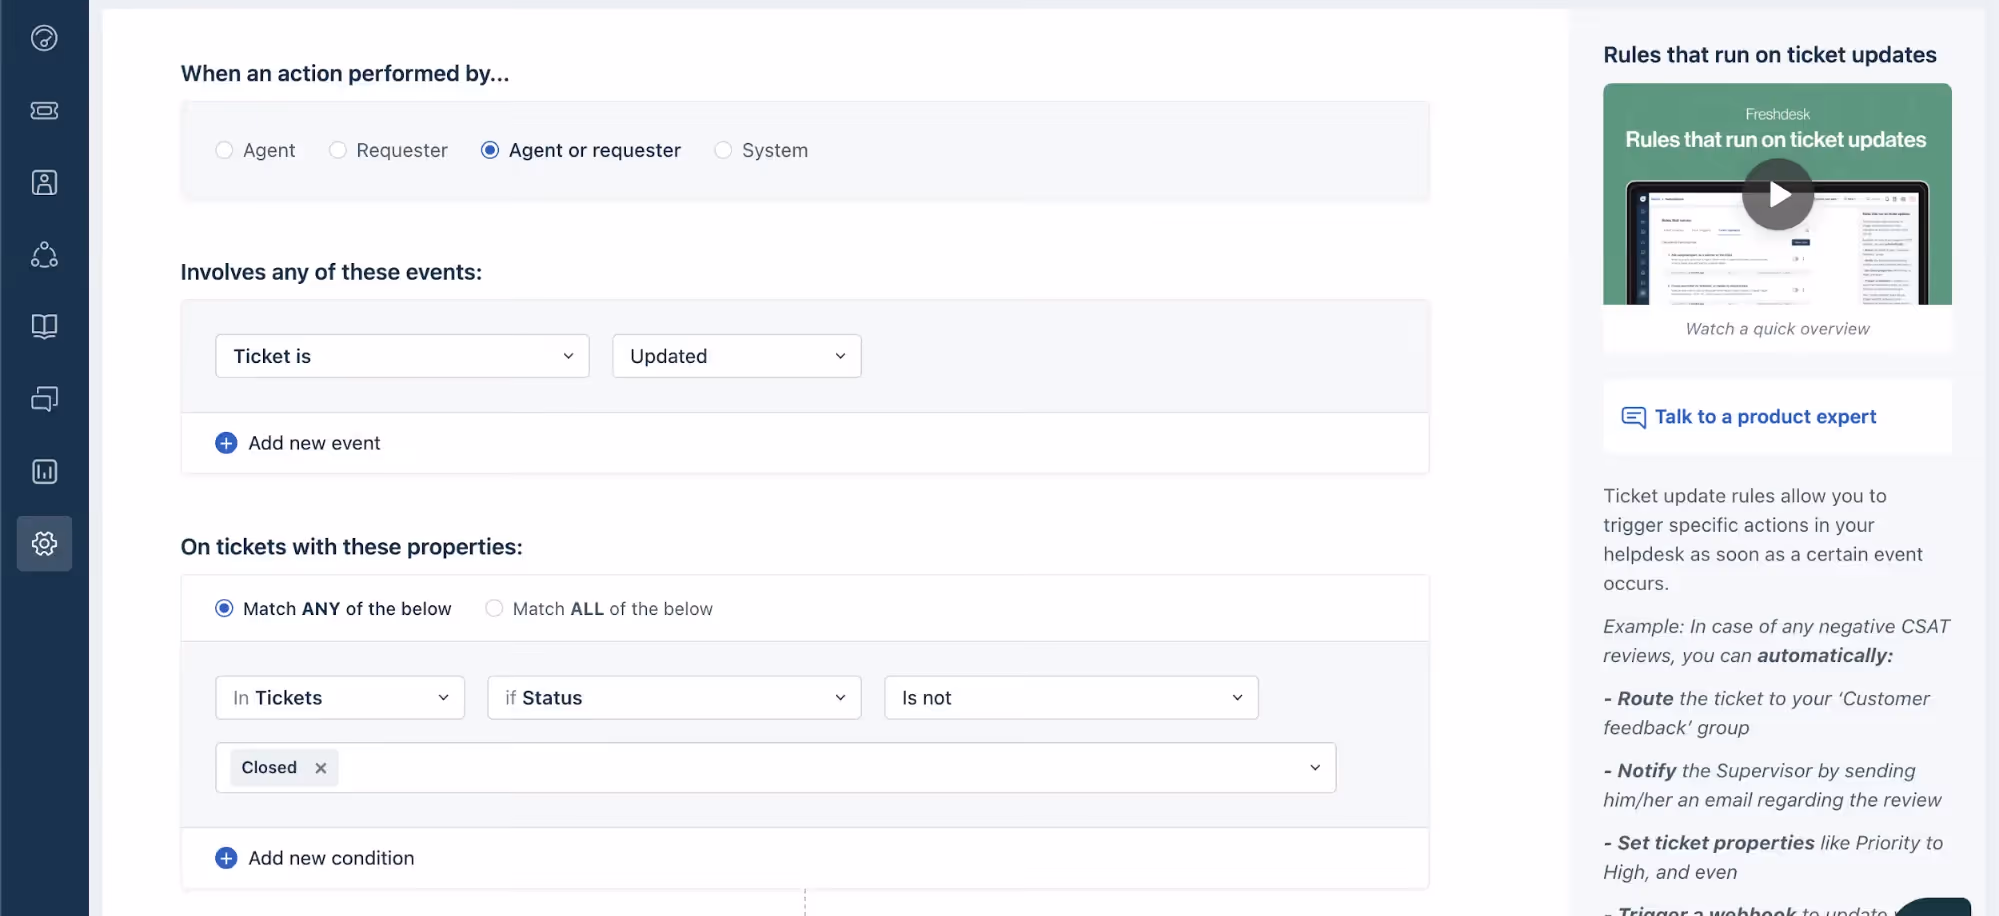
You need to define the settings for which action will trigger a call to the webhook. For this example, you'll trigger a call if there is any update on any ticket that's not closed. To do so, update the information to match the following:
Now you need to update the URL to match the one you previously created with Pipedream. Add your Pipedream URL and untoggle Requires authentication.
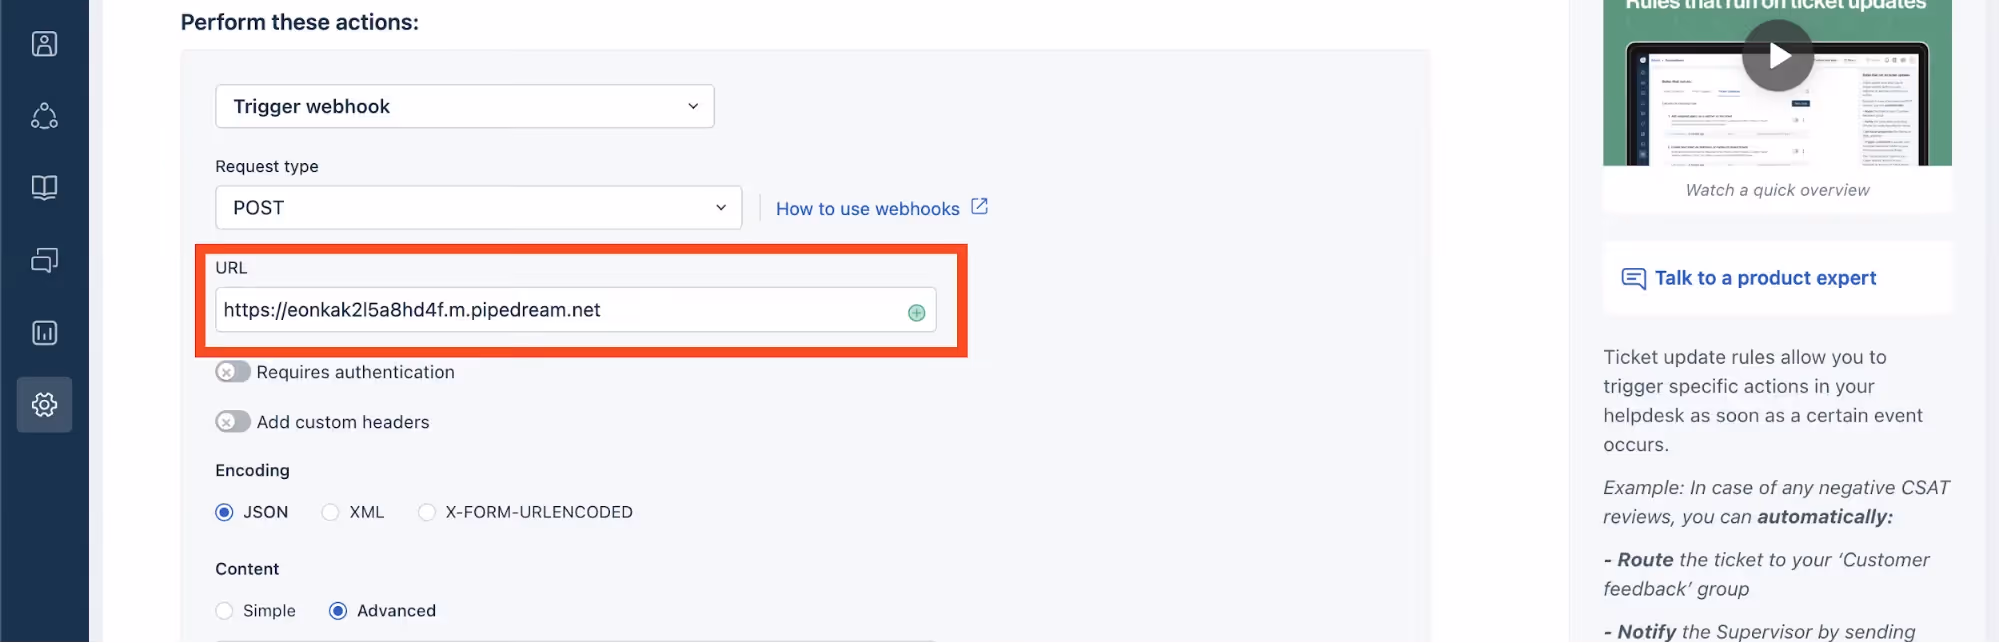
For testing purposes, you won't add a key for authenticating with the webhook. However, if you're working with live applications, you need to create your own keys to protect your webhook from DDoS attacks.
Scroll down and click Preview and save and then Save to make the changes.
Now you are all set.
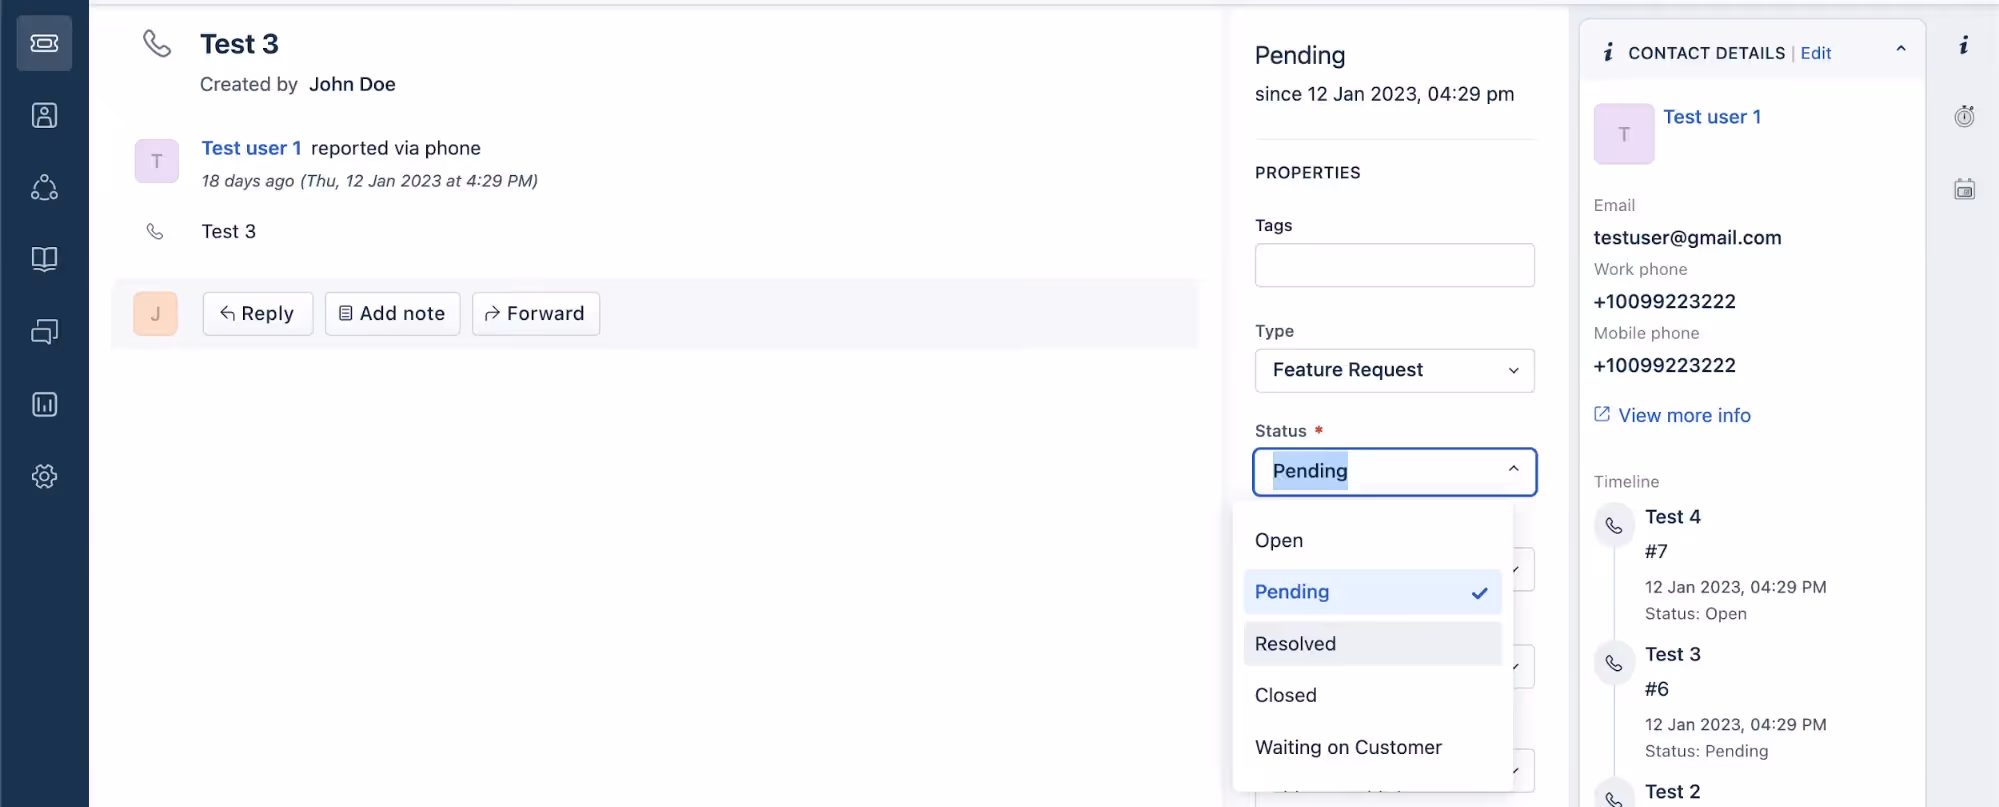
To test whether everything works, update one of your Freshdesk tickets. For example, change the status from Pending to Resolved and click Update.
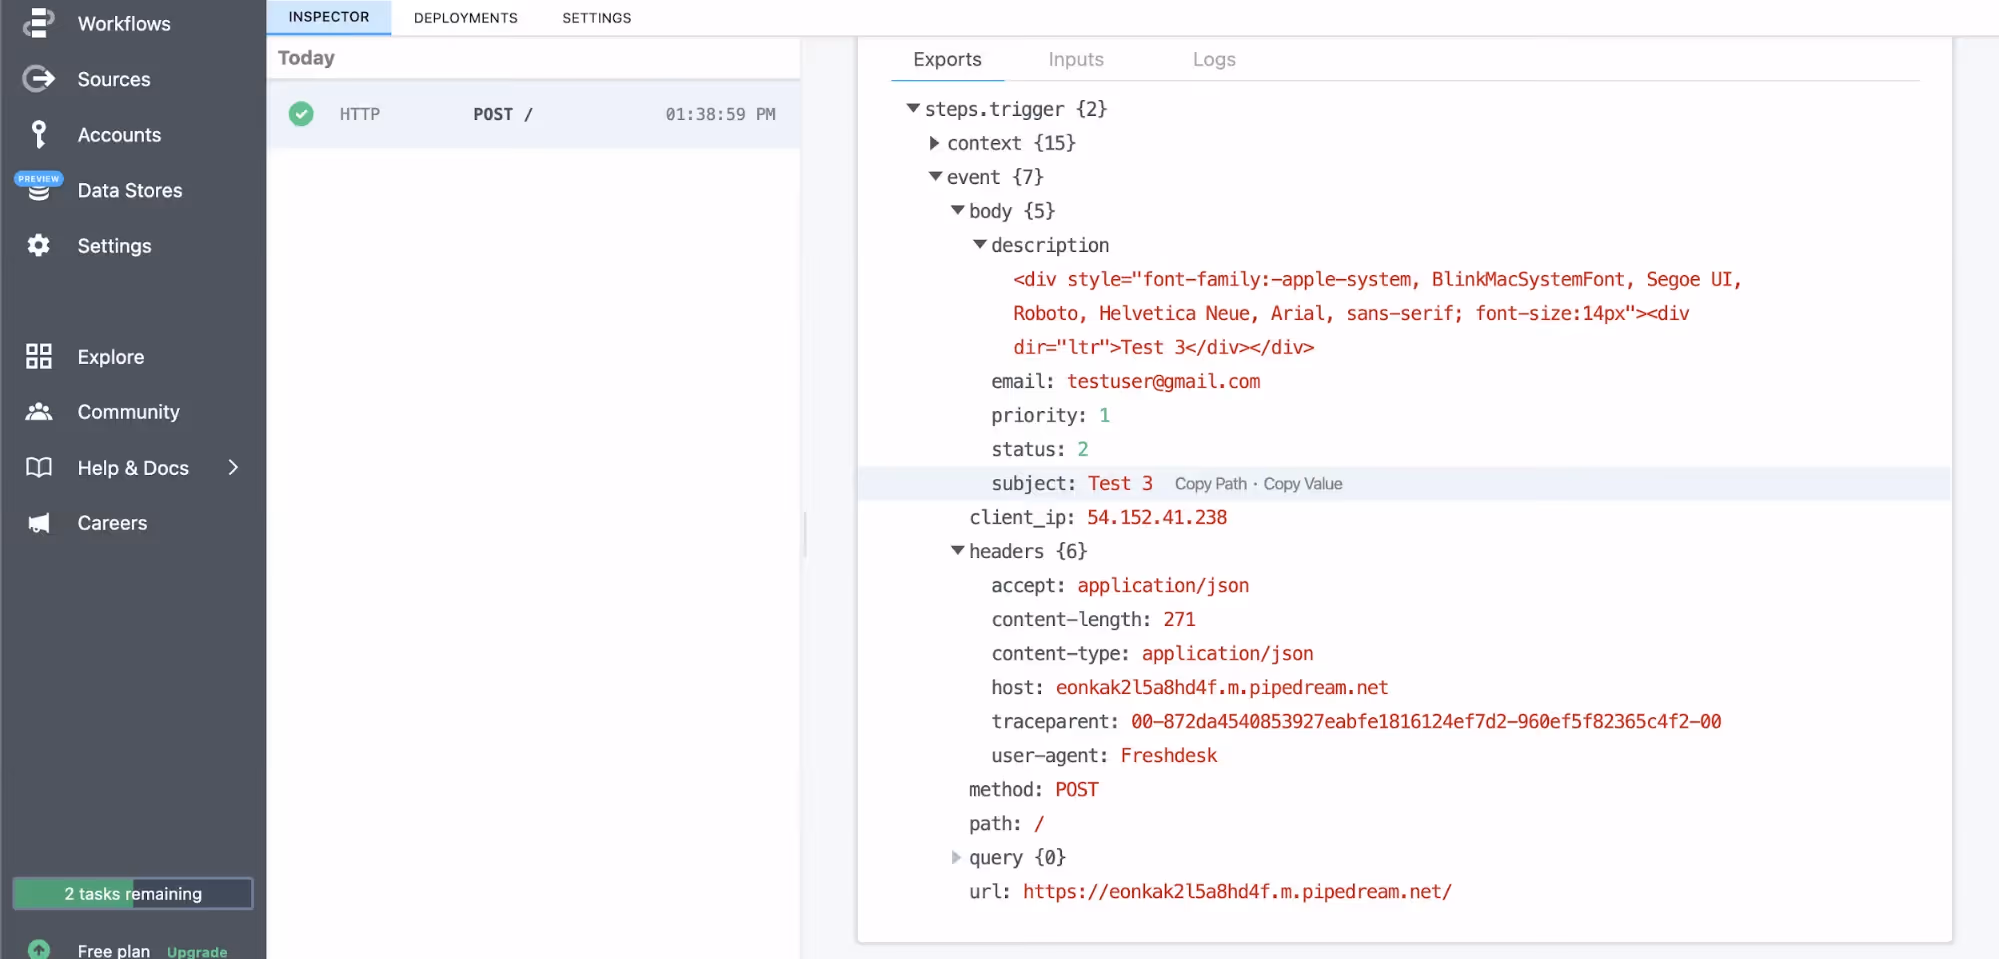
Your Pipedream webhook dashboard should show the details of your ticket.
Conclusion
In this article, you learned how to use Python to interact with Freshdesk to fetch, create, and update tickets. You also learned how to use a webhook with Freshdesk to get real-time updates of when changes occur on Freshdesk tickets.
If you need to build and maintain several integrations, you can build one integration with Merge and connect with hundreds of platforms—including Freshdesk, Zendesk, and Salesforce Service Cloud—through a Helpdesk and Ticketing Unified API. Instead of building and maintaining integrations with various tools and services, Merge allows you to easily implement new technologies and stay up-to-date with industry trends, all while staying focused on your core operations.
Learn more about Merge by scheduling a demo with one of our integration experts.

.png)
%20(6).png)
.png)

