How to Make a GET Request for All Commits from the GitLab API in Python

GitLab is a popular ticketing and developer tool system that lets you create and label issues and set assignees. It lets you collaborate, discuss, and plan, and it provides a better way of tracking work among teams.
In this tutorial, you'll learn how to set up a basic GitLab issues integration by authenticating with the GitLab API and pulling and getting all commits from the commits API using Python. You might use such a list of commits for maintaining an audit trail of changes or compiling a list of changes for release notes by looking at the comments from the commits.
You can find the complete code of this tutorial here.
Getting Commits from the GitLab API in Python
GitLab's paid version provides out-of-the-box reports that lets you export a list of merge commits in the group to CSV. However, even if you're using the free version, you can get a list of all commits using the GitLab API, which is what you'll learn in this article.
The sections below will show you how to create a repository on GitLab, set up a Python project, generate a personal access token, and commit changes from your Python project when you make HTTP calls on the API. You'll export the results to a CSV file for easy reading.
If you do not have a GitLab account yet, sign up for one first.
Create a Repository
To start, create a repository in your GitLab account. Once you're logged in, click the New project button:

Set Up a Python Code Project
Create a blank project and name it <code class="blog_inline-code">gitlab-python</code>, for example. Leave all options as they are and click Create project. Because you want to push changes from your Python program to this repository, click Clone to download the repository to your machine.
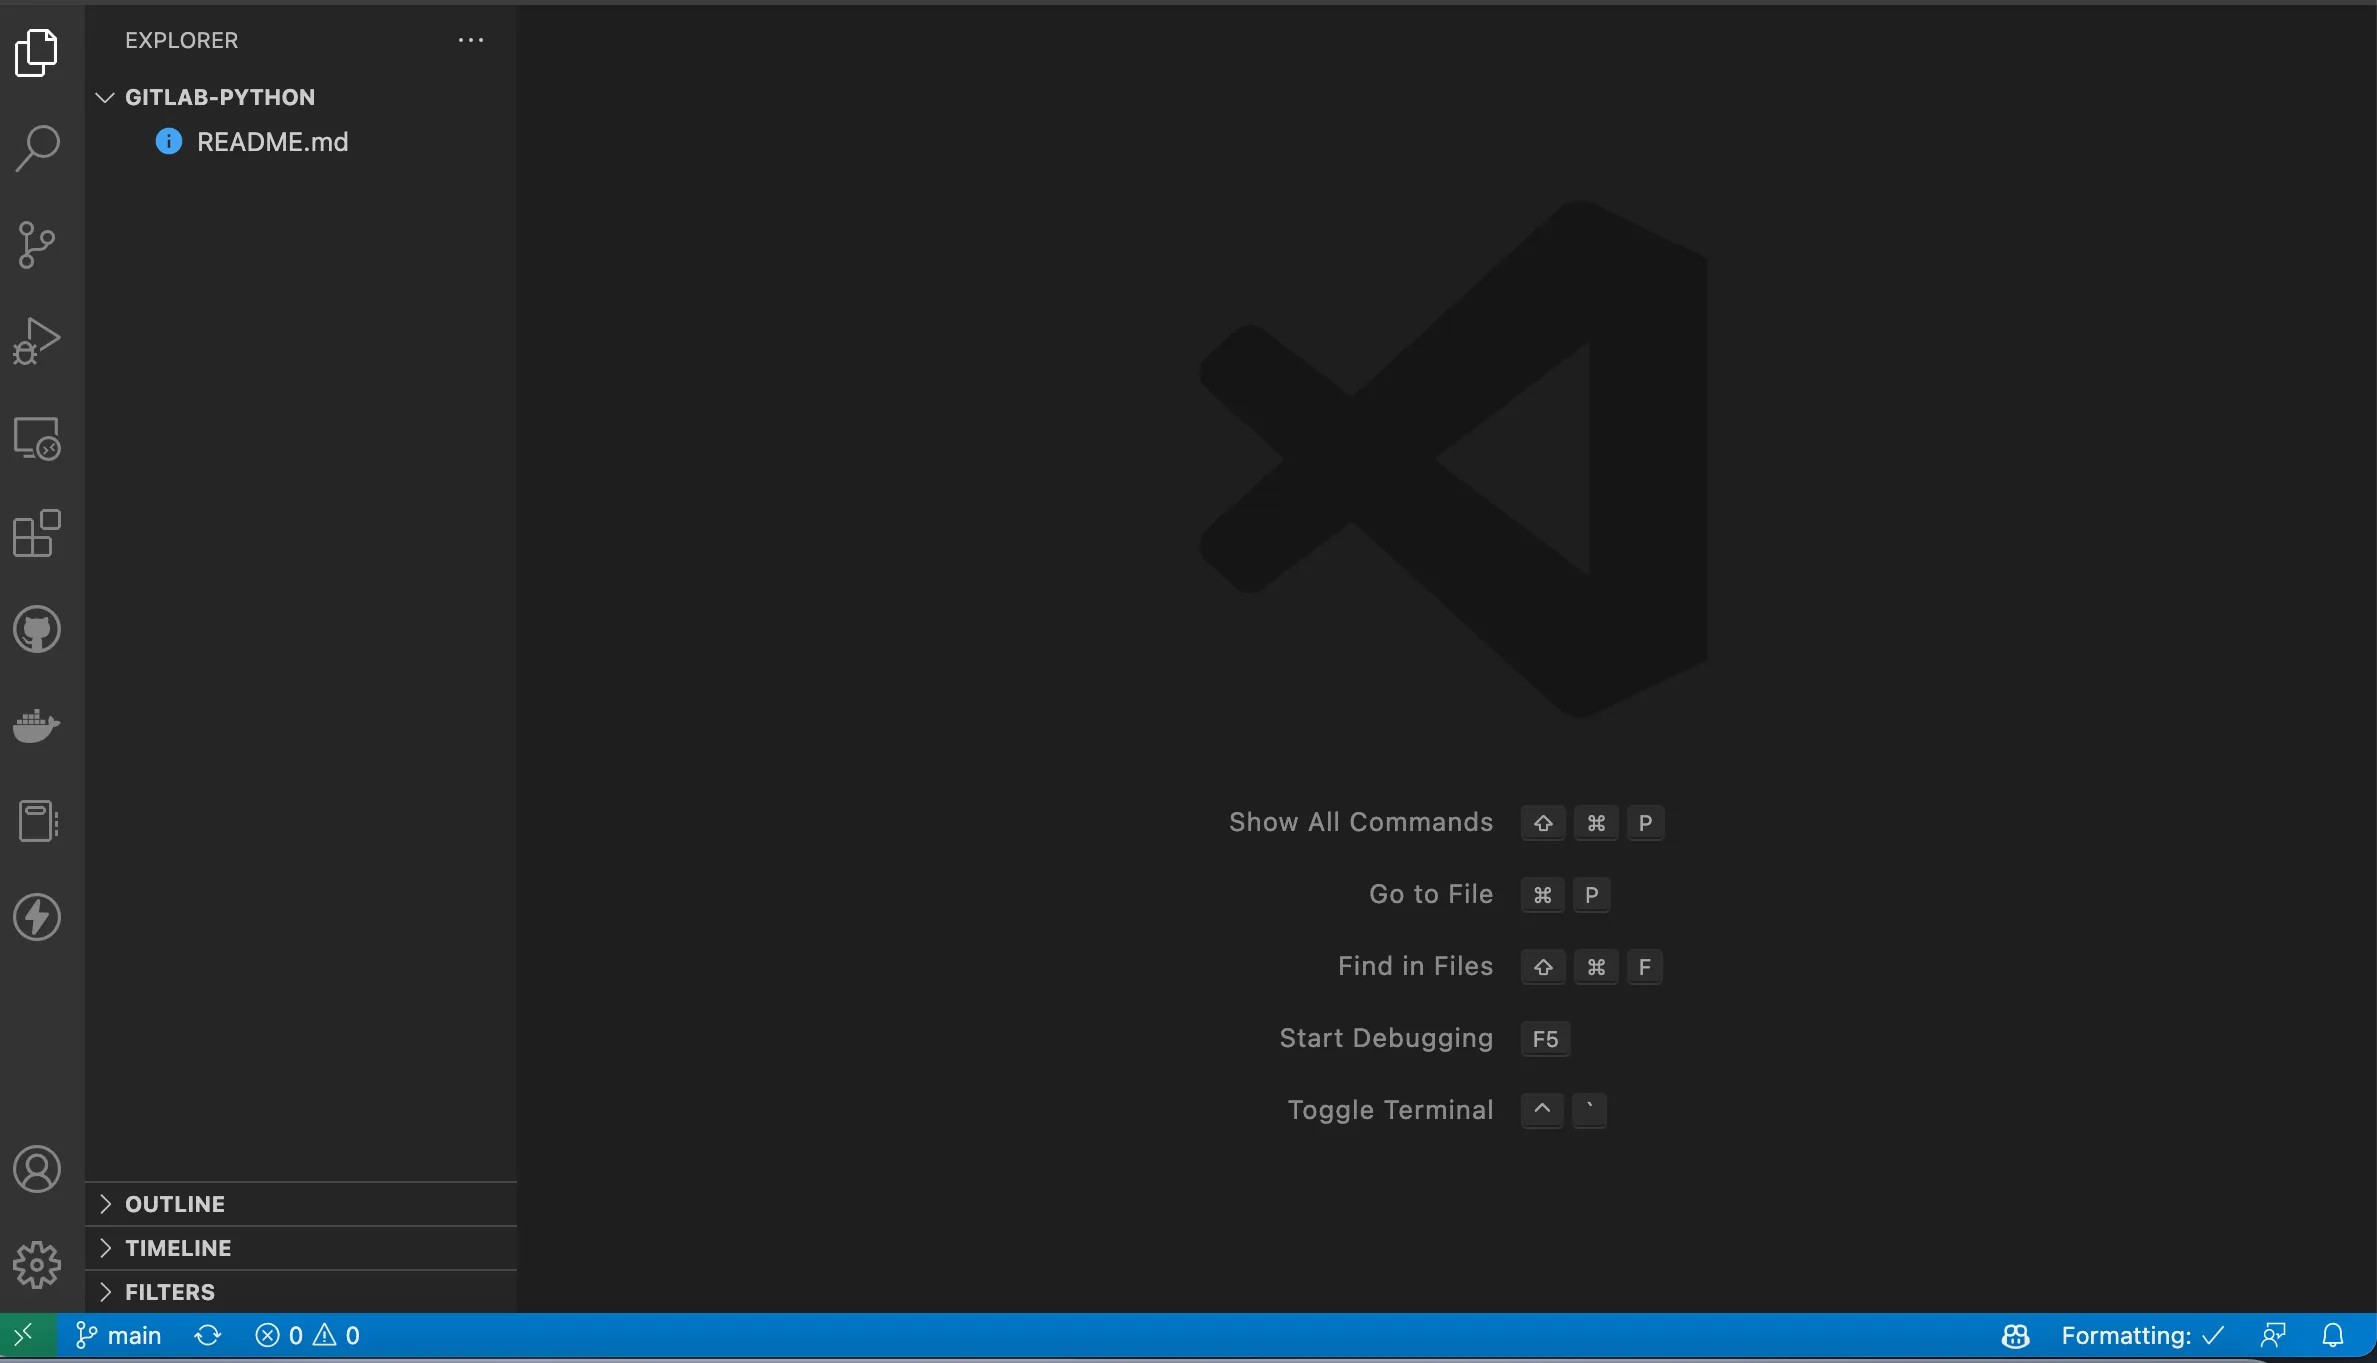
If you open the project with VS Code, your workspace should look like below:

Next, set up a Python project. For this tutorial, you will simply create a Python file that makes an HTTP GET request to the GitLab API when you run it from the terminal. Create a file inside the workspace or inside the folder of your project that you cloned from GitLab. Name it <code class="blog_inline-code">main.py</code>.
Commit Changes to the Repository
To stage the file you created, run <code class="blog_inline-code">git add main.py</code>. Next, run <code class="blog_inline-code">git commit -m "created the python file"</code> to commit your changes.
Lastly, push the changes from your local repository to a remote one on GitLab by running <code class="blog_inline-code">git push -uf origin main</code>. If it asks for a username and password, enter your GitLab username and password.
If you've performed this step successfully, you should see the Python file on your GitLab repository when you refresh the page, as in the image below:

Handle Authentication and Generate a GitLab Access Token
GitLab provides various ways to authenticate with the GitLab API: OAuth2 tokens, project access tokens, group access tokens, session cookie, GitLab CI/CD job tokens (specific endpoints only), and personal access tokens.
In this tutorial, you'll use personal access tokens, but you can find out more about the other options in the GitLab documentation.
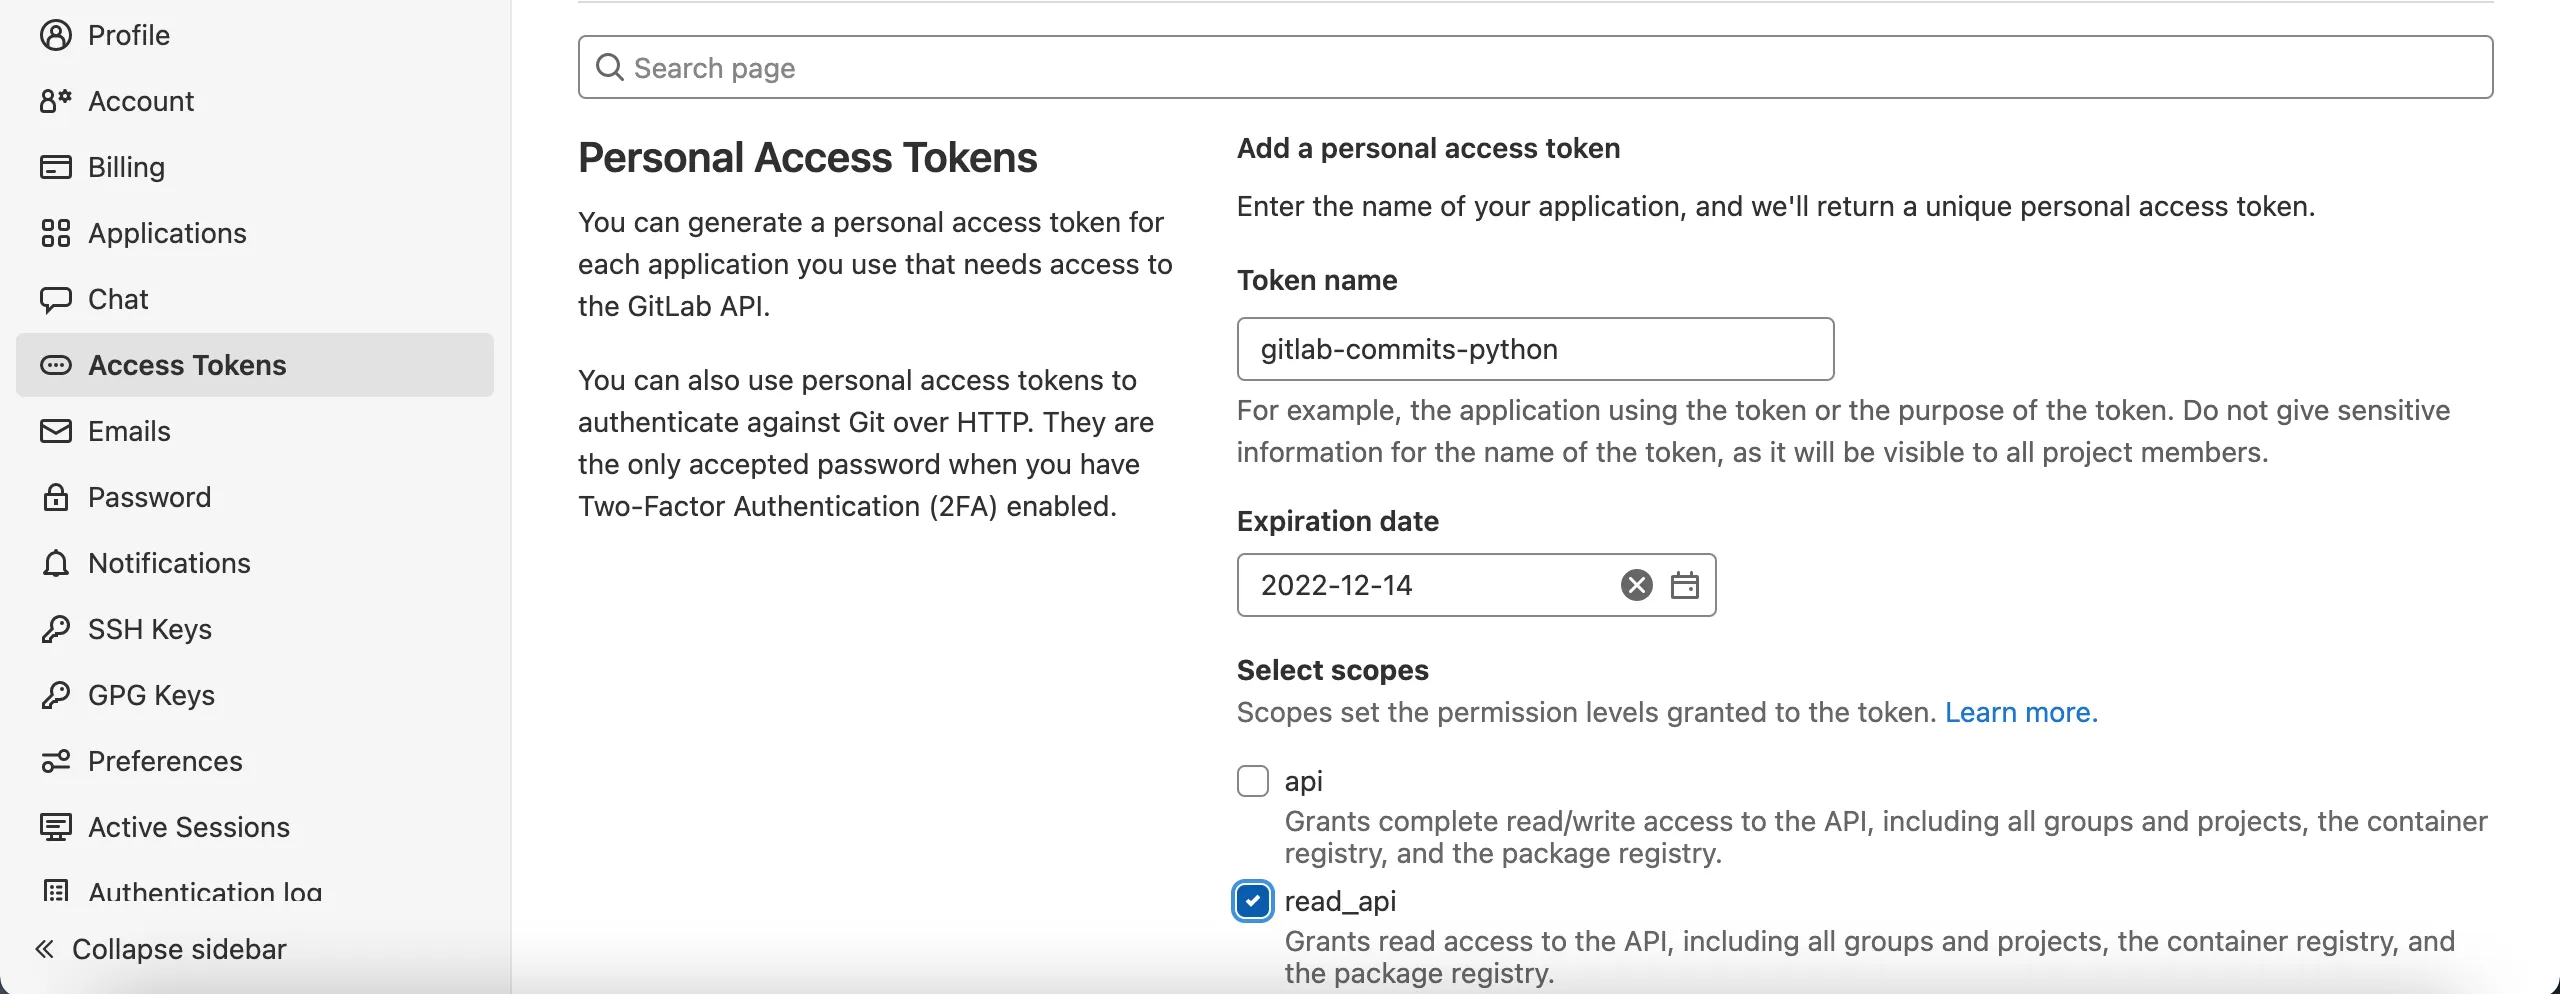
To generate a personal access token, select your avatar in the top-right corner of the GitLab page, select Edit Profile, and select Access Tokens on the left sidebar. You should see a page like the one below:

Enter a token name and an optional expiry date.
Next, select the desired scopes. In this case, choose read_api as you only want to get commits from GitLab.
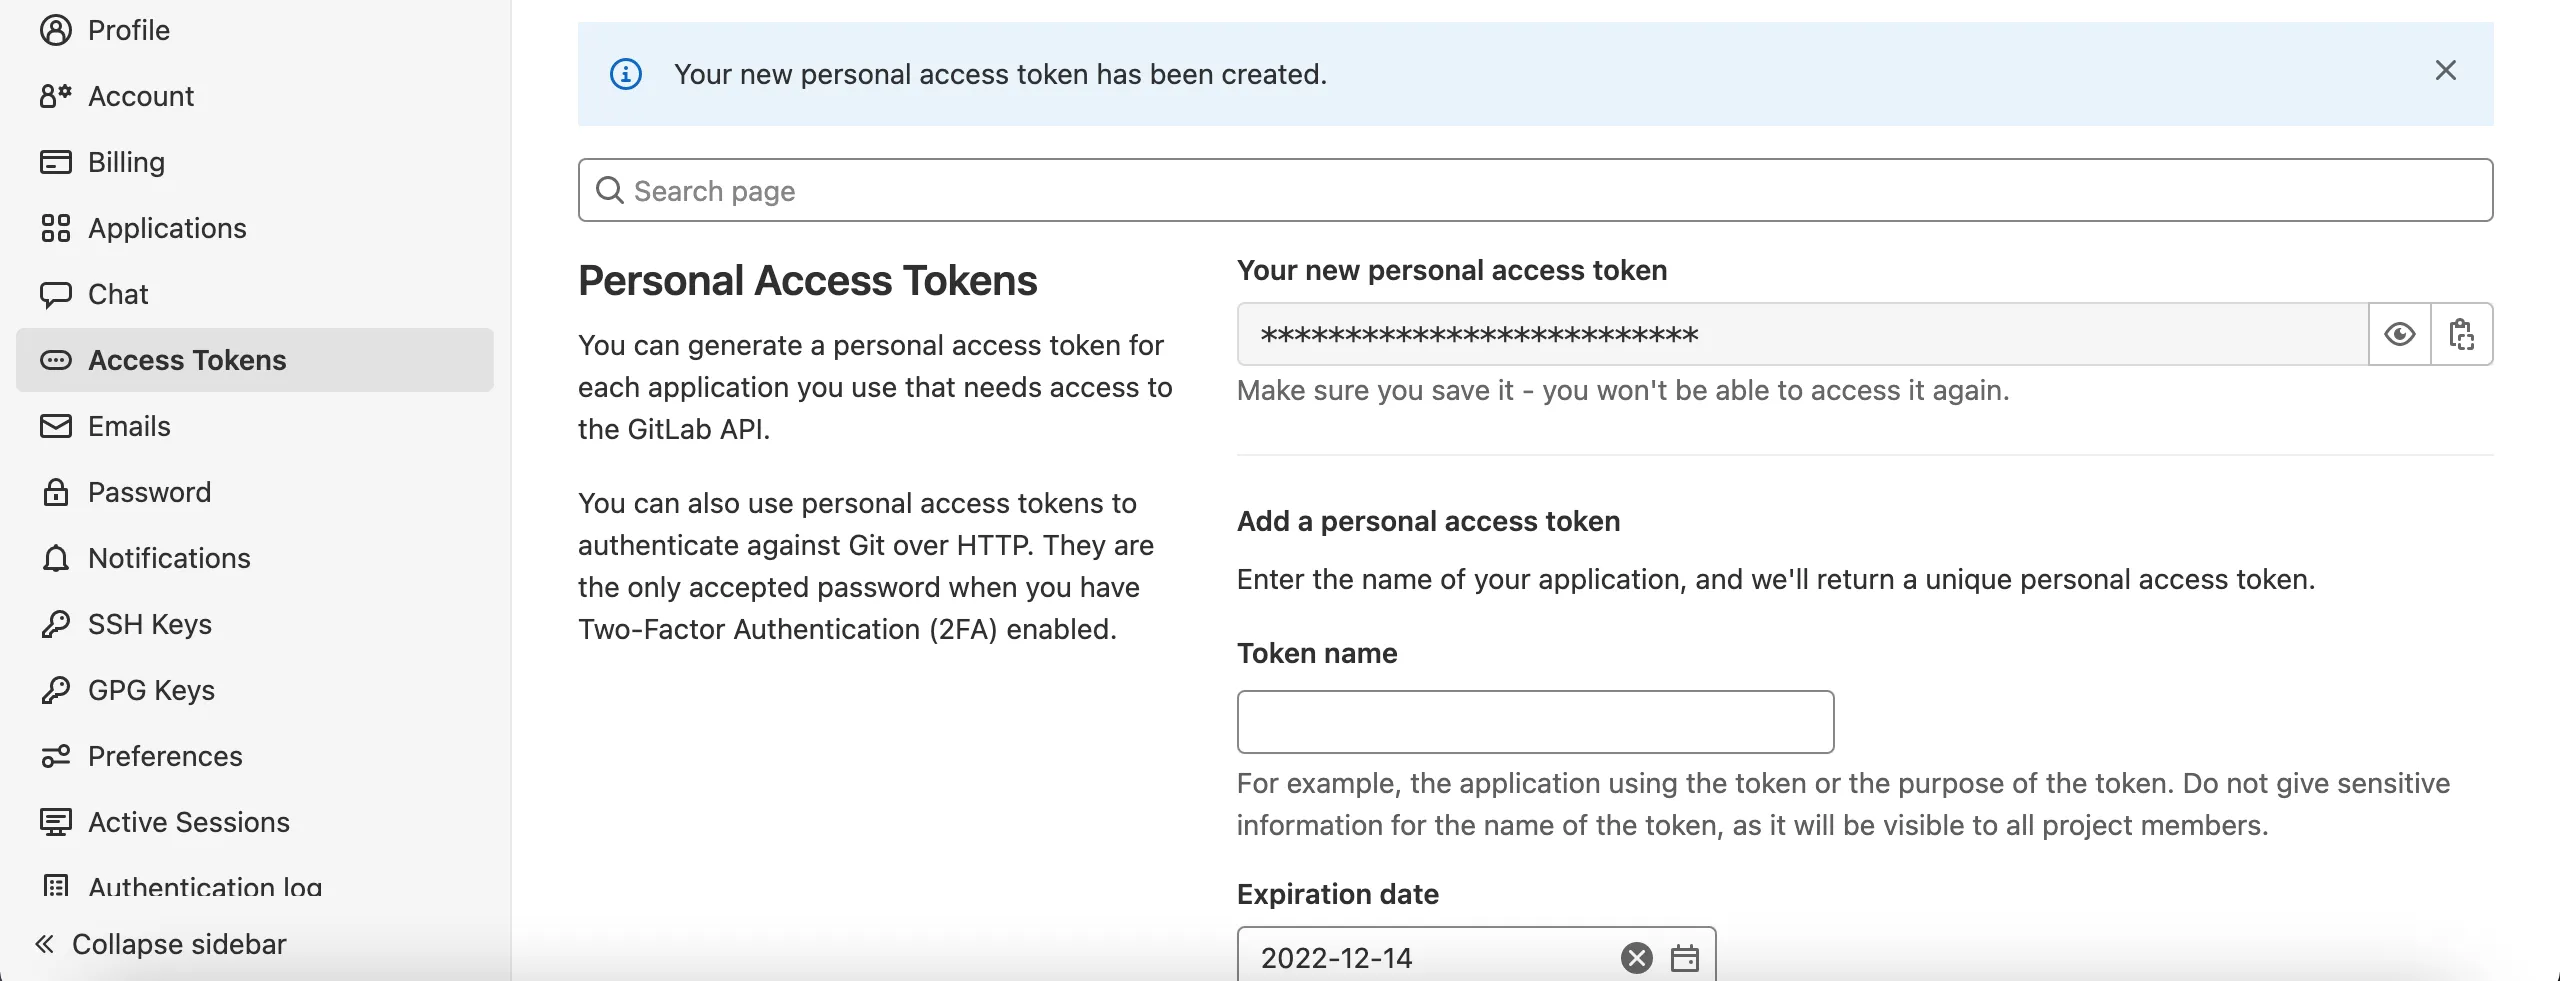
After that, click Create personal access token, which will generate your token. You should see a page like below with the message "Your new personal access token has been created":

Copy the generated token and store it somewhere safe. You'll use it later to authenticate with the API.
Make HTTP Calls to Get Commits from GitLab
Since you will use your access token to authenticate with the API, you don't want to expose it to the public. Create two files: an <code class="blog_inline-code">.env</code> to store your access key and a <code class="blog_inline-code">.gitignore</code>, which will reference files that will not be pushed to GitLab.
In the <code class="blog_inline-code">.env</code> file, add a single <code class="blog_inline-code">ACCESS_TOKEN=your_personal_access_token_from_gitlab</code> and save. In your <code class="blog_inline-code">.gitignore</code> file, add <code class="blog_inline-code">.env</code> and save.
Next, inside your <code class="blog_inline-code">main.py</code> file, import the following dependencies:
The first dependency will be used to make the request on the API, the second dependency is for converting the results into CSV format, the third is to convert the results into JSON first before converting to CSV, and the last ones are for getting the access token from the <code class="blog_inline-code">.env</code> file.
Before adding code to actually make an HTTP request, first install the module <code class="blog_inline-code">dotenv</code> on your machine using the <code class="blog_inline-code">pip install python-dotenv</code> command in your terminal. Add the code below to your<code class="blog_inline-code">main.py</code> file:
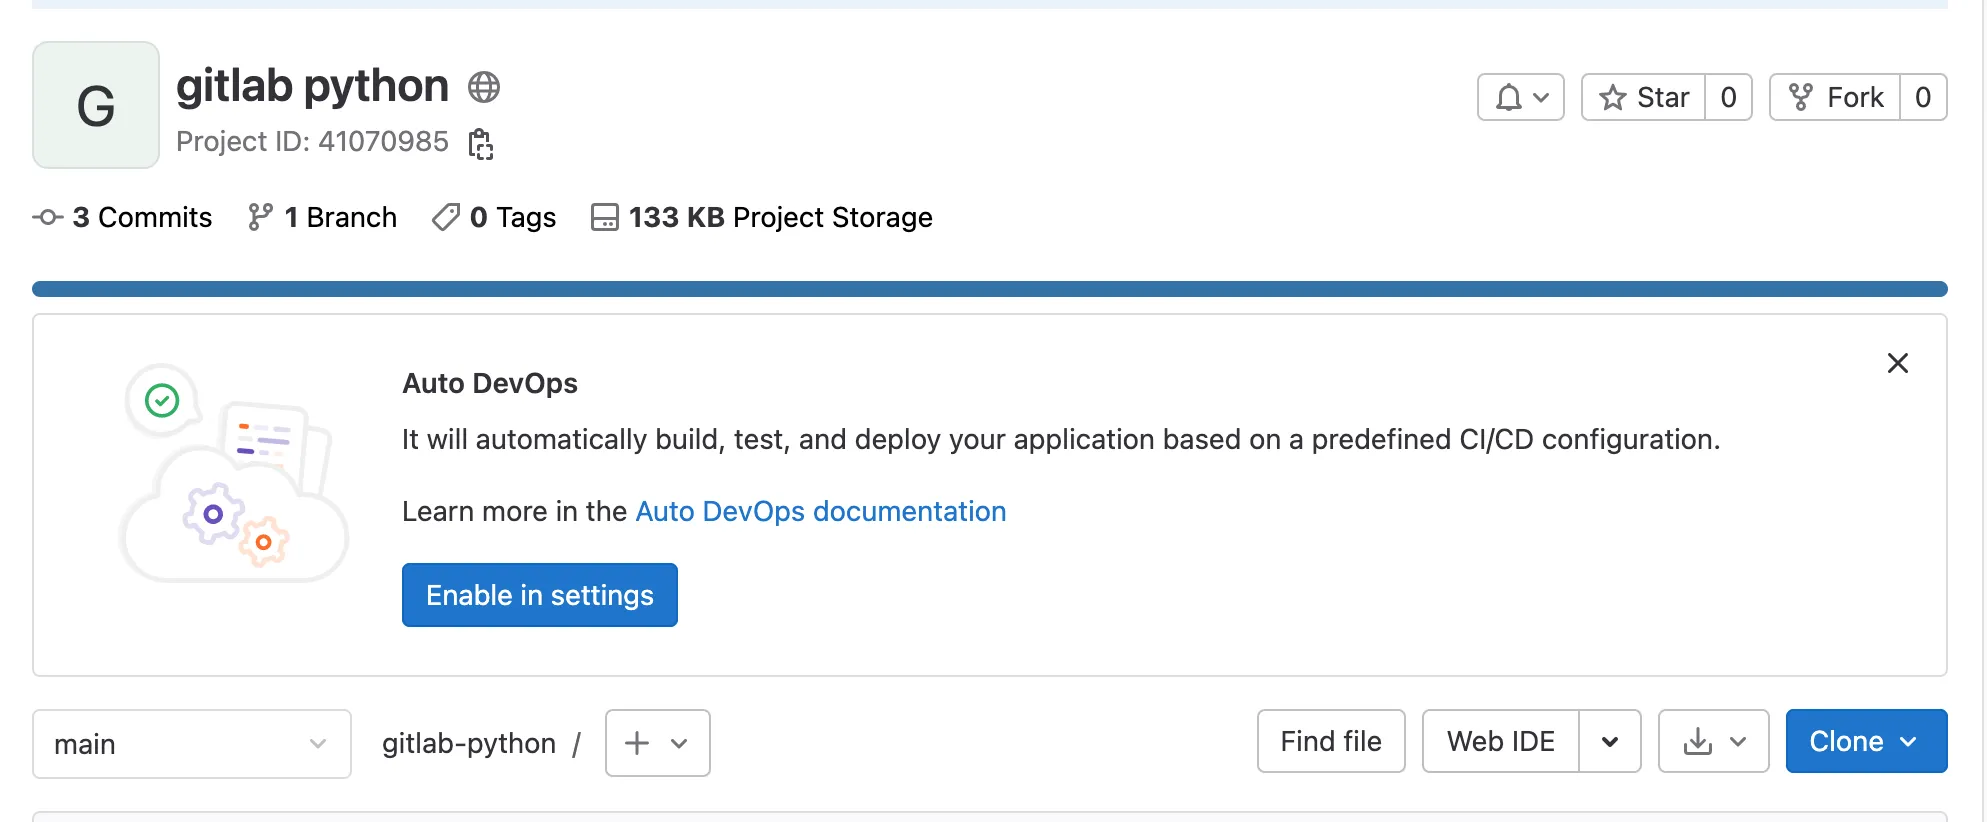
The code above makes an authenticated HTTP request to the GitLab API by including the header <code class="blog_inline-code">PRIVATE-TOKEN</code>, which is the access token from the <code class="blog_inline-code">.env</code> file. The results are returned in JSON format. You can find your project id in the project repository under the project name, copy it, and replace [your project id] with your actual project id like in the image below:

Now commit the changes you've made by running the following commands in your terminal:
To convert the results you got from the <code class="blog_inline-code">get_data()</code> method, create another method called <code class="blog_inline-code">generate_csv()</code> and add the following code:
The method above takes data, creates a file in the project named <code class="blog_inline-code">gitlab-python.csv</code> if it's not already there, and populates the CSV file with the data from the request. The fieldnames variable contains the headings of the data, which you will get from the API results.
Next, push changes to the remote repository by running the Git commands as you have done before. The complete code for making a request to the GitLab API to get all the commits is shown below:
Run the Python script in your terminal using the python <code class="blog_inline-code">main.py</code> command. Notice that a file is generated inside the project folder named <code class="blog_inline-code">gitlab-python.csv</code>. Open it to see whether the request was successful. You should see the history of the commits you made earlier, as shown below:

Conclusion
In this tutorial, you learned how to get a list of commits from the GitLab API using Python. You can find the complete code of this tutorial here.
If you need to integrate with multiple APIs, consider Merge's unified API. It lets you integrate to tools like GitLab and hundreds of other ticketing, HR, recruiting, and accounting platforms.
Learn more about Merge by scheduling a demo with one of our integration experts.


.png)
